|
|
|
|
Alternate Adobe Acrobat DC Pro Installation Instructions |
|
|
|
|
|
· Adobe Acrobat DC Pro is licensed using the Named User licensing model. These instructions assume you have been provided a temporary download link to a WebStore Acrobat package because you cannot download Acrobat from Adobe directly. Downloading the software directly from Adobe.com is the preferred method of installing Adobe software because it ensures that you have the most up-to-date version that is compatible with your system. · After the software is installed, the user will be prompted to sign in to complete the licensing of the software. If you have installed and completed the sign on for Acrobat and you are getting a licensing error, please refer to the troubleshooting steps in this article. · If the computer is a University owned device, admin rights are required to install this software. |
|
|
|
|
|
|
|
|
|
|
|
|
|
***IMPORTANT** If you have a working version of Acrobat already installed from a previous University Creative Cloud Subscription, you DO NOT need to install or uninstall the software. You can keep your current installed version of Acrobat. |
|
|
|
1. Download and unzip the file from the temporary link you were provided by WebStore. |
|
|
|
|
|
|
|
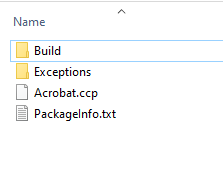
2. Open the unzipped folder and navigate to the Build folder. |
|
|
|
|
|
|
|
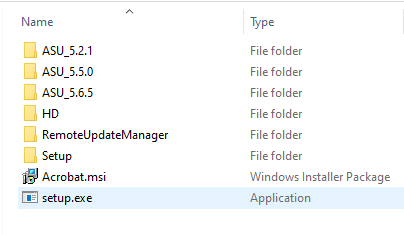
3. Double Click on the Setup file. |
|
|
|
|
|
|
|
4. Windows will prepare for install. |
|
|
|
|
|
|
|
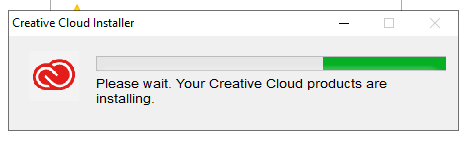
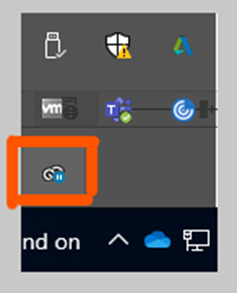
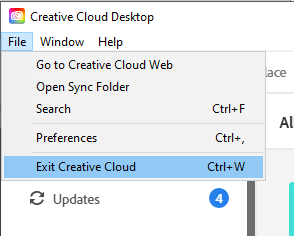
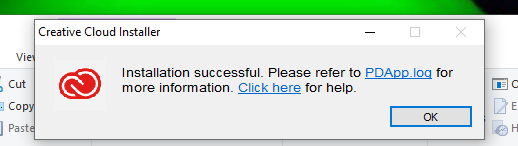
5. Installing may take a while but it will finish. If you
get an error saying that the Installation was NOT successful, perform the
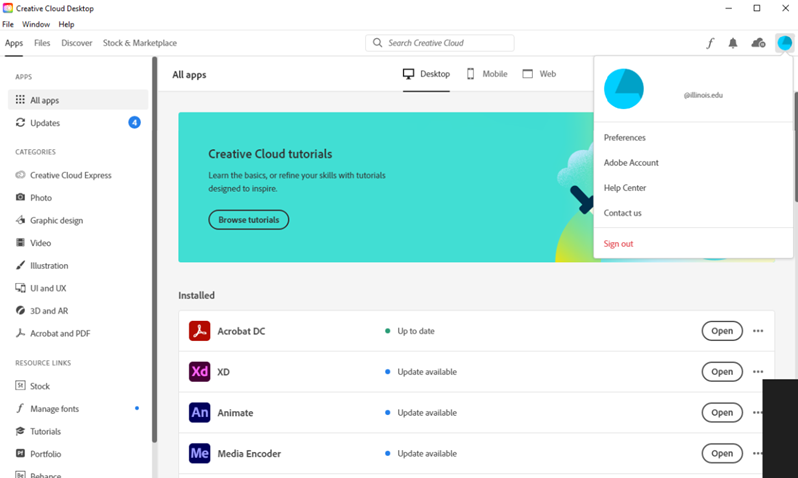
following steps before trying the install again. ----Check if you have Creative Cloud Desktop app open by clicking the carrot sign on the right side of the taskbar. ----Sign out of Creative Cloud Desktop app and close ALL other open applications. ----Make sure you close any Office 365 apps and Creative Cloud Desktop. |
|
|
|
|
|
|
|
|
|
|
|
|
|
|
|
|
|
|
|
|
|
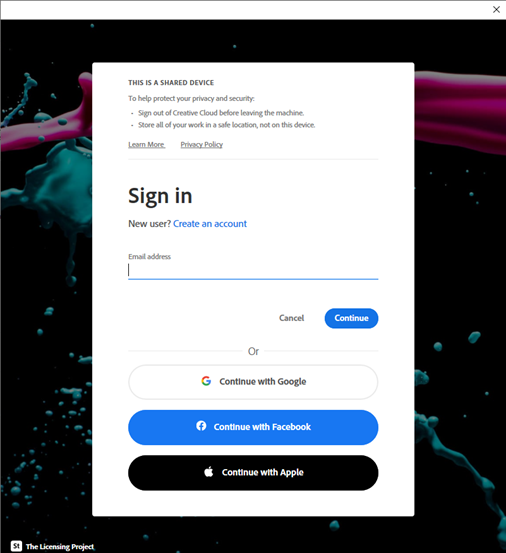
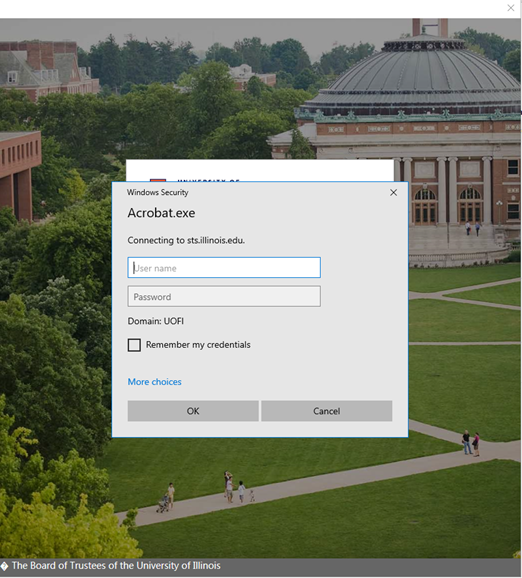
6. When you open Acrobat Pro, you will be prompted to sign in. Your screen will look similar to this. Sign in with your University of Illinois ID. If you are prompted to choose between a personal or a school account, select the school account. |
|
|
|
|
|
|
|
7. You will be redirected to authenticate using the University 2 Factor Authentication |
|
|
|
|
|
|
|
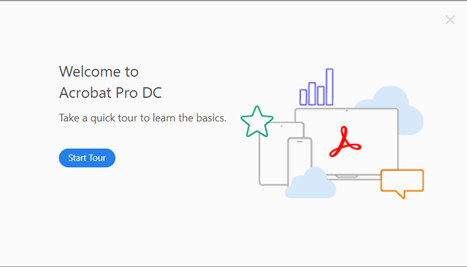
8. Once you authenticate, you should see the Acrobat Welcome Screen. |
|
|
|
|
|
|
|
9. You are now ready to use Acrobat DC Pro |
|
|
|
|
|
|
|
|
|
|
|
|
|
***IMPORTANT** If you have a working version of Acrobat already installed from a previous University Creative Cloud Subscription, you DO NOT need to install or uninstall the software. You can keep your current installed version of Acrobat. |
|
|
|
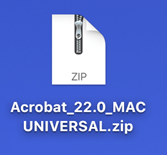
1. Download the .zip file from the temporary link you were provided by WebStore. |
|
|
|
|
|
|
|
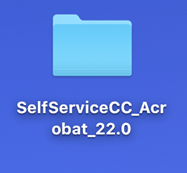
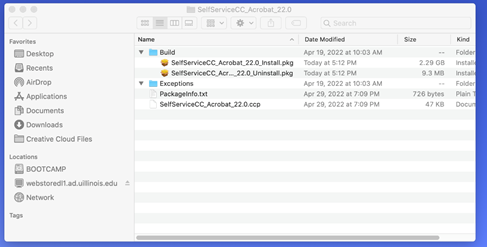
2. Unzip the file and navigate to the SelfServiceCC_Acrobat_22.0 folder |
|
|
|
|
|
|
|
3. Navigate to the Build folder and double click on the installer. |
|
|
|
|
|
|
|
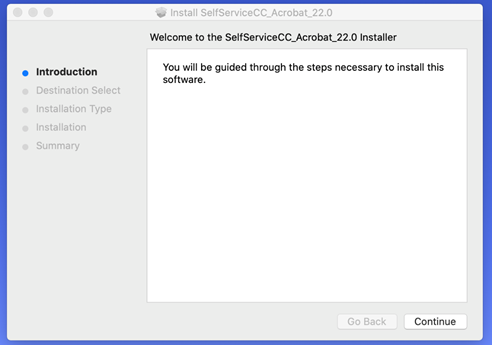
4. Click continue to allow the installer to set up. |
|
|
|
|
|
|
|
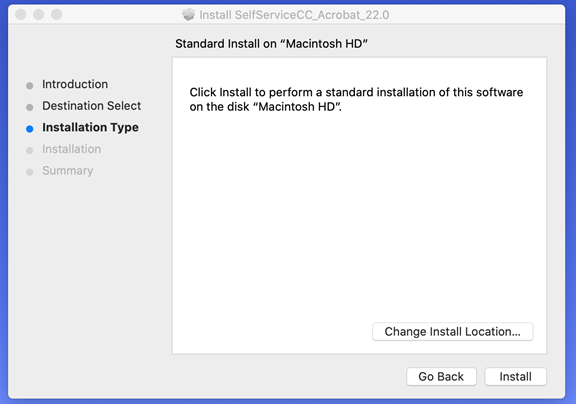
5. Click Install to begin your install. |
|
|
|
|
|
|
|
|
|
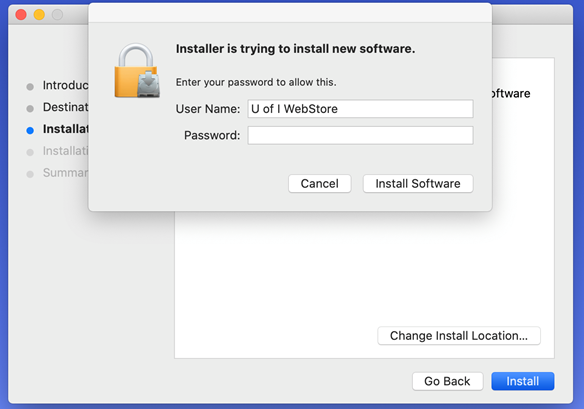
6. Enter your password to provide permissions to install new software. |
|
|
|
|
|
|
|
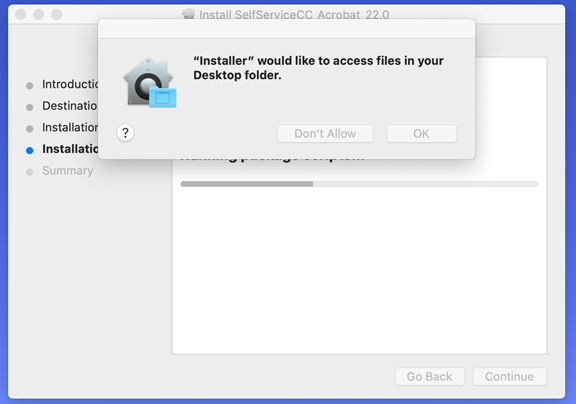
7. Click “OK” if the Installer needs to access file in your Desktop folder. |
|
|
|
|
|
|
|
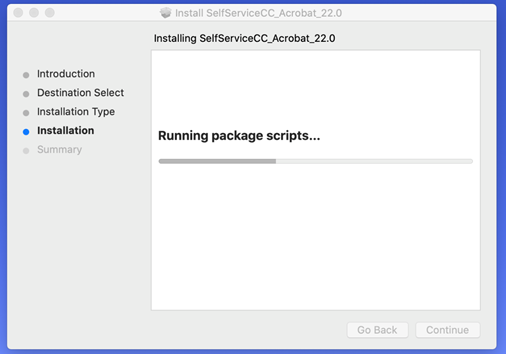
8. The installation will continue. |
|
|
|
|
|
|
|
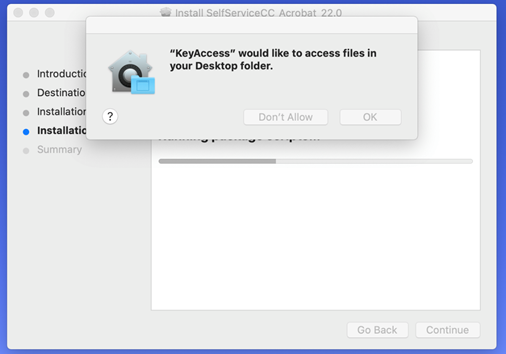
9. Click “OK” to allow KeyAccess access to your Desktop folder |
|
|
|
|
|
|
|
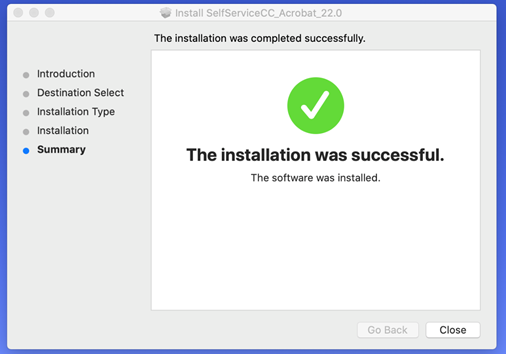
10. Your install is ready for use. |
|
|
|
|
|
|
|
|
|
|
|
If you get an error
saying that the Installation was NOT successful, perform the following steps
before trying the install again. You can refer to the Window’s procedure at
the beginning of the page for corresponding screenshots. ----Open Creative Cloud Desktop app from the Applications folder. ----Sign out of Creative Cloud Desktop app by clicking the Blue circle icon in the upper right corner and close ALL other open applications. ----Make sure you close any Office 365 apps and Exit Creative Cloud Desktop. ----Make sure you choose School Account if you are prompted to choose between Personal or School Account when you sign back in again. |
|
|
|
|
|
|
|
|
· How to Renew the Adobe License Instructions· Adobe Enterprise Login and Product Installation Instructions· Basic Troubleshooting Steps for Adobe Applications· Advanced Troubleshooting Steps for Adobe Applications· FAQ Adobe Enterprise annual license for faculty, staff, and students· Information on Adobe Enterprise Cloud Storage
|
|
|
|
|
|
|
|
|

 Windows