|
Sketchup 2017 Installation
Instructions |
|
|
|
Due to
firewall restrictions, you will need your campus VPN service before installing and
to use this software if you are on an off-campus connection. |
|
|
|
Before
installing this software, make sure that you have installed the K2 client,
which is available in your Webstore order history, and have restarted your
computer. THIS SOFTWARE WILL NOT RUN
WITHOUT IT! |
|
|
|
Computer
registration is required. Please
complete this
form and submit it to begin the registration process. We
will respond when the license manager has been configured
for your license with the Serial Number to use during installation. |
|
|
|
|
|
We will
respond with an email containing a license key. |
|
|
|
|
|
|
|
|
|
1.
Double click on the .exe file that you have downloaded
from your Webstore order history. |
|
|
|
|
|
|
|
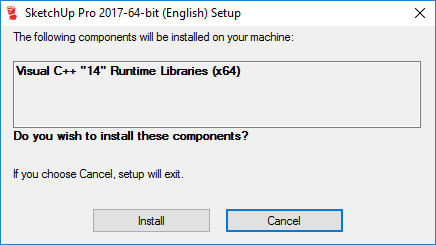
2.
You may need install prerequisites. Click Install. |
|
|
|
|
|
|
|
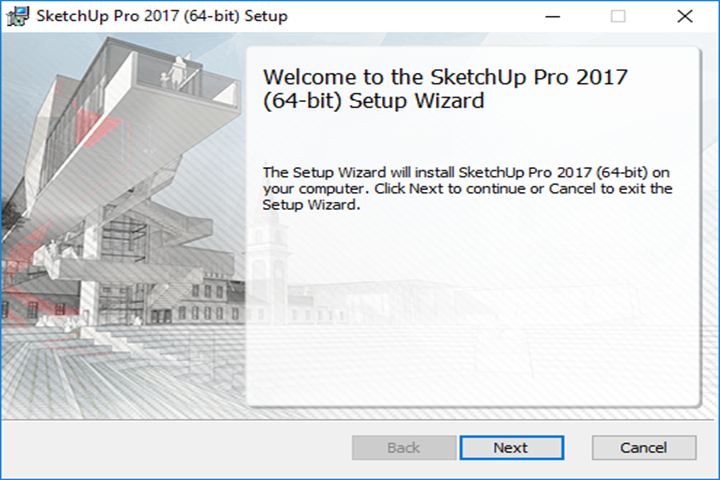
3.
Click Next. |
|
|
|
|
|
|
|
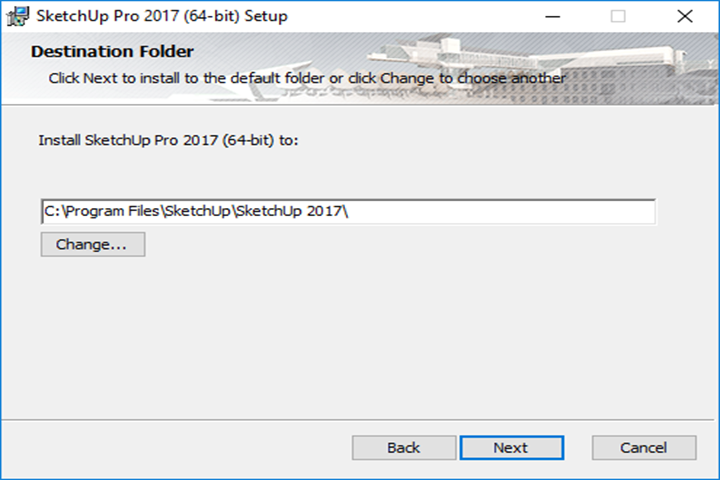
4.
Select an installaiton location and
click Next. |
|
|
|
|
|
|
|
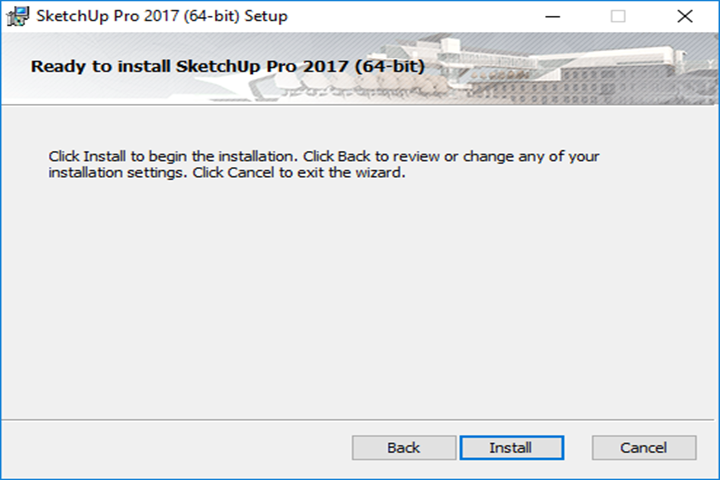
5.
Click Install. |
|
|
|
|
|
|
|
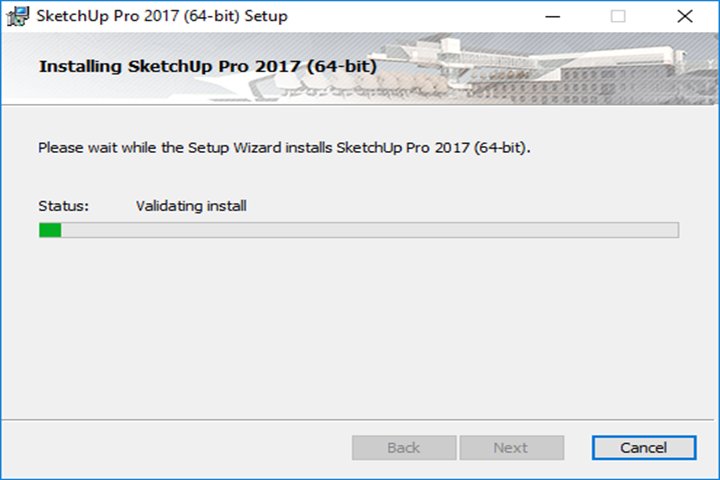
6.
The installation will begin and may take several minutes. |
|
|
|
|
|
|
|
7. Click
Finish and launch Sketchup. |
|
|
|
|
|
|
|
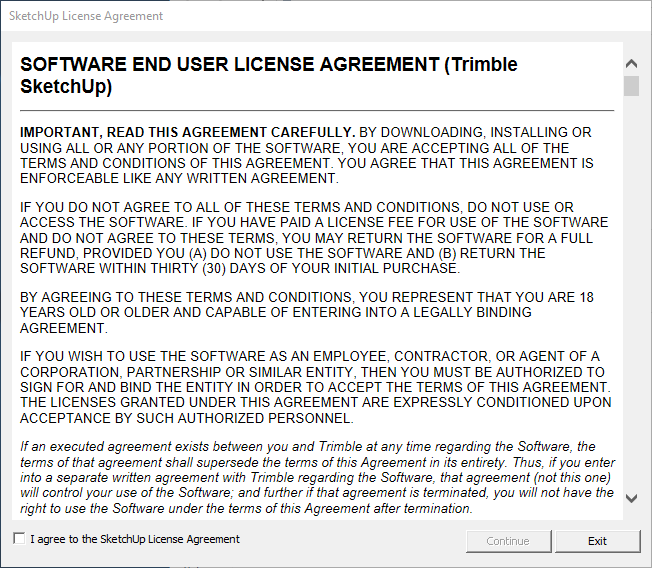
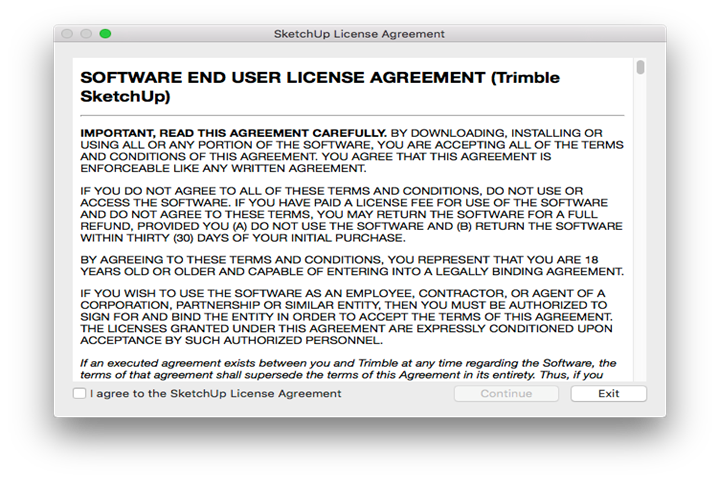
8. The
following screen will pop up on your first launch. Agree to the license
agreement and click Continue. |
|
|
|
|
|
|
|
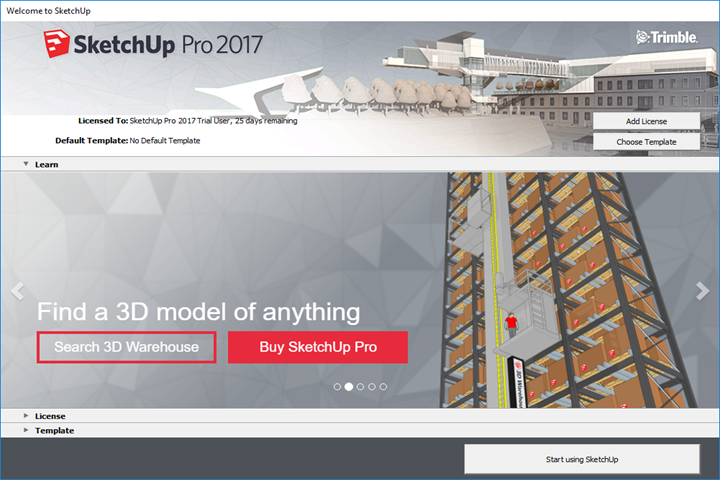
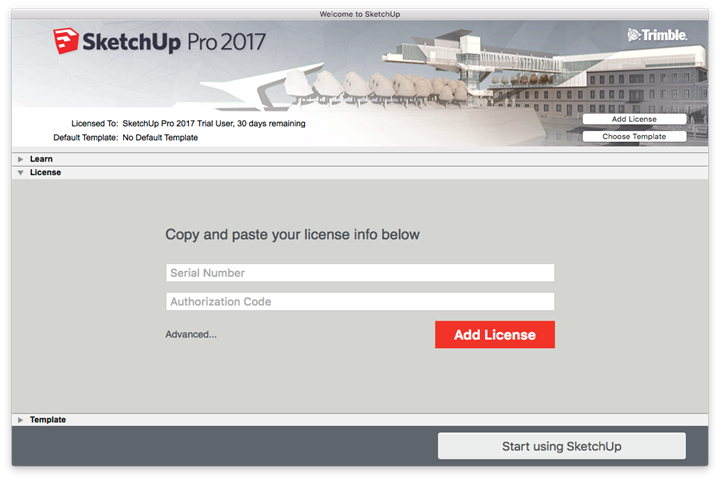
9. Click
Add License. |
|
|
|
|
|
|
|
10. Enter
the serial number and authorization code that you received in your reply
email. Click Add License. |
|
|
|
|
|
|
|
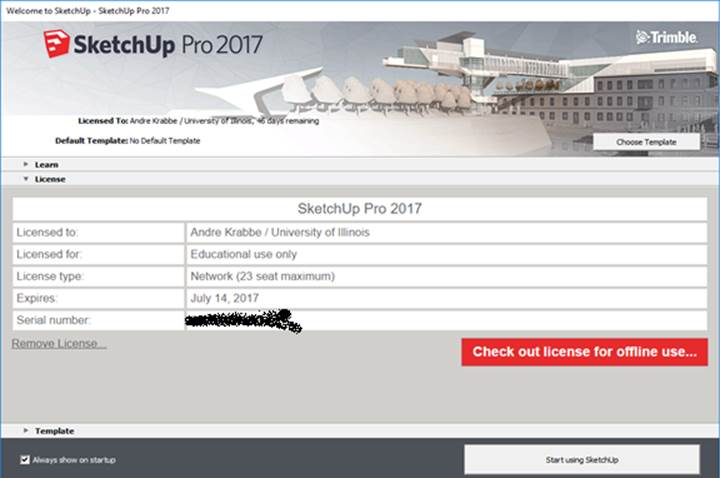
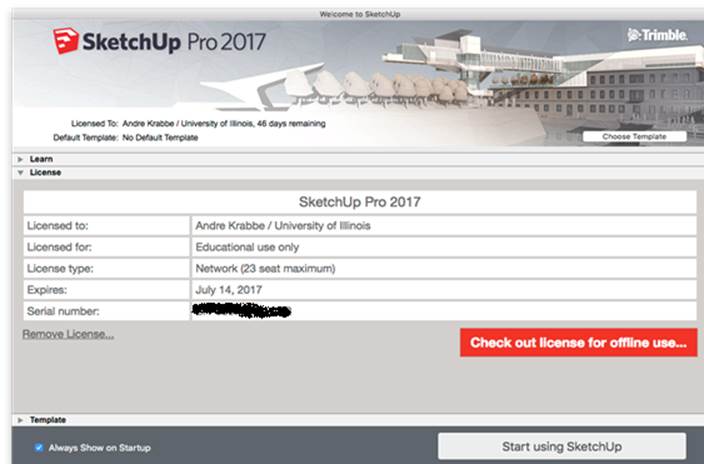
11. Click
Starting using Sketchup. |
|
|
|
|
|
|
|
You are now ready to use Sketchup 2017. Make sure that you
are connected to the VPN service if attempting to use this software from
off-campus. |
|
|
|
|
|
1.
Double click on the .dmg file
that you downloaded from your Webstore order history. |
|
|
|
|
|
|
|
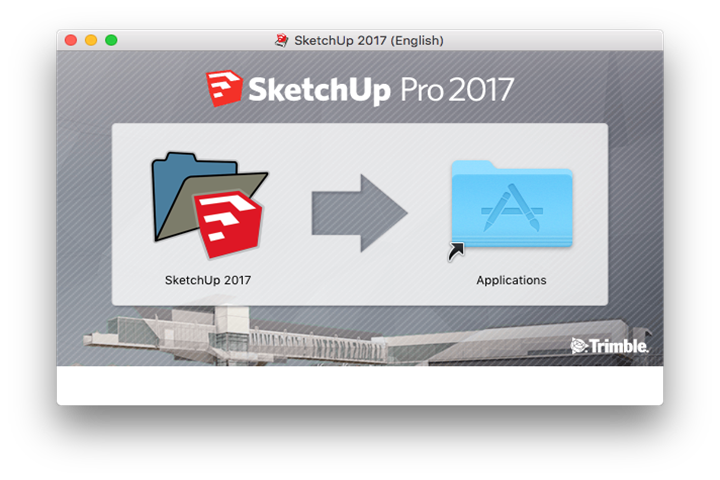
2.
The file will mount and open the window shown below. Drag the application into the folder! Do
not double click on the application. |
|
|
|
|
|
|
|
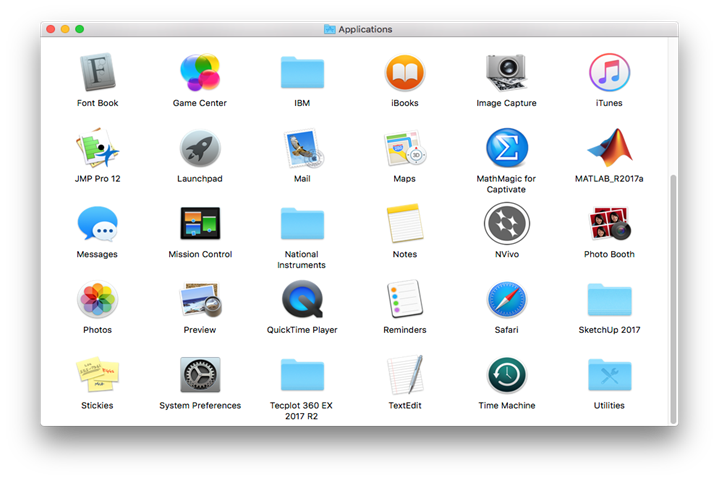
3.
The applications folder will open. If it does not open
automatically, navigate to it manually. Double click on the Sketchup folder. |
|
|
|
|
|
|
|
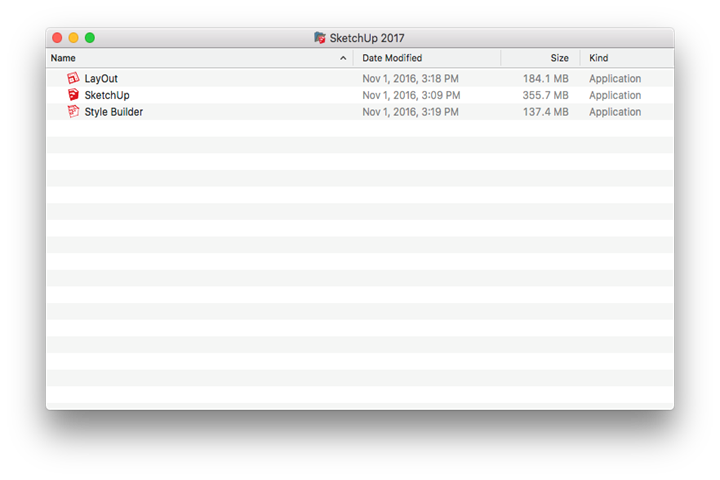
4.
Double click on the Sketchup
application. |
|
|
|
|
|
|
|
5.
Accept the license agreement and click Continue. |
|
|
|
|
|
|
|
6.
Click Add License. |
|
|
|
|
|
|
|
7.
Enter the serial number and authorization code that you
received in your reply email. Click Add
License. |
|
|
|
|
|
|
|
8.
Click Startup Using
Sketchup. |
|
|
|
|
|
|
|
You are now ready to use Sketchup 2017. Make sure that you
are connected to the VPN service if attempting to use this software from
off-campus. |