|
|

|
SAP2000 v19 Installation Instructions (Process is the same for v20) |
|
|
|
1. Due to firewall restrictions, particularly on off-campus and wireless connections, you will need to connect to your campus VPN service before installing and to use this software.
2. Double click the .exe file you downloaded from WebStore. |
|
|
|
|
|
|
|
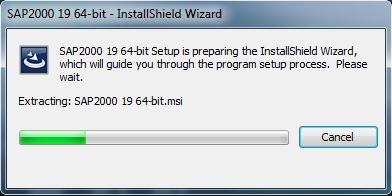
3. You will see two windows. A start up screen and an install wizard. The installation files will extract. |
|
|
|
|
|
|
|
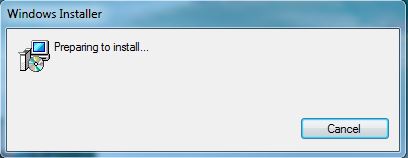
4. You will see a windows installer window. |
|
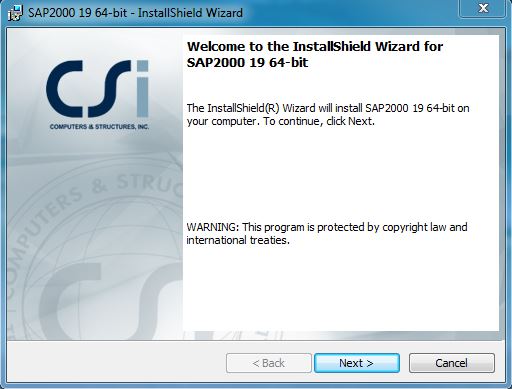
5. Click Next.
|
|
|
|
|
|
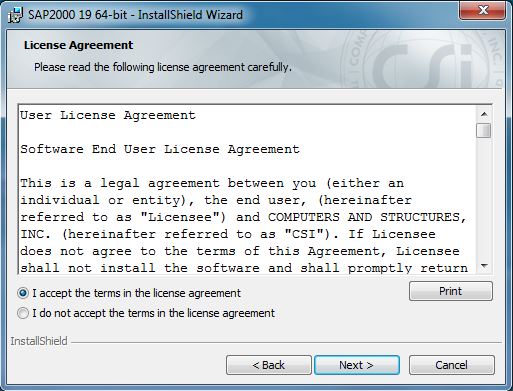
6. Accept the license agreement and click on Next. |
|
|
|
|
|
|
|
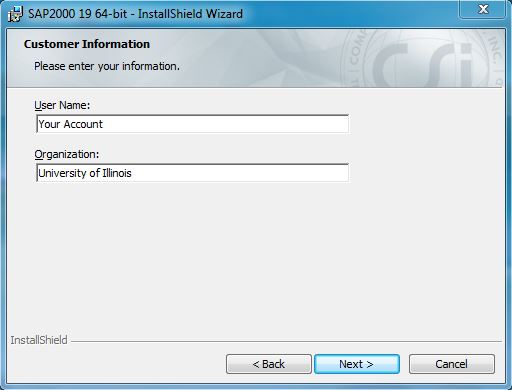
7. Enter your name and University of Illinois as the organization and click on Next. |
|
|
|
|
|
|
|
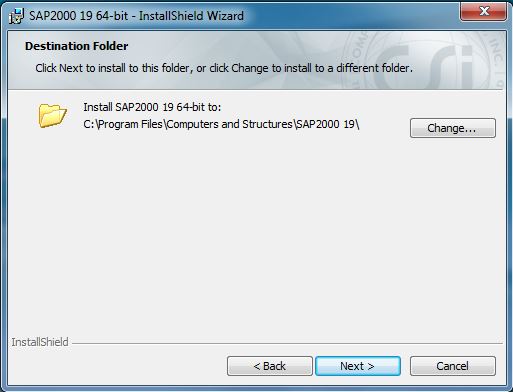
8. Select a destination folder and click Next. |
|
|
|
|
|
|
|
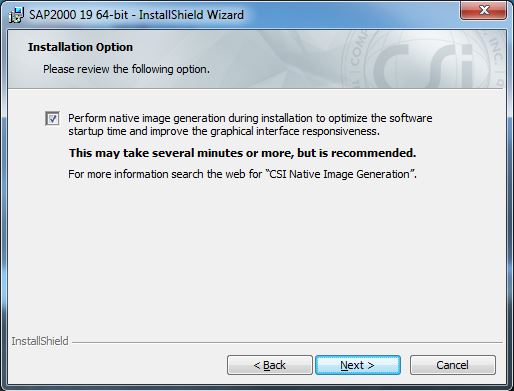
9. If you don’t want to do an optimization, uncheck the box. Click on next. |
|
|
|
|
|
|
|
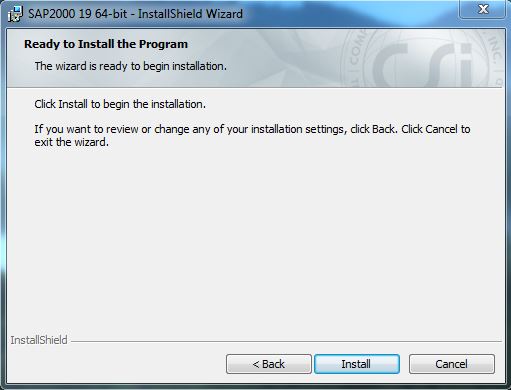
10. Click on Install to begin the installation. |
|
|
|
|
|
|
|
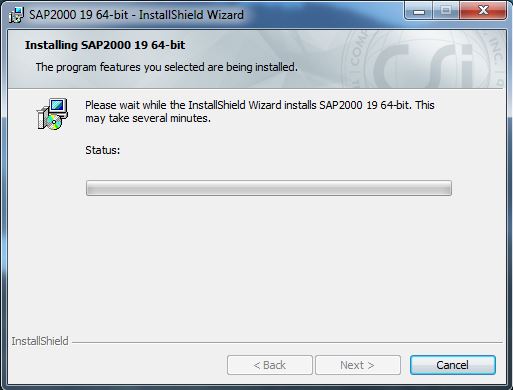
11. Your installation will begin and will take several minutes. |
|
|
|
|
|
|
|
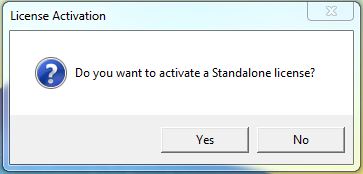
12. A window will pop up during installation. Click on No. |
|
|
|
|
|
|
|
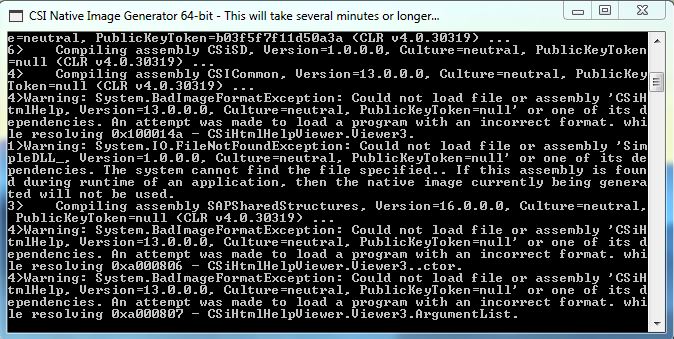
13. A command window will pop up and disappear after several minutes. Please be patient and wait for the installation to complete, this step takes longer then you think it should.
|

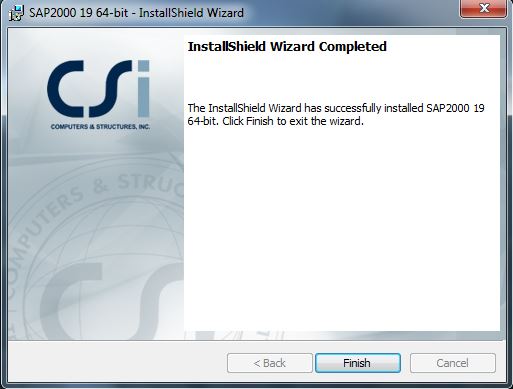
14. Click on Finish.
15. Manually set the license server environment variable. Right click on Computer in the Start Menu and select Properties – Change settings – Advanced – Environment Variables. Under the System variables section check to see if LSFORCEHOST exists (if so confirm its value matches the license server found under your Order History). If not, click New and set the name to LSFORCEHOST and the value to the license server found under your order. Click OK to close all the windows.
16. You are now ready to use SAP2000 version 19. Please remember that if you are off campus you must use the VPN to connect to the campus network.