|
|
|
|
NVivo 14 Installation Instructions |
|
|
|
|
|
|
|
|
|
|
|
|
|
|
|
|
|
Due to firewall restrictions, particularly on off-campus and wireless connections, you will need to connect to your campus VPN service before registering, installing and using this software. |
|
|
|
Computer registration is required. Before requesting your registration, please complete the steps 1- 8 below to install your Key Access Client which is needed during the computer registration. ***You must have the Key Access Client installed and keep an active connection to the campus network (VPN required for off campus) when we complete your computer registration process and provide you the license key. The Key Server will recognize your computer during the registration process.
When you are ready, complete this form and submit it to begin the registration process. We will respond when the license manager has been configured for your license with a license key to complete Step 22 of the installation.
Please be aware that you may need to update your Key Access Client to the newest version to successfully register your computer. Computer registration is always necessary with new orders AND renewals. The newest version of the Key Access Client will be available from the download links in your NVivio Order, located in your WebStore Order History. |
|
|
|
1. Download the KSP-Client and NVivo 14 files from your WebStore order. |
|
|
|
|
|
|
|
2. Click the K2 Client installer to start the installation process. Enter the K2 server name when prompted. (The server name is provided in the product info in your WebStore Order History.) |
|
|
|
|
|
|
|
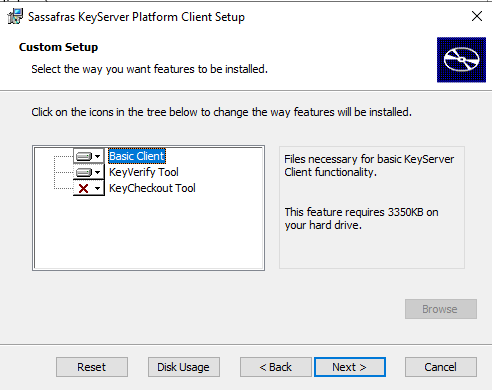
3. Keep the default selection for Basic Client and click Next. |
|
|
|
|
|
|
|
4. Click Install. |
|
|
|
|
|
|
|
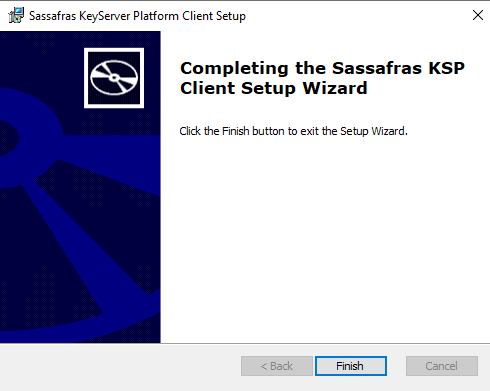
5. Click Finish to complete the Setup. |
|
|
|
|
|
|
|
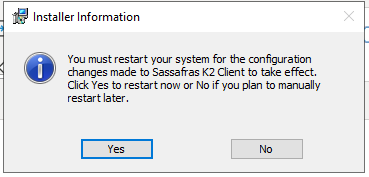
6. Save your work, close your programs, and reboot your computer |
|
|
|
|
|
|
|
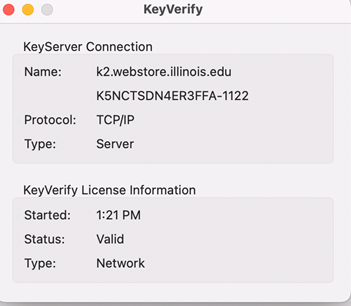
7. After your computer is restarted, open the Sassafras K2 Key Verify program from the Start Menu |
|
|
|
|
|
|
|
8. Check the Status. The Status should say Valid. If the status is invalid, your computer will not be found by the license server and your computer cannot be registered. Check your network connection and your VPN connection settings for “Tunnel All”. If everything looks correct, check the version of the Key Access Client. If necessary, download the latest version Key Access Client again from your WebStore Order History and reinstall the client. |
|
|
|
|
|
|
|
9. When the Key Verify Status is valid, complete the WebStore Registration Form for your computer. |
|
|
|
10. Webstore will respond with a License Key that you will use in Step 22 of this Installation. |
|
|
|
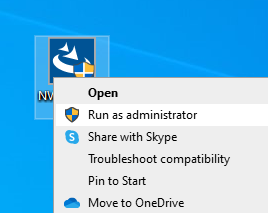
11. Start the NVivo installation. Right-click the Nivov installer that you downloaded in Step 1 and choose “Run as administrator”. |
|
|
|
|
|
|
|
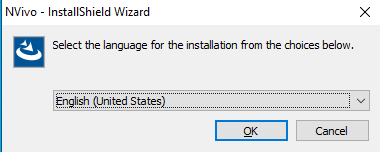
12. Select the desired installation language and click OK. |
|
|
|
|
|
|
|
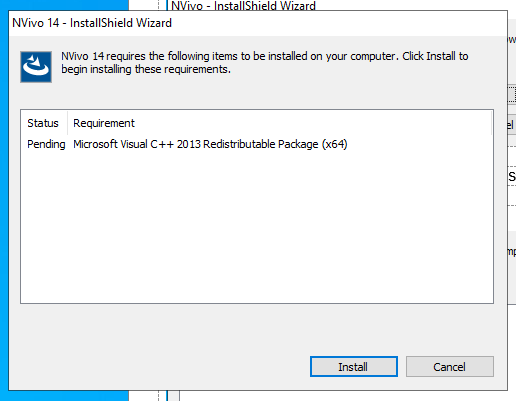
13. The installation may have some prerequisite software that it needs. Click Install. |
|
|
|
|
|
|
|
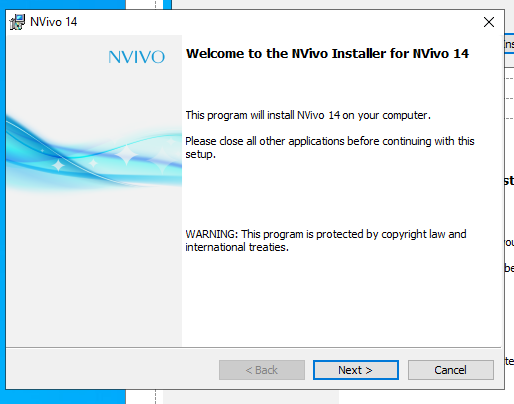
14. The installer will open. Click Next. |
|
|
|
|
|
|
|
15. Accept the license agreement and click Next. |
|
|
|
|
|
|
|
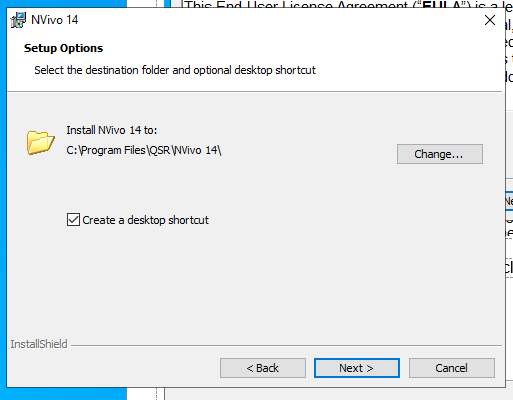
16. Select the installation destination folder and click Next. |
|
|
|
|
|
|
|
17. Select add-ons and click Next. |
|
|
|
|
|
|
|
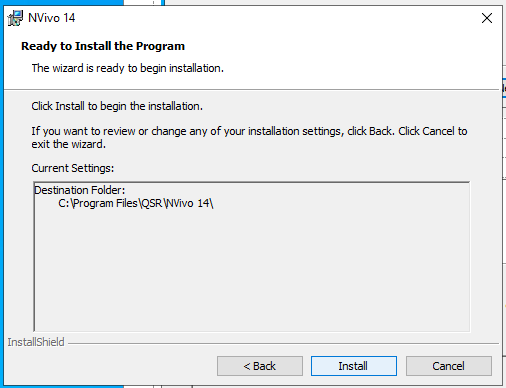
18. Click Install. |
|
|
|
|
|
|
|
19. The installation will begin and may take several minutes. |
|
|
|
|
|
|
|
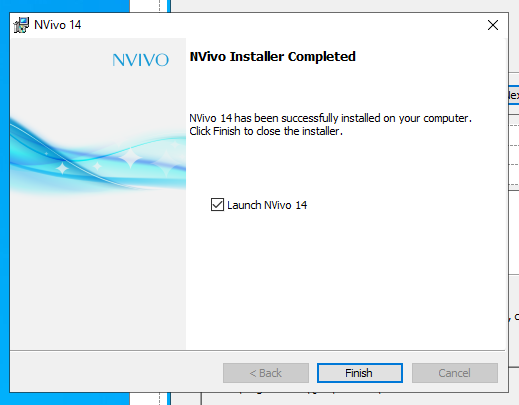
20. Click Finish and launch NVivo. You will now need to activate your software. |
|
|
|
|
|
|
|
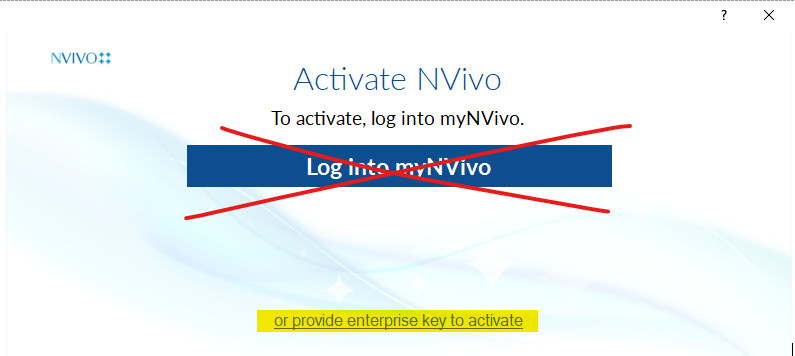
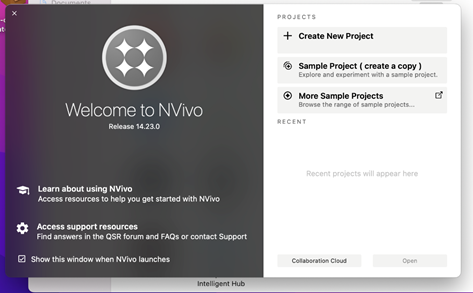
21. NVivo will launch when the install is complete. Click on the link to “provide enterprise key to activate” *****DO NOT click on “Log into myNVIvo. You have an academic license that does NOT include a NVivo account*** |
|
|
|
|
|
|
|
|
|
22. Enter the license key that you received in the reply email and click Next. |
|
|
|
|
|
|
|
23. Enter your details and click Next. |
|
|
|
|
|
|
|
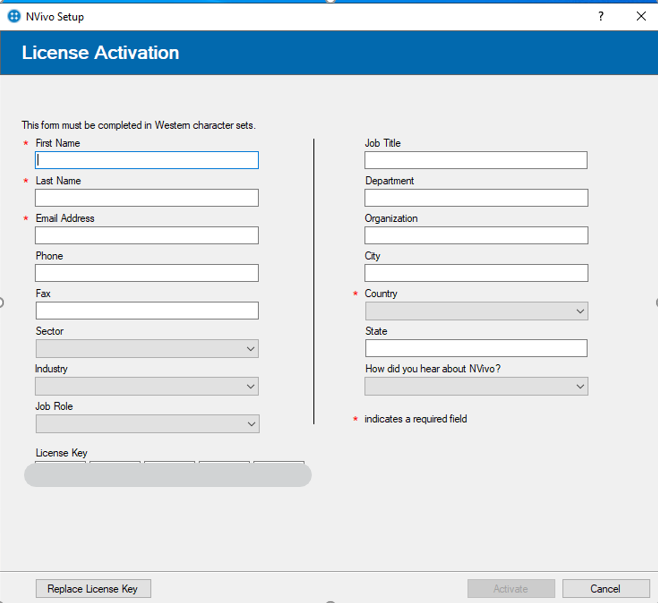
24. Click Next. Complete your License Activation Form. If you are upgrading your license and updating your key, select Replace License Key. If you are activating a new license, select Activate |
|
|
|
|
|
|
|
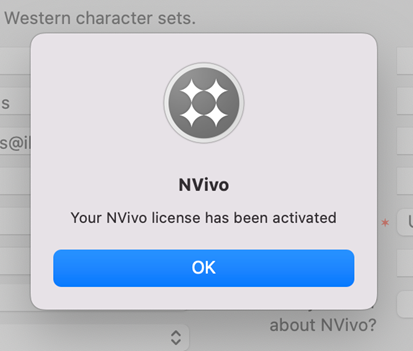
You will receive a confirmation that your license is now activated. |
|
|
|
|
|
|
|
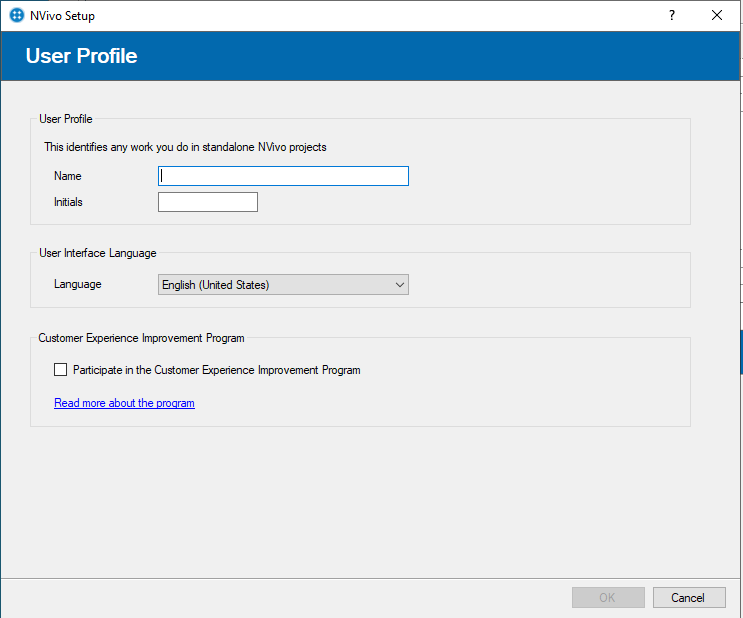
25. Complete your profile and click OK. |
|
|
|
|
|
|
|
26. Your activation is complete, you are now ready to use NVivo. If you would like to check for Software Updates or replace/ manage your license, after opening NVivo, go to the upper menu option File and select Product Info from the left menu. |
|
|
|
|
|
|
|
|
|
|
|
|
|
|
|
|
|
|
|
|
|
|
|
|
|
|
|
|
|
|
|
|
Please be aware that you may need to update your Key Access Client to the newest version to successfully register your computer. Computer registration is always necessary with new orders AND renewals. The newest version of the Key Access Client should always be available from the download links in your NVivio Order, located in your WebStore Order History. |
|
|
|
Due to firewall restrictions, particularly on off-campus and wireless connections, you will need to connect to your campus VPN service before installing and to use this software. |
|
|
|
Computer registration is required. Before requesting your registration, please complete the steps 1- 9 below to install your Key Access Client which is needed during the computer registration. ***You must have the Key Access Client installed and keep an active connection to the campus network (VPN required for off campus) when we complete your computer registration process and provide you the key. The Key Server will recognize your computer during the registration process.
The Key Access Client must be installed and the Key Verify app must have a valid status before you register your computer. When ready, complete this form and submit it to begin the registration process. We will respond when the license manager has been configured for your license with a license key to complete your installation. |
|
|
|
|
|
|
|
|
|
1.Download the KSP-Client and NVivo 14 files from your WebStore order. |
|
|
|
|
|
|
|
2. Click the K2 Client installer to start the installation process. Enter the K2 server name when prompted. (The server name is provided in the product info in your WebStore Order History.) Click Continue. |
|
|
|
|
|
|
|
|
|
|
|
|
|
|
|
4. Save your work, close your programs, and reboot your computer |
|
|
|
|
|
|
|
|
|
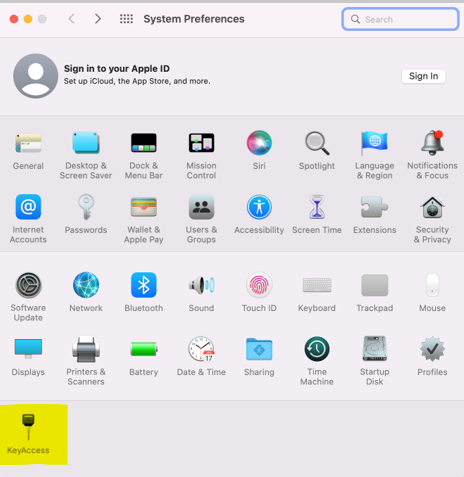
4. Once your computer restarts, look for the KeyAccess client in your System Preferences folder. Click on the icon to open the program. |
|
|
|
|
|
|
|
5. Open the Cisco AnyConnect VPN and connect using Tunnel All settings. If you are on the UIC Campus use the Library Resources Group. |
|
|
|
|
|
|
|
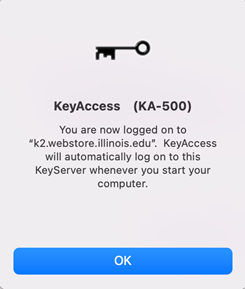
6. The KeyAccess Client will tell you to logon to reconnect. |
|
|
|
|
|
|
|
7. When the Key Verify Status is valid, complete the WebStore Registration Form for your computer. |
|
|
|
|
|
|
|
8. Click the KeyVerify button to confirm that the Status is Valid. |
|
|
|
|
|
|
|
9. Once you have confirmed that the KeyAccess client is connected and status is Valid, complete the WebStore Registration Form for your computer. Webstore will respond with a License Key that you will use in Step 18 of this Installation. |
|
|
|
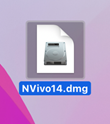
10. Double click on the .dmg file that you downloaded from your Webstore order history. |
|
|
|
|
|
|
|
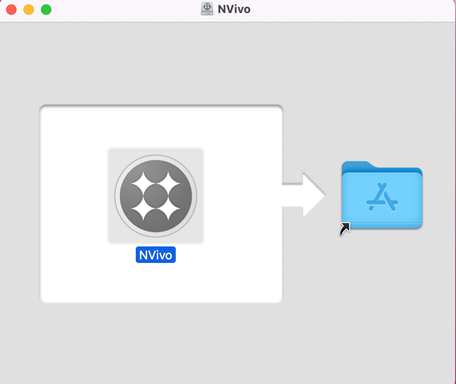
11. The file will mount and open the window shown below. Drag the NVivo application into the folder! Do not double click on the application. |
|
|
|
|
|
|
|
12. The applications folder will open. If it does not open automatically, navigate to it manually. Double click on the NVivo application. |
|
|
|
|
|
|
|
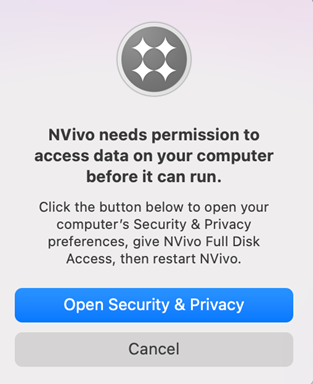
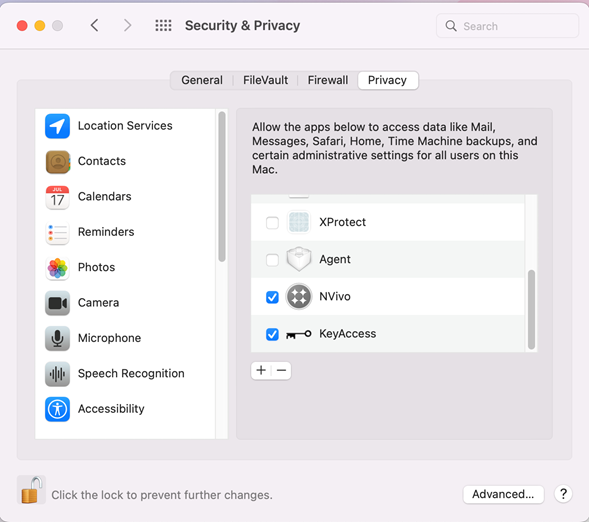
13. Open Security and Privacy Settings to allow NVivo to install. |
|
|
|
|
|
|
|
14. Check the apps NVivo and KeyAccess to allow the install. The system will prompt you for your computer password to allow NVivo to make changes. |
|
|
|
|
|
|
|
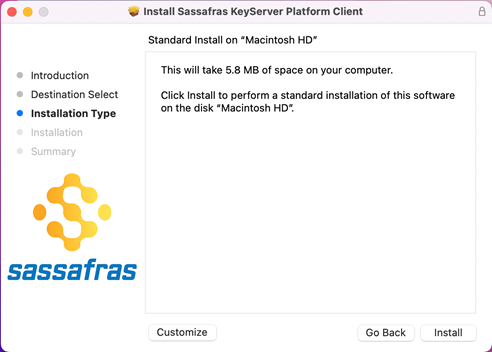
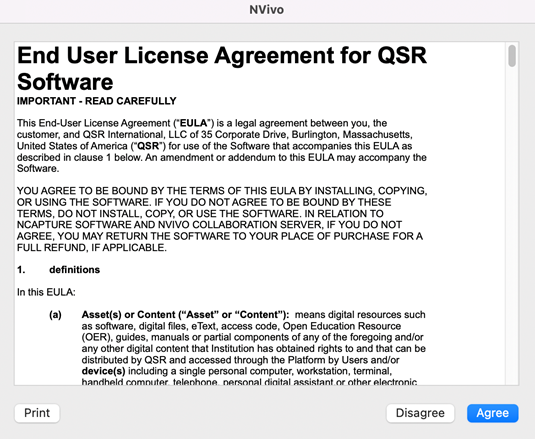
15. The Nvivo install will resume. Agree to the EULA. |
|
|
|
|
|
|
|
16. Click on the link to “provide enterprise key to activate.” *****DO NOT click on “Log into myNVIvo. You have an academic license that does NOT include a NVivo account*** |
|
|
|
|
|
|
|
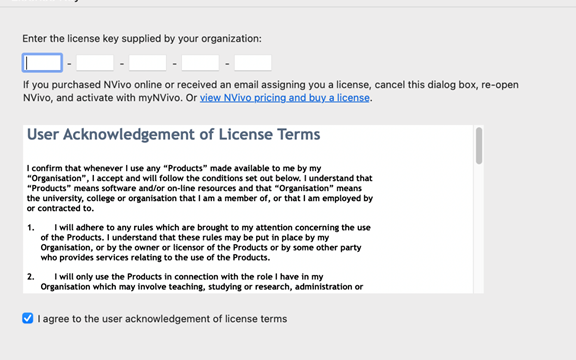
17. Enter the license key that you received from WebStore and agree to the License Terms. |
|
|
|
|
|
|
|
18. Enter your details and click Activate. |
|
|
|
|
|
|
|
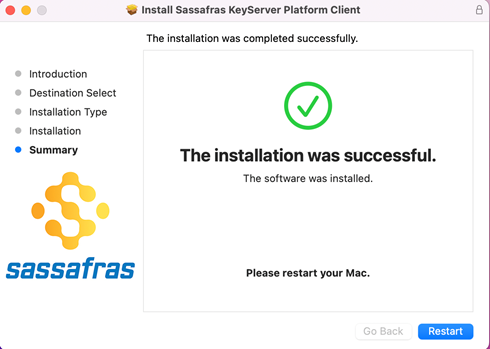
19. You will see a confirmation that the activation was successful. |
|
|
|
|
|
|
|
20. You may be prompted to install an update to the newest version. Install the update. Otherwise, proceed to NVivo |
|
|
|
|
|
|
|
|
|
|
|
|
|
You are now ready to use NVivo. Make sure that you are connected to the VPN service if attempting to use this software from off-campus. |
|
|
|
|
|
|
|
|
|
|
|
|

 Windows