![]()
|
LabVIEW Spring 2019 Instructional
Installation Instructions |
|
|
|
|
|
|
|
Due to firewall restrictions, particularly on off-campus
and wireless connections, you will need to connect to the your campus VPN
service before installing and to use this software. |
|
|
|
|
|
|
|
1.
Double click the .exe file that you downloaded from the
Webstore.
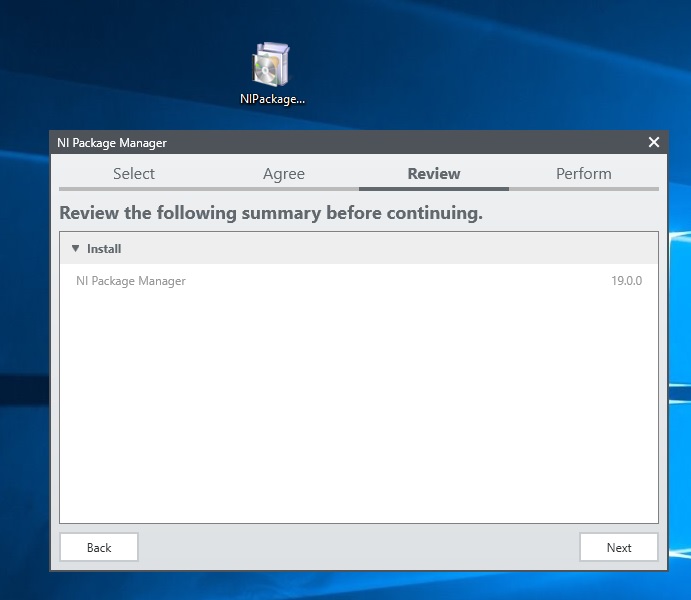
2.
Accept the NI license agreement and click next. 3.
Click next. 4.
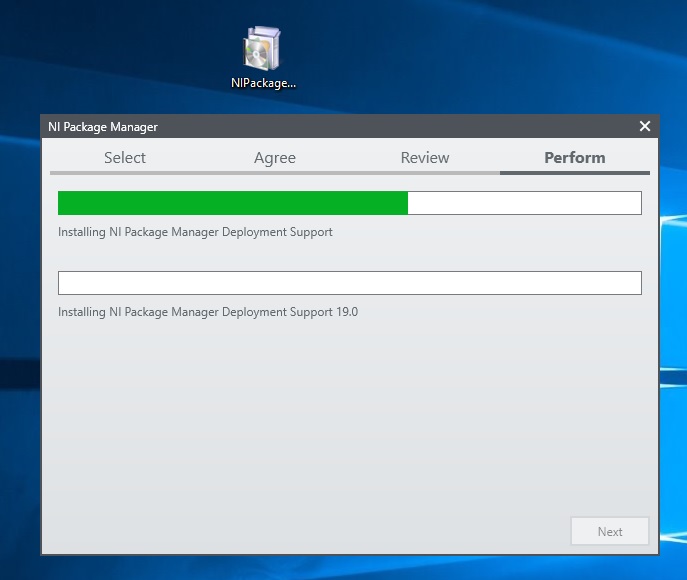
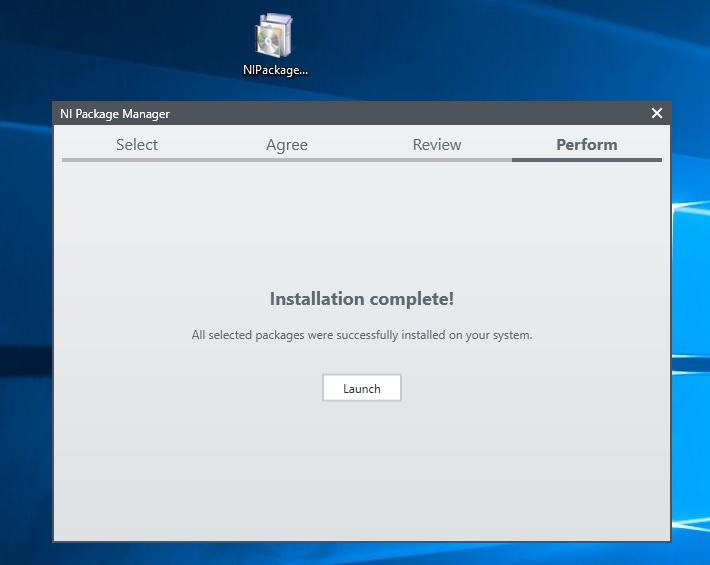
NI Package Manager will now install. 5.
Launch the Package Manger. |
|
|
|
|
|
|
|
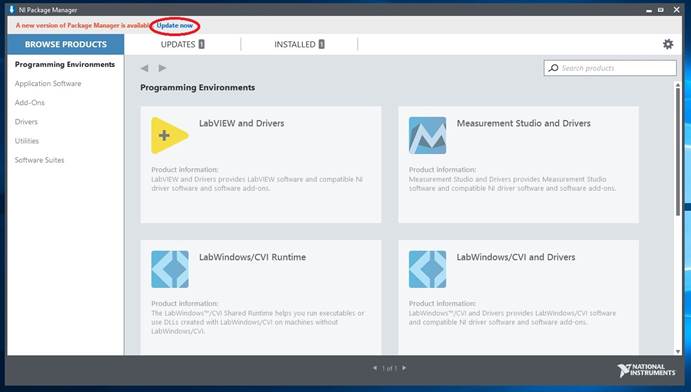
6.
You will need to update the manager before proceeding. |
|
|
|
|
|
|
|
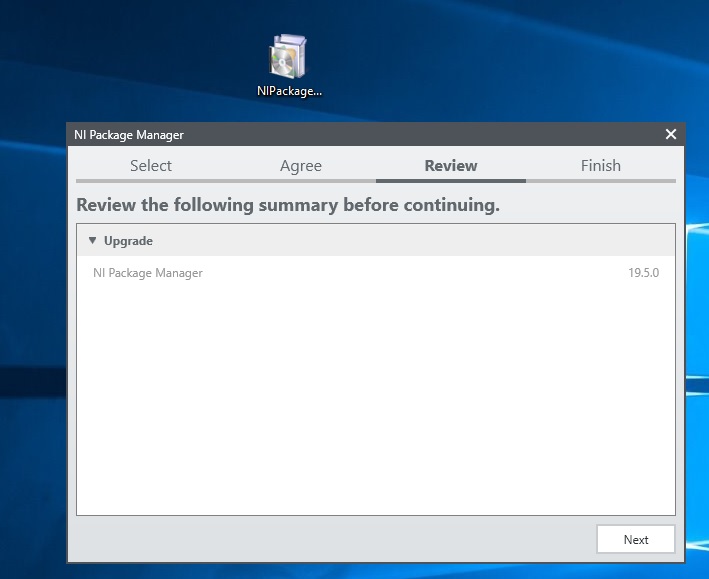
7.
Click Next |
|
|
|
|
|
|
|
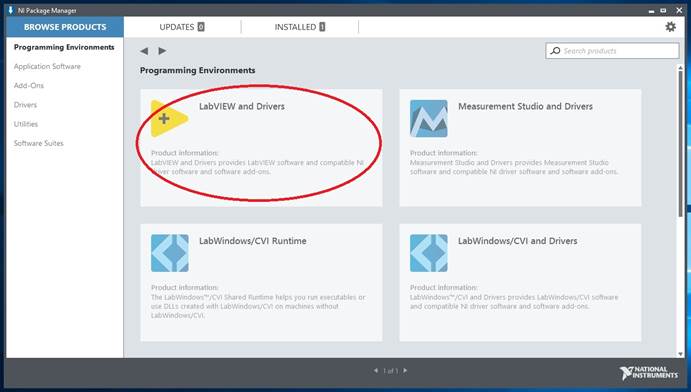
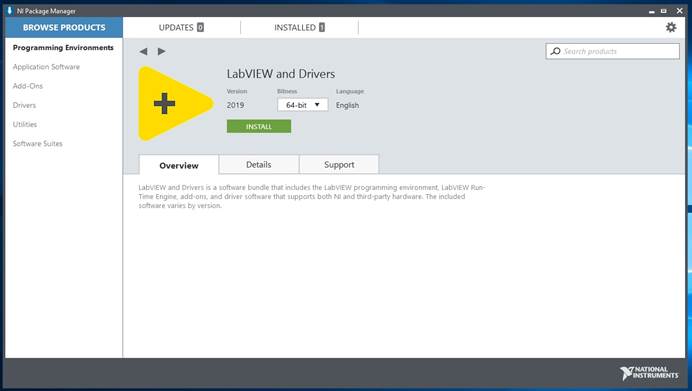
8.
Click LabVIEW and Drives. |
|
|
|
|
|
|
|
9.
Choose which Bitness (32 or 64)
to install. Click install. |
|
|
|
|
|
|
|
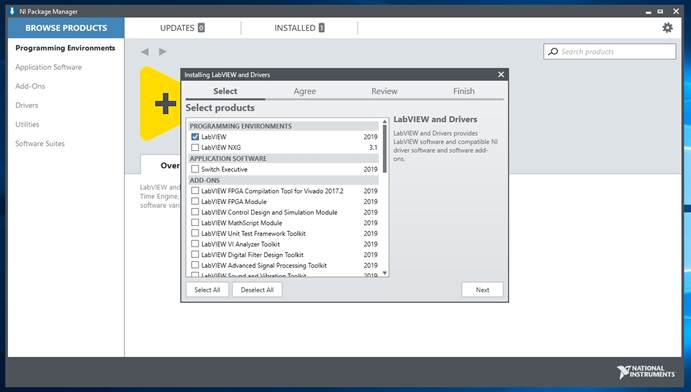
10.
Choose the Environment and any add-ons you wish to
install. Click next. |
|
|
|
|
|
|
|
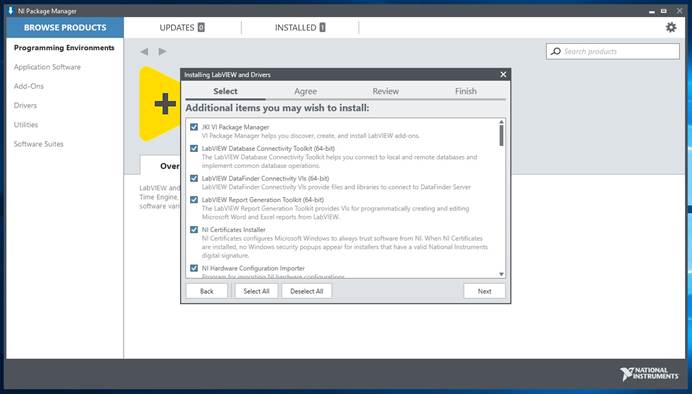
11.
Select any Additional items. The items already checked are needed to
support the choices you’ve already made. Click Next. |
|
|
|
|
|
|
|
|
|
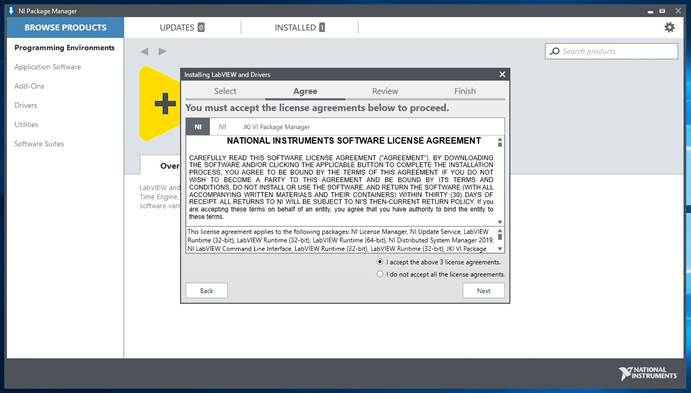
12.
Agree to the EULA.
Click next. |
|
|
|
|
|
|
|
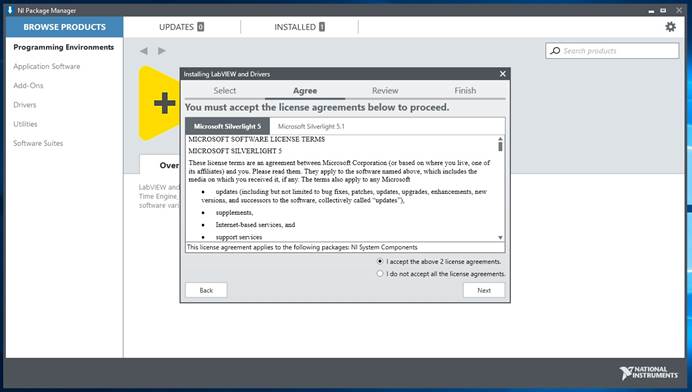
13. If
Silverlight is needed, LabVIEW will install it. You will also need to accept the Microsoft
EULAs. Click Next. |
|
|
|
|
|
|
|
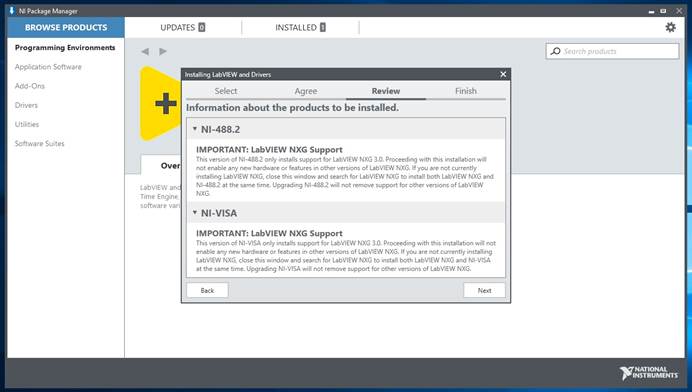
14.
Read through the
information on the products you have selected. When ready click Next. |
|
|
|
|
|
|
|
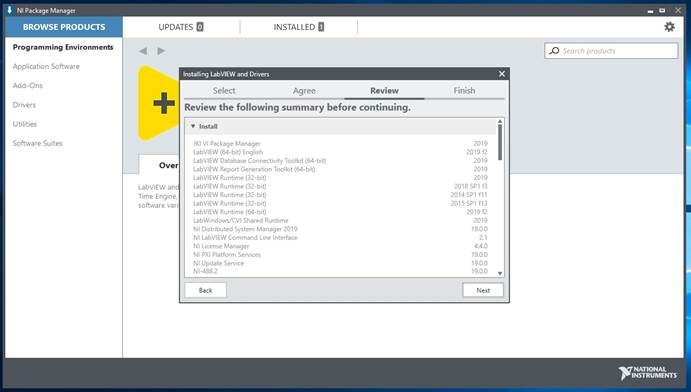
15.
Review your total
install selections. Click Next to continue. |
|
|
|
|
|
|
|
16.
Click Yes. |
|
|
|
|
|
|
|
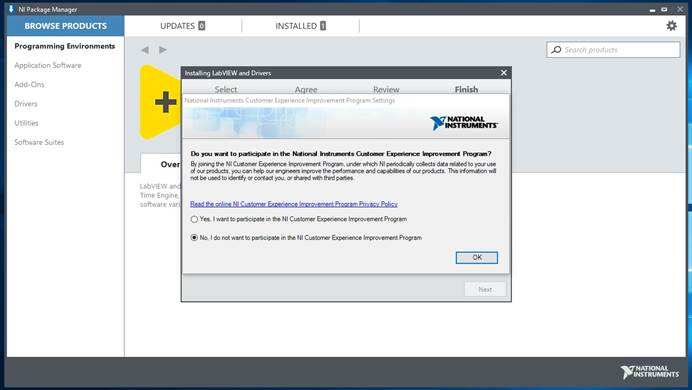
17.
You have a choice to participate in the customer
experience. Make a selection and Click OK. |
|
|
|
|
|
|
|
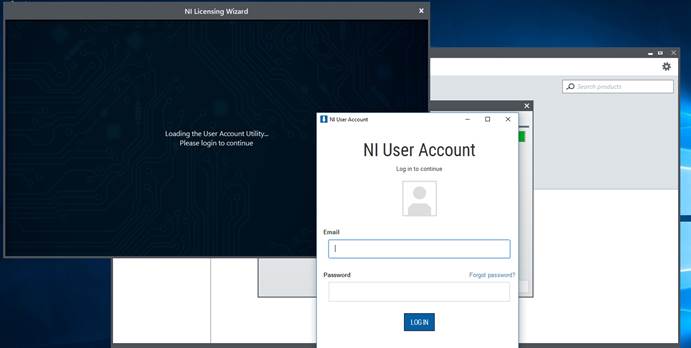
18.
Do not log in. Do not create an account. Close the login window. |
|
|
|
|
|
|
|
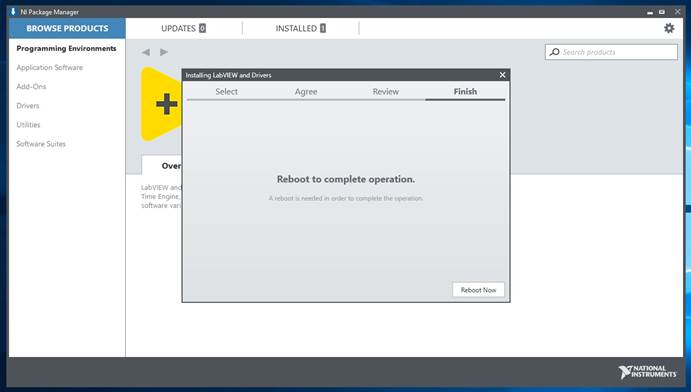
19.
Click Reboot now. |
|
|
|
|
|
|
|
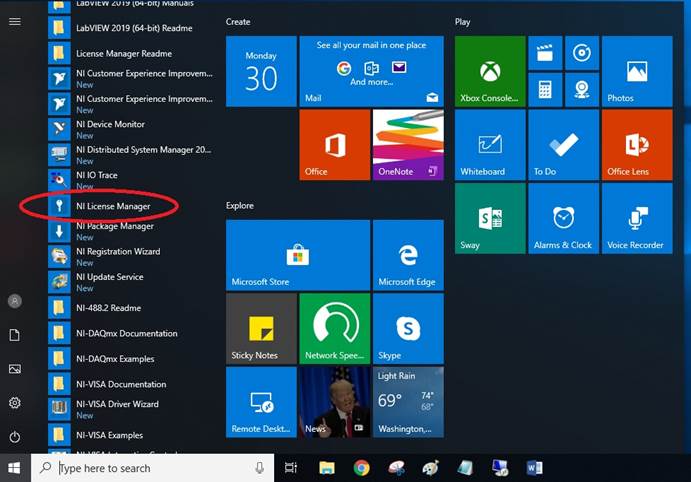
20.
Open the start menu,
click National Instruments to expand the selection. Find and open the NI License Manager. |
|
|
|
|
|
|
|
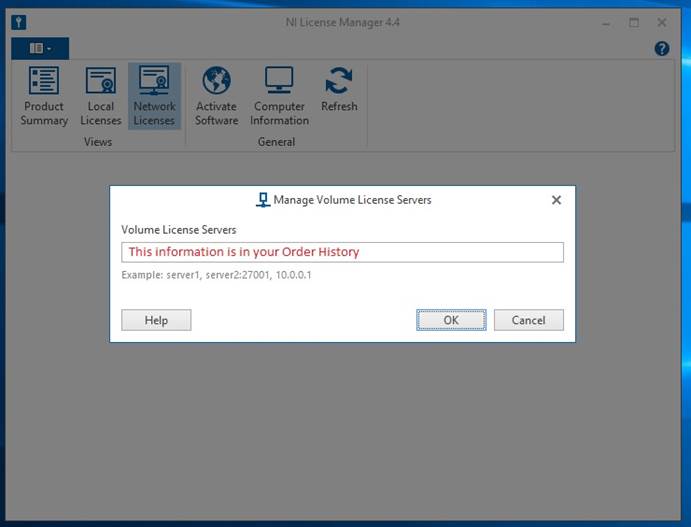
21.
Click Network
license and click Manage volume license servers. |
|
|
|
|
|
|
|
22.
Enter the server information found on your Order History
page. Click Ok. |
|
|
|
|
|
|
|
You are
now ready to use LabVIEW Spring 2017 Instructional for Windows. Remember that
if you are off-campus or using wireless you must use the VPN to access the
campus network. |
|
|
|
|
|
|
|
|
|
|
|
|
|
|
|
|
|
|
|
|
|
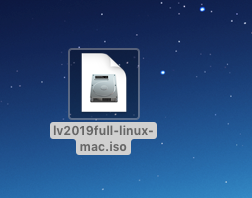
1. Double
click the DMG file you downloaded from the WebStore. |
|
|
|
|
|
|
|
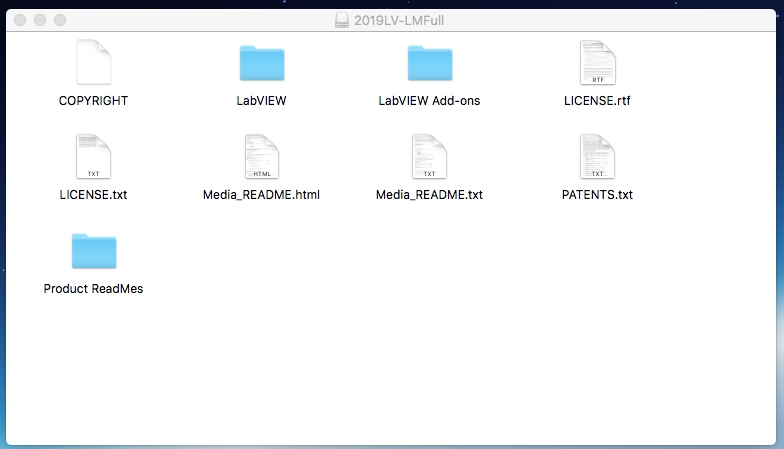
2. The
file will open and place a disk image called LabVIEW 2019 Pro on your
desktop. Double click LabVIEW to
begin. |
|
|
|
|
|
|
|
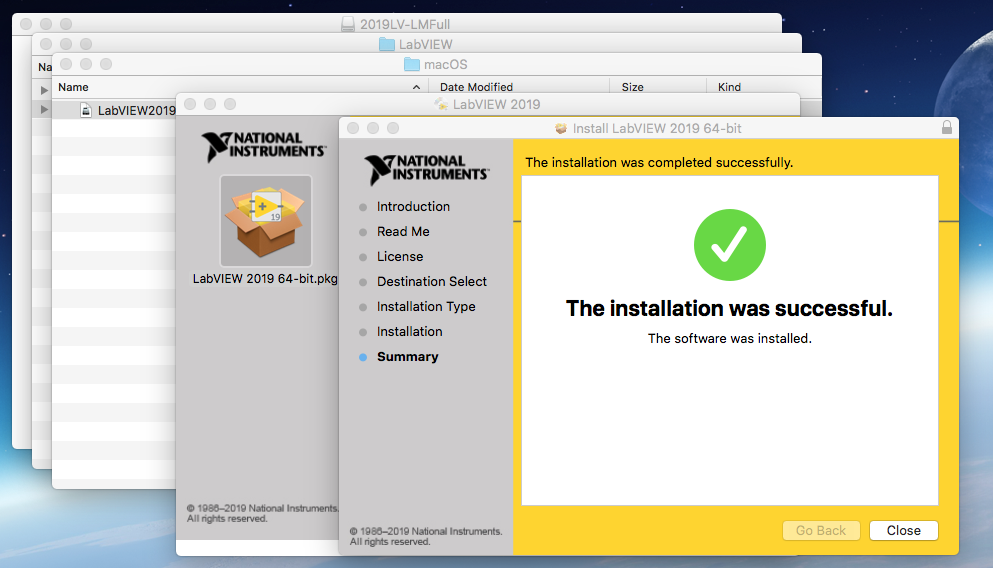
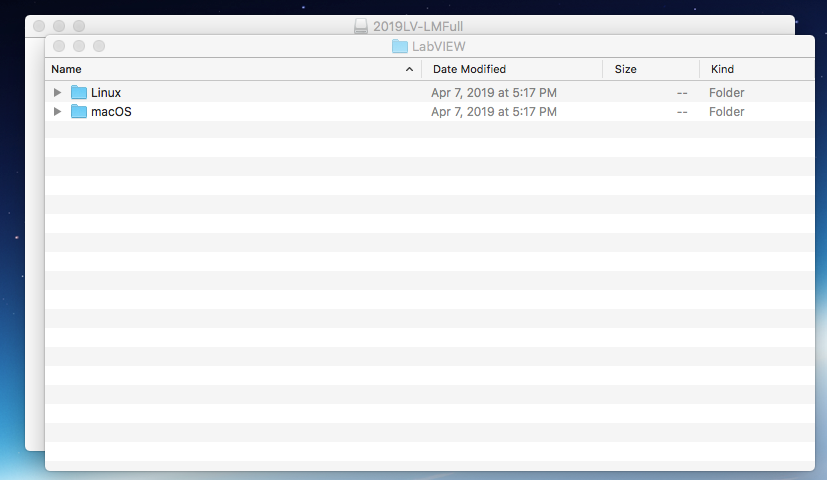
3.
Open the folder for your OS. |
|
|
|
|
|
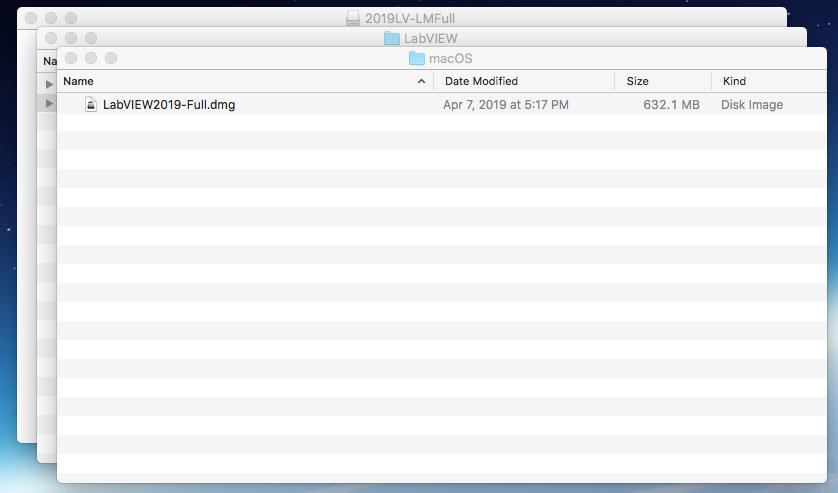
4.
Double click the .dmg |
|
|
|
|
|
|
|
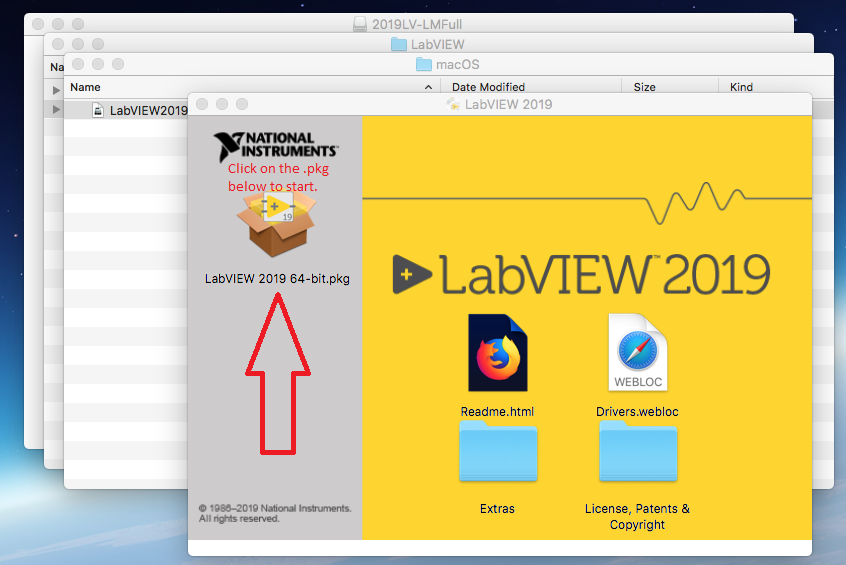
5. Click on the .pkg icon to start. |
|
|
|
|
|
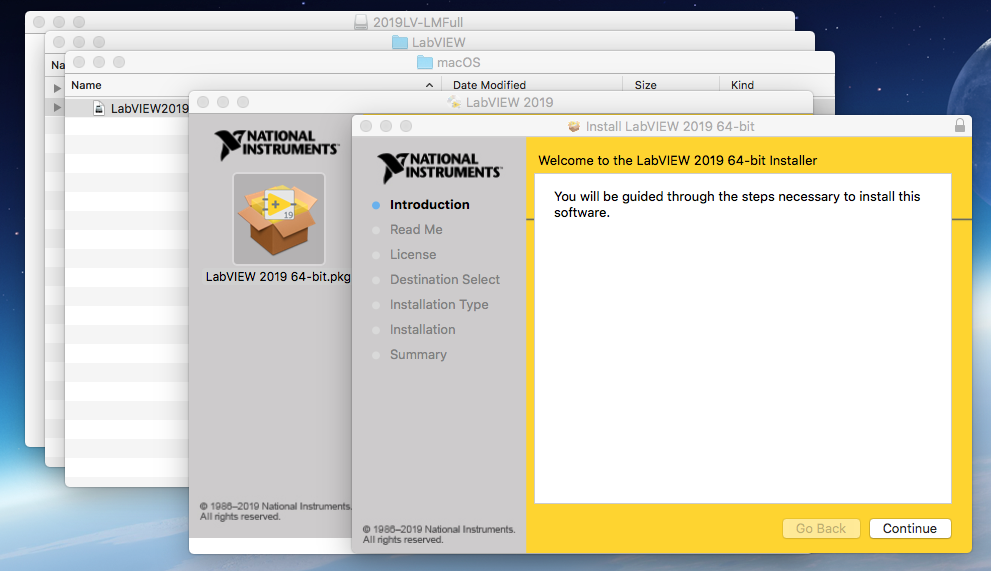
6. Click
on Continue. |
|
|
|
|
|
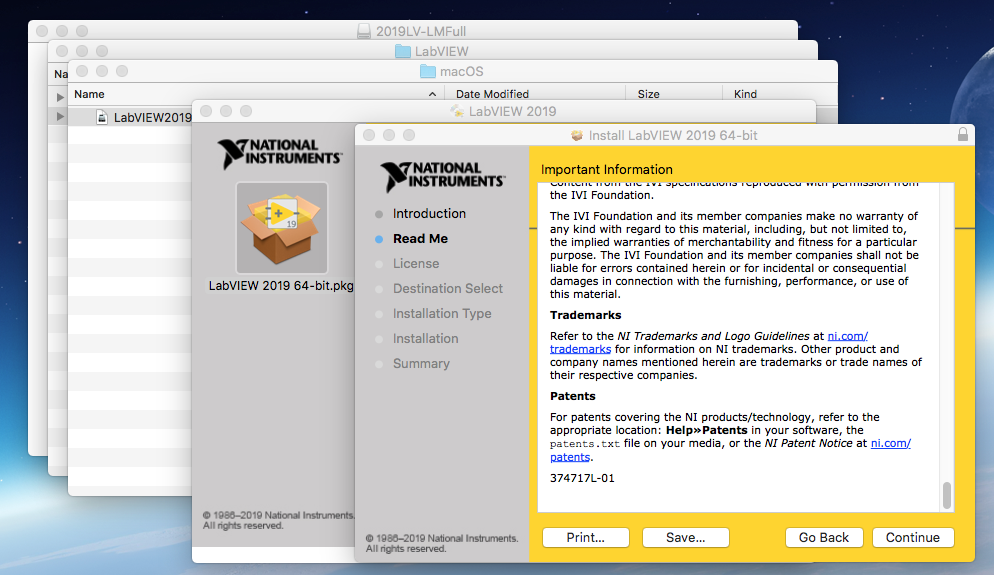
7. Read
through the information and click continue. |
|
|
|
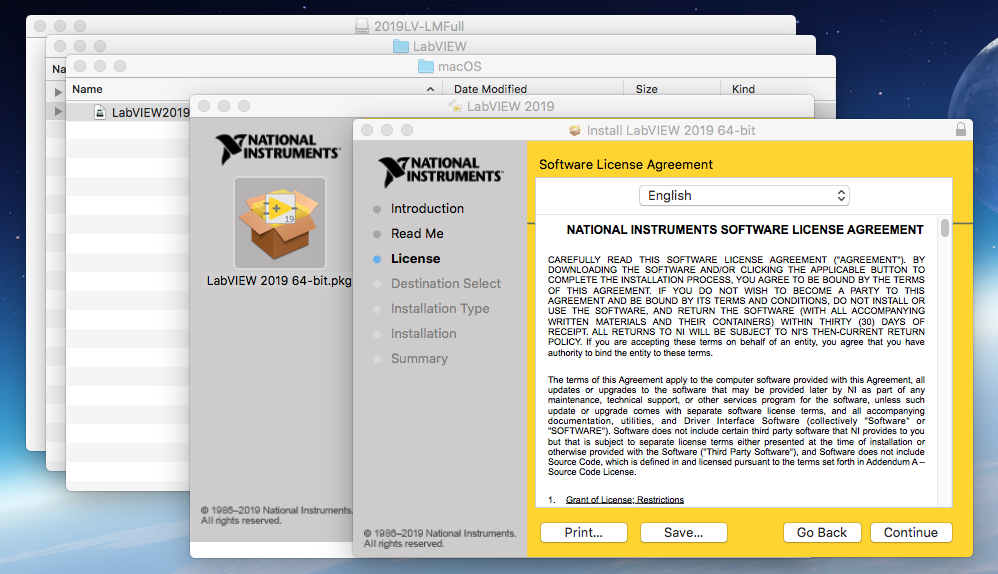
8. Clicking continue
here agrees to the EULA, please read. |
|
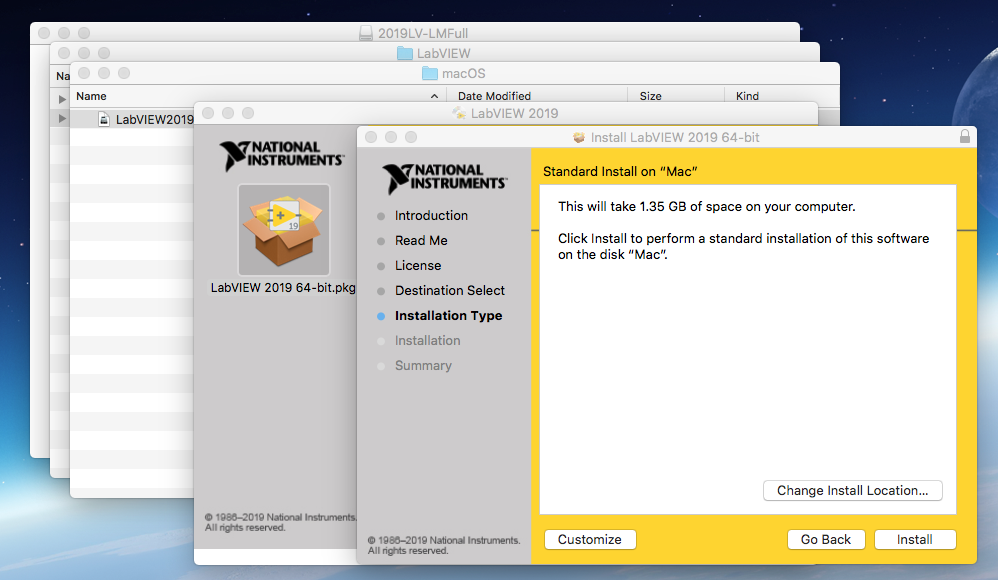
9. You
may change the default install directory.
WebStore recommends using defaults. Click install. |
|
|
|
|
|
|
|
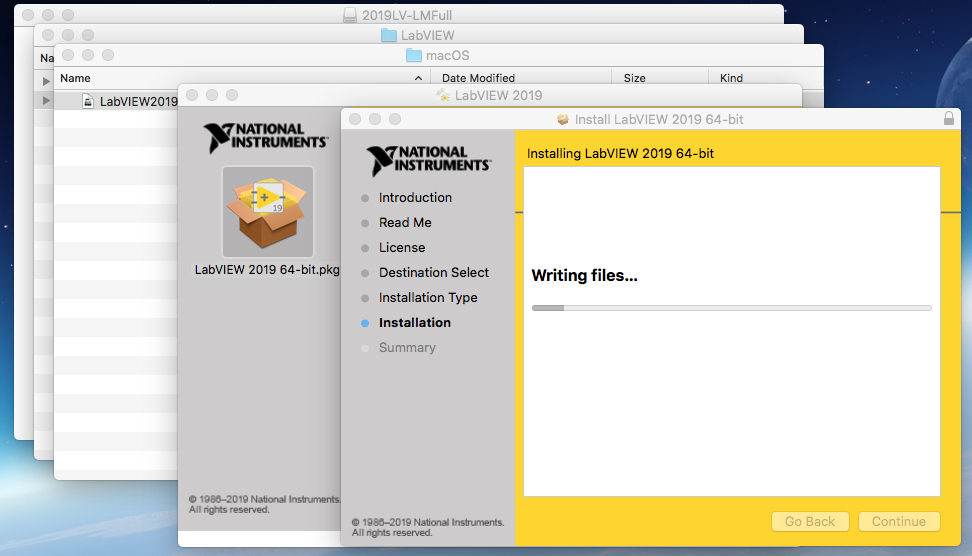
10. This can take awhile, be patient. |
|
|


11. Click close and you are ready to use LabVIEW
2019.