![]() 7
7
|
LabVIEW Spring 2017 Instructional
Installation Instructions |
|
|
|
|
|
|
|
Due to firewall restrictions, particularly on off-campus and
wireless connections, you will need to connect to the your campus VPN
service before installing and to use this software. |
|
|
|
|
|
|
|
1.
Double click the .exe file that you downloaded from the
Webstore. |
|
|
|
|
|
|
|
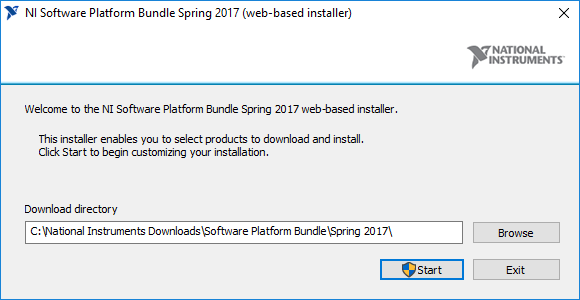
2.
Select a download directory and click on Start. |
|
|
|
|
|
|
|
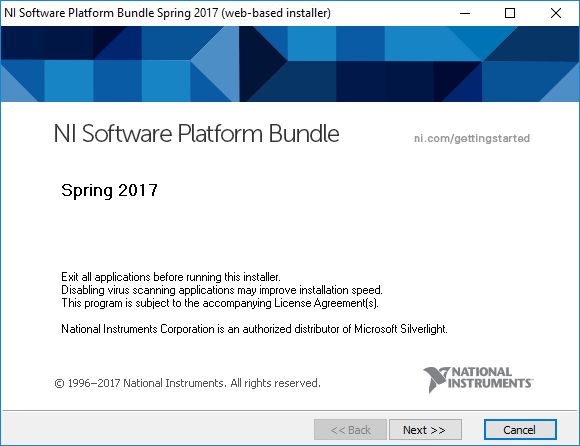
3.
Click on Next. |
|
|
|
|
|
|
|
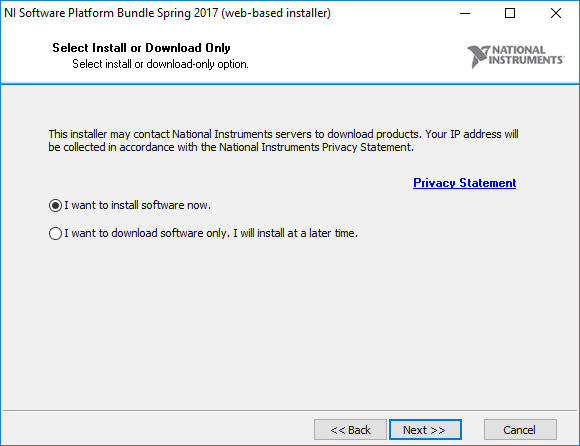
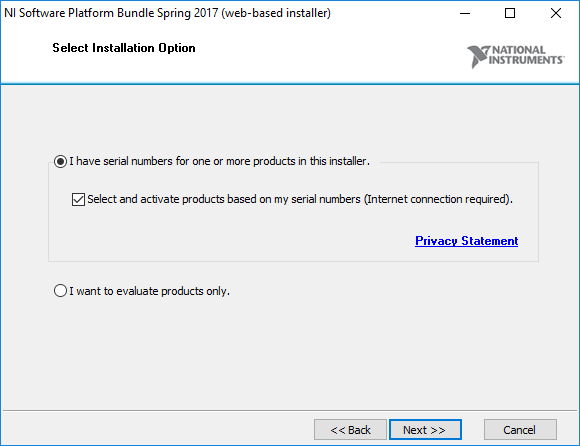
4.
Select I want to install software now and
click on Next. |
|
|
|
|
|
|
|
5.
Deselect Select and
activate products based on my serial numbers and click on Next. |
|
|
|
|
|
|
|
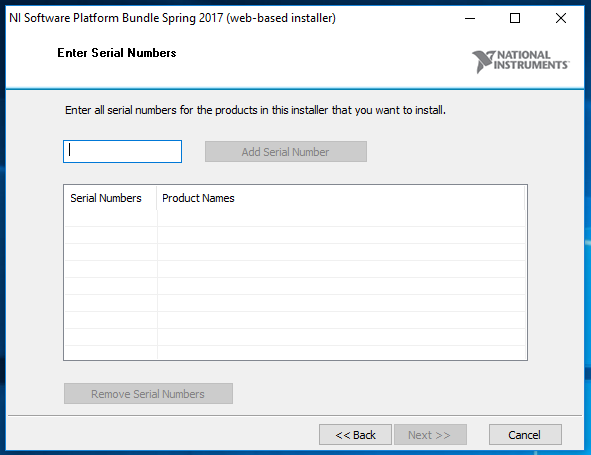
6.
Enter the serial number that you received in your
Webstore order history and click Next. |
|
|
|
|
|
|
|
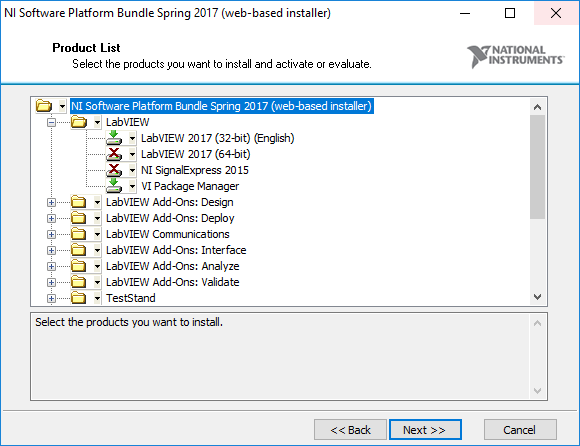
7.
Select the products you would like to install and click
on Next. |
|
|
|
|
|
|
|
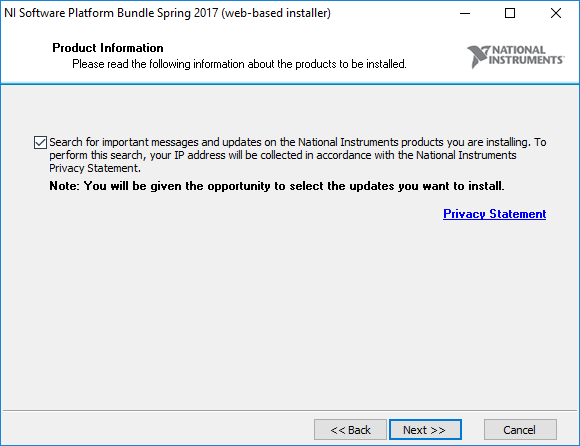
8.
Click on Next. |
|
|
|
|
|
|
|
9. Click
on Next. |
|
|
|
|
|
|
|
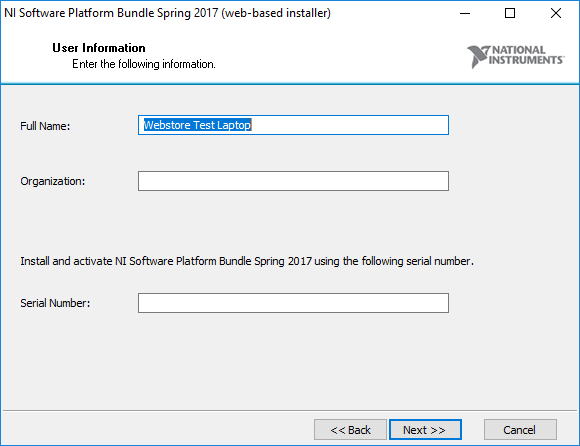
10.
Enter your name, your organization, which is U of I, and your
serial number, which was provided to you when you purchased the software. You
can retrieve this number by logging into the WebStore and clicking on Order
History. Find this offer on your list and click on the order number. |
|
|
|
|
|
|
|
11.
Select an installation directory and click on Next. |
|
|
|
|
|
|
|
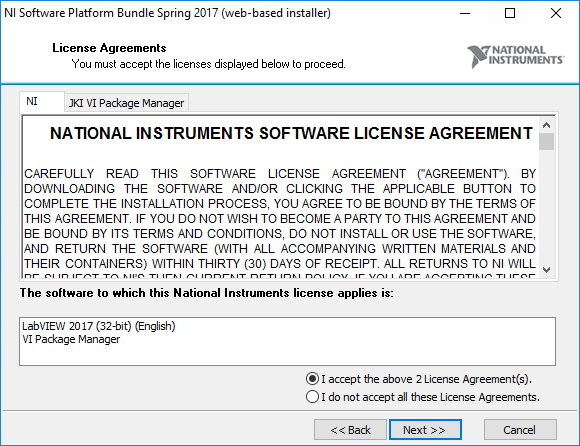
12.
Accept the license agreement and click on Next. |
|
|
|
|
|
|
|
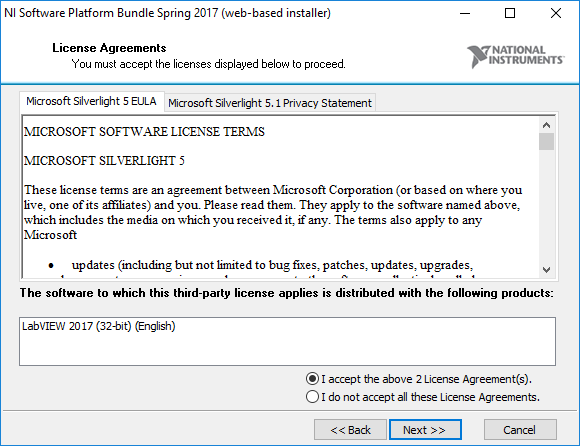
13.
Accept the license agreement and click on Next. |
|
|
|
|
|
|
|
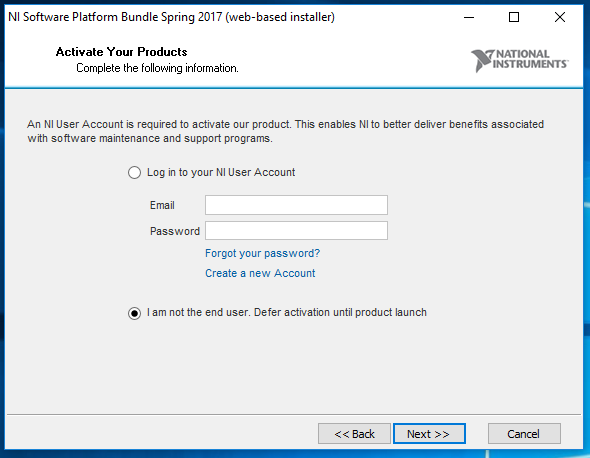
14.
Select I am not the
end user and click Next. |
|
|
|
|
|
|
|
15.
Click on Next. |
|
|
|
|
|
|
|
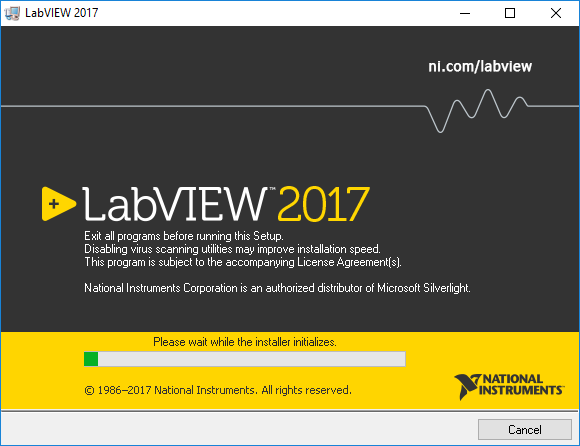
16.
The download and installation will begin and take several
minutes. Make sure that you are connected to the Internet for this duration. |
|
|
|
|
|
|
|
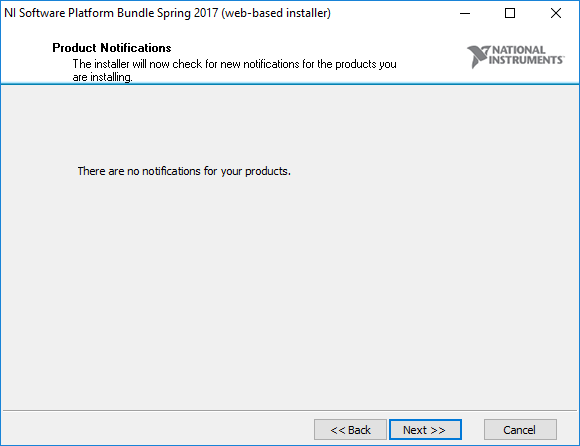
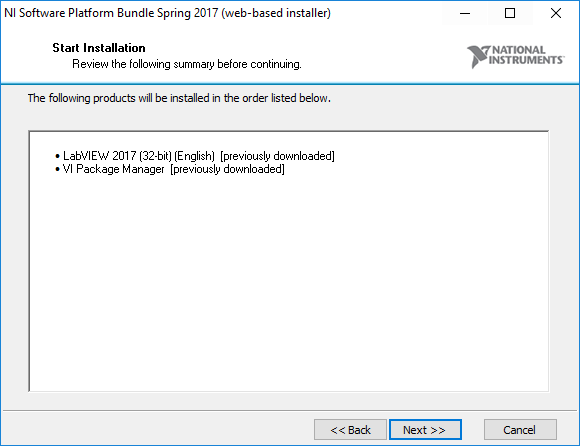
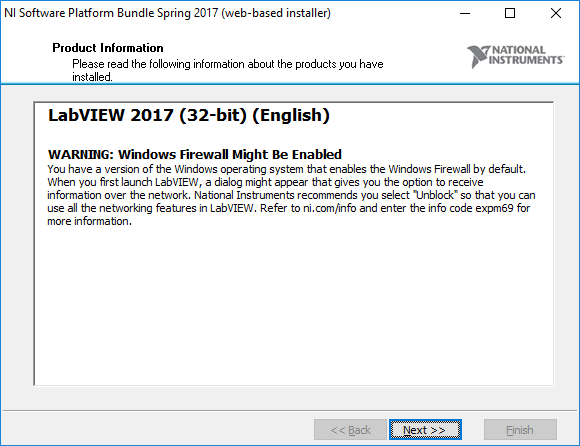
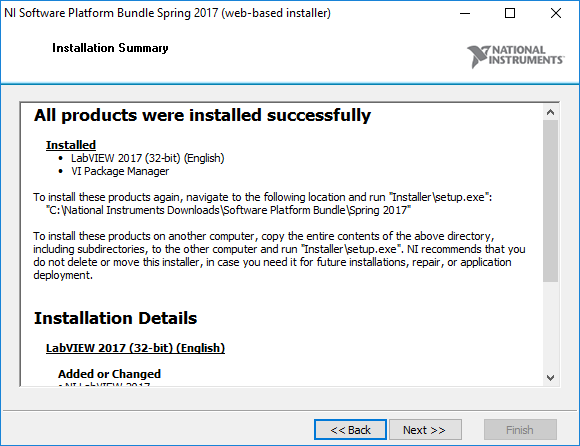
17.
Click on Next. |
|
|
|
|
|
|
|
18.
Click on Next. |
|
|
|
|
|
|
|
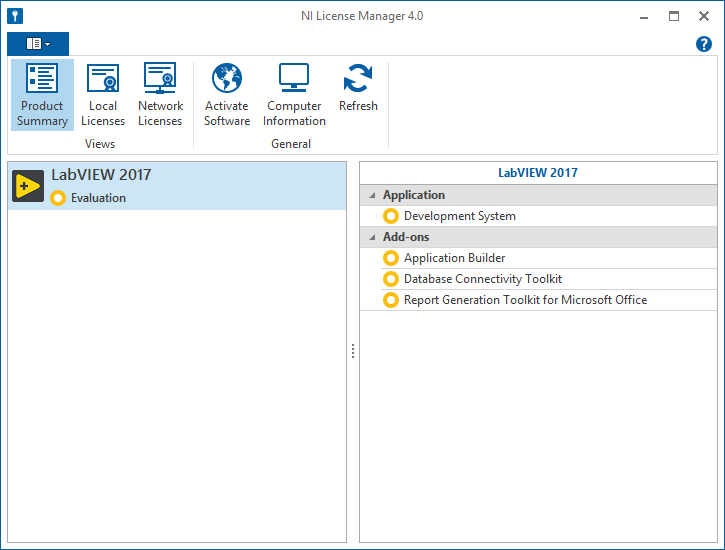
19.
You may need to restart to complete the installation at
this point. Save any unsaved programs and restart. After restarting, navigate
to the NI License Manager. You will
see the following window. |
|
|
|
|
|
|
|
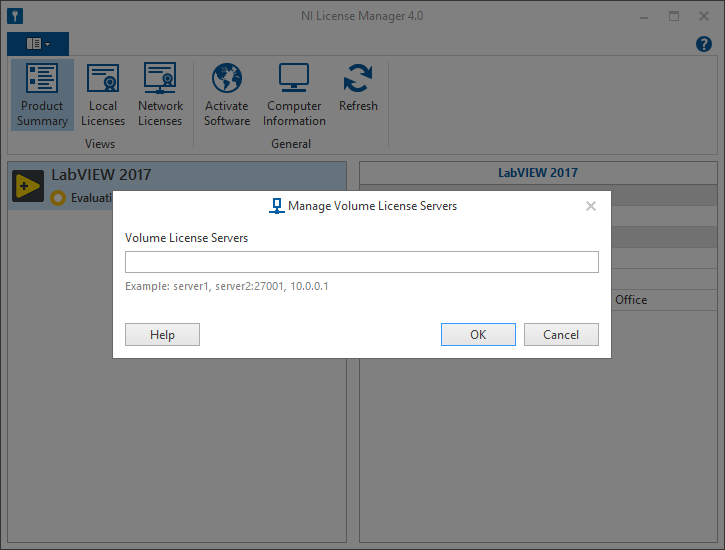
20.
Do NOT attempt to activate LabVIEW, the campus serial
number will not ativate. Click on the blue dropdown button in the top left
and click on Manage Volume License
Servers. The following window will pop up. Enter the license server
information and click on OK. This information was provided to you when
you purchased the software. You can also retrieve this information by logging
into the WebStore and clicking on Order History. Find this offer on your list
and click on the order number. |
|
|
|
|
|
|
|
You are
now ready to use LabVIEW Spring 2017 Instructional for Windows. Remember that
if you are off-campus or using wireless you must use the VPN to access the
campus network. |
|
|
|
|
|
1. Double
click the DMG file you downloaded from the WebStore. |
|
|
|
|
|
|
|
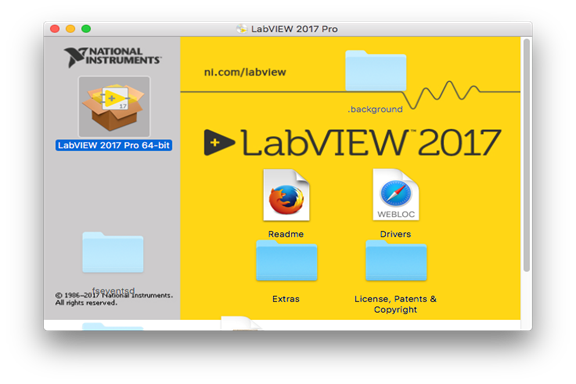
2. The
file will open and place a disk image called LabVIEW 2017 Pro on your
desktop. Double click LabVIEW 2017 Pro
to begin. |
|
|
|
|
|
|
|
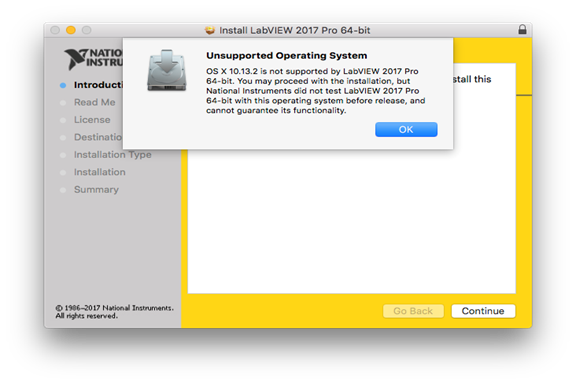
3.
You may get an “Unsupported Operating System” warning if
you are using Mac High Sierra. This warning can be ignored. Click OK. |
|
|
|
|
|
|
|
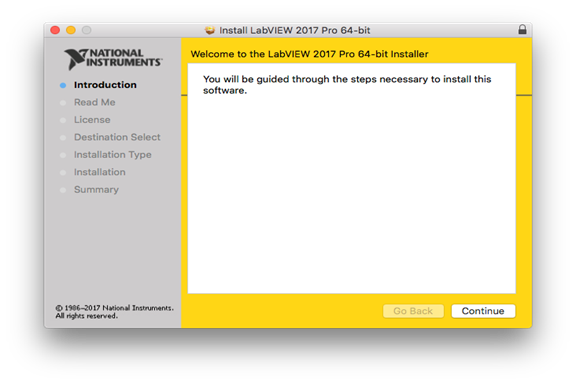
4.
Click on Continue. |
|
|
|
|
|
|
|
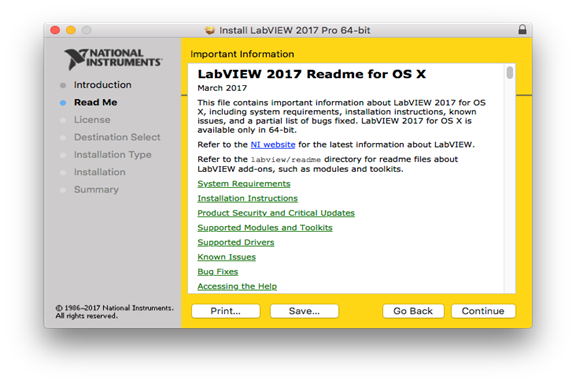
5. Click on Continue. |
|
|
|
|
|
|
|
6. Click
on Continue. |
|
|
|
|
|
|
|
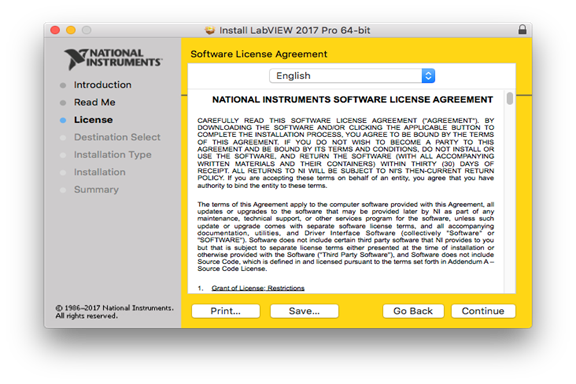
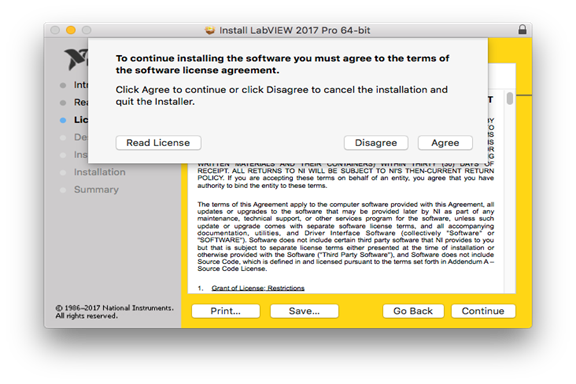
7. Agree to the license
by selecting Agree. |
|
|
|
|
|
|
|
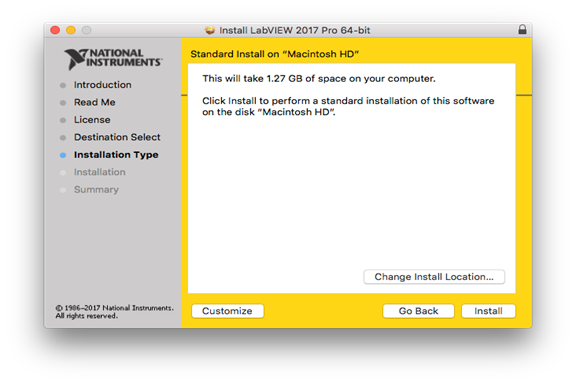
8. Click on Install. |
|
|
|
|
|
|
|
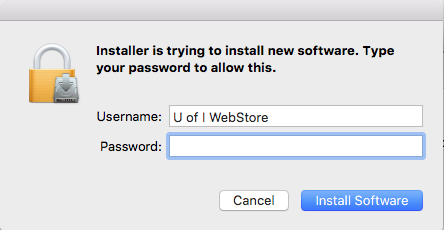
9. Administrative access
is required for this installation. Enter the name and password of an account with
administrative access and click on Install
Software. |
|
|
|
|
|
|
|
10. The installation will
begin and may take several minutes. After it is complete, click on Close. You are now ready to use
LabVIEW Spring 2017 Instructional for Mac. |
|
|