|
CSiXRevit 2017 Installation Instructions |
|
|
|
Due to
firewall restrictions, particularly on off-campus and wireless connections,
you will need to connect to your campus VPN service before installing
and to use this software. |
|
|
|
|
|
1.
Download the.exe
file and the file named lmhost.ini. Make sure the name of the file is exactly
lmhost.ini. Double click on it. Your computer might ask you for permission to
run the application. Select Yes if it does. |
|
|
|
|
|
|
|
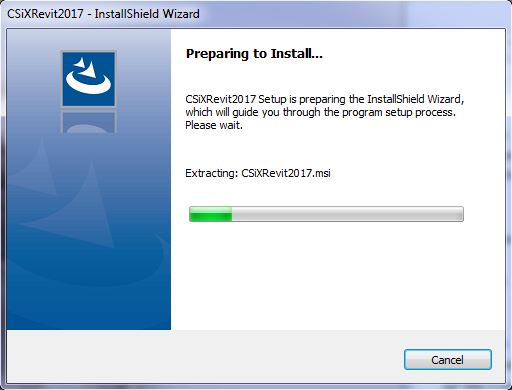
2. The
files required file installation will extract. Wait for this process to
finish. |
|
|
|
|
|
|
|
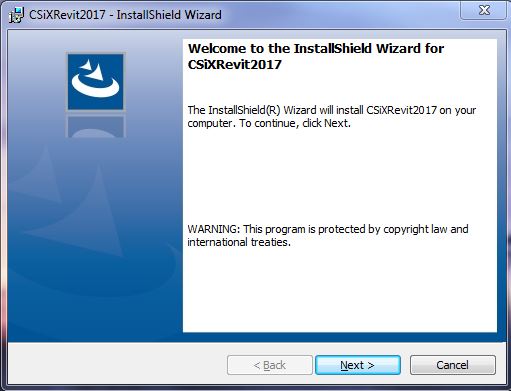
3. A
welcome screen will pop up. Click Next. |
|
|
|
|
|
|
|
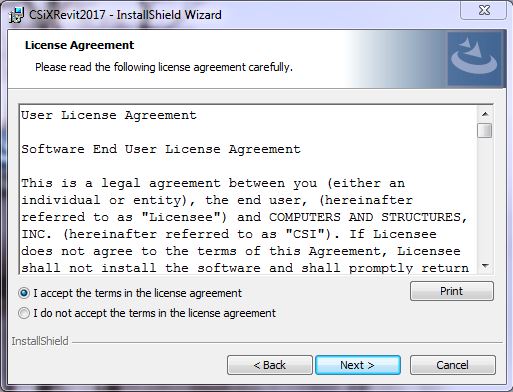
4. Read
the License Agreement and then press I
accept the terms in the license agreement. Press Next. |
|
|
|
|
|
|
|
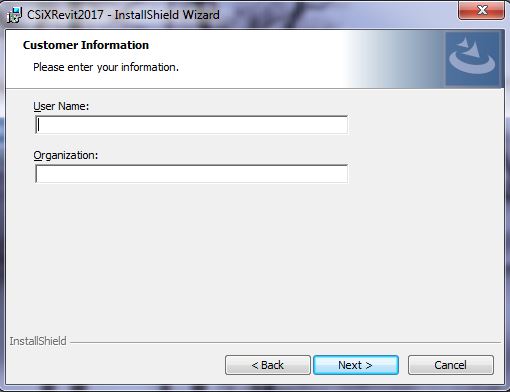
5. Enter
in the required information. Press Next
when you are done. |
|
|
|
|
|
|
|
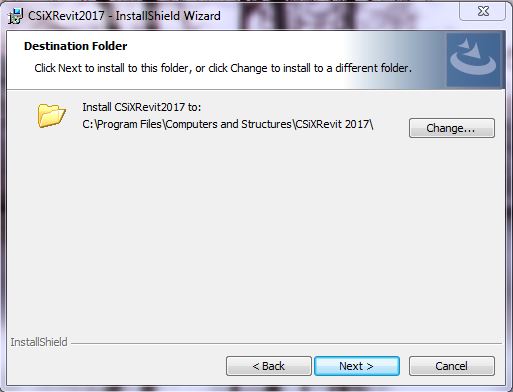
6. Choose
a location to install to or leave it as the default. Click Next. |
|
|
|
|
|
|
|
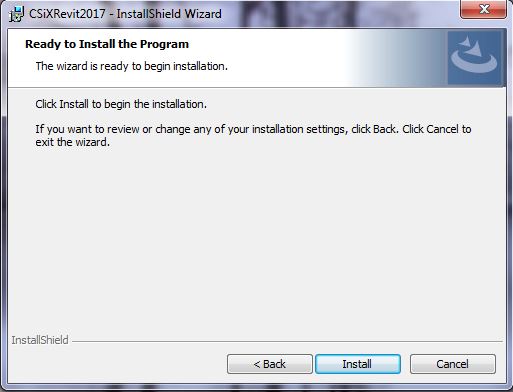
7. Click
Install. |
|
|
|
|
|
|
|
8. Wait
for the installation to complete. |
|
|
|
|
|
|
|
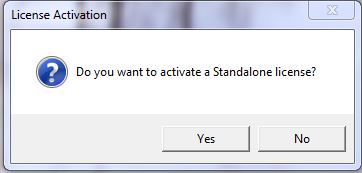
9. During
the installation, a box will pop up asking if you want to activate a
Standalone license. Press No. |
|
|
|
|
|
|
|
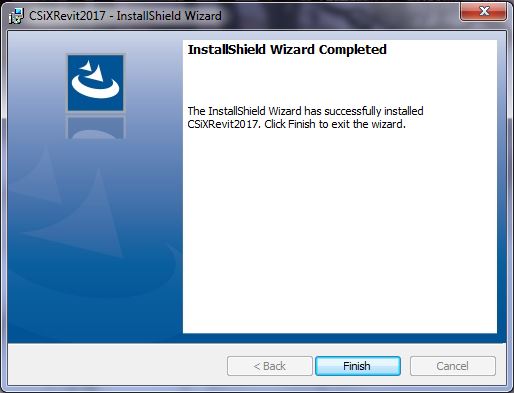
10. When the installation completes, click Finish. |
|
|
|
|
|
|
|
11. Locate
your lmhost.ini file from step 1 and copy the file to the location you
installed your program to. Typically the location is C:\Program
Files\Computers and Structures\CSiXRevit 2017 if you left it as default. |
|
|
|
12. Now
you can use your program. Remember to connect to the VPN. |