
ANSYS 2019r2 install guide
Due to firewall restrictions,
particularly on off-campus and wireless connections, you will need to connect
to your campus VPN service before
installing and to use this software.
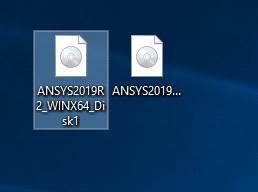
Download and save both .iso files from your offer page and save them both to
desktop.
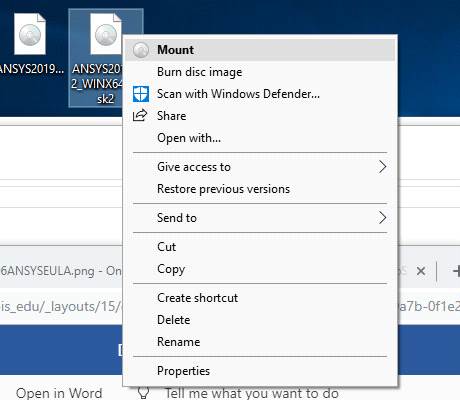
STEP 01: Once downloaded right click on Disk1.
STEP 02: Click on the Mount command.
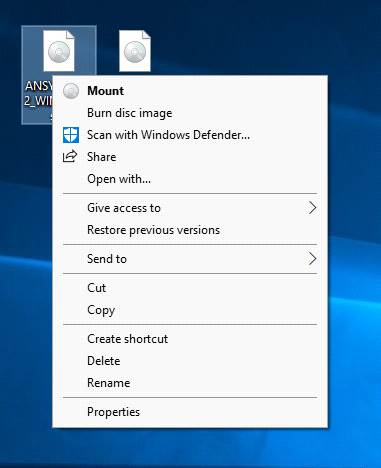
‘Can’t find mount/mount doesn’t show up for me’
(This is a Windows version specific error and you
will need to Google how to fix this error
depending upon your version of Windows.)
(Please use Google to figure out how to find your
Windows version as well)
STEP 03: Once mounted, if it does not
automatically open, please open your DVD Drive from This PC.
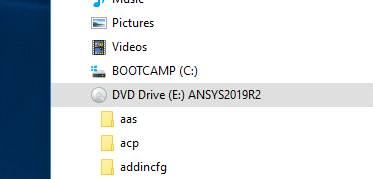
Click on Setup at the bottom of the view pane.

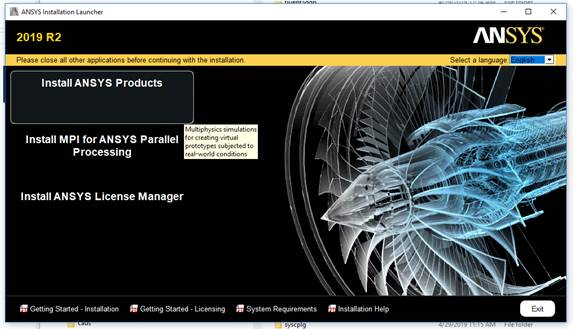
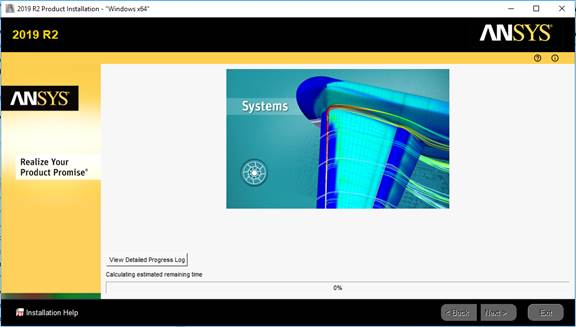
STEP 04: Once the Ansys installer opens click Install.
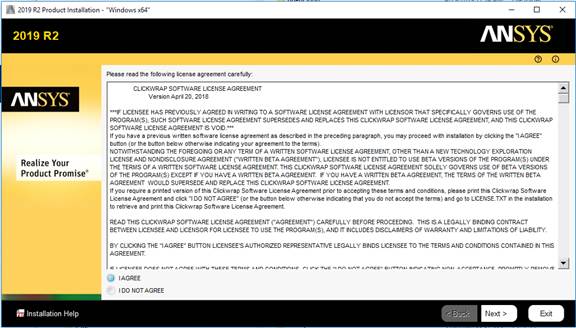
STEP 05: Read through the terms and conditions and then click ‘I agree’ and
then click Next.
Step 06: Choose your install directory (we recommend keeping it default) and
then click next.

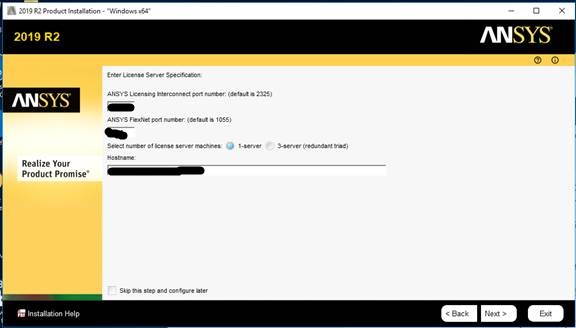
STEP 07: Enter the
license server information into the Hostname field. This information was
provided to you when you purchased the software. You can retrieve this
information by logging into the Webstore and clicking on Order History. Find
this offer on your list and click on the order number. Click next.
STEP 08: Choose which options you wish to install along with the Base Ansys
(You may run the installer again to add new options).
Click next.

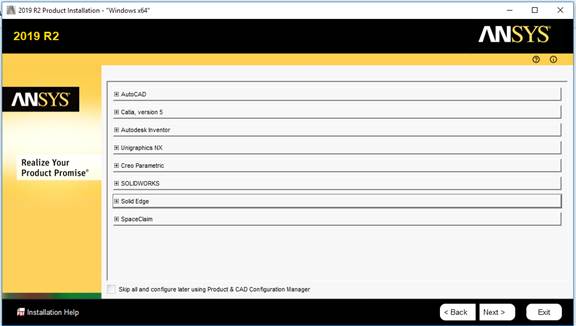
STEP 09: Choose how to install your CAD options: If you did not purchase CAD
or any associated applications, leave everything default at read only. (NOTE: You can always change these options
after install)
Click Next
Review your install and click next.
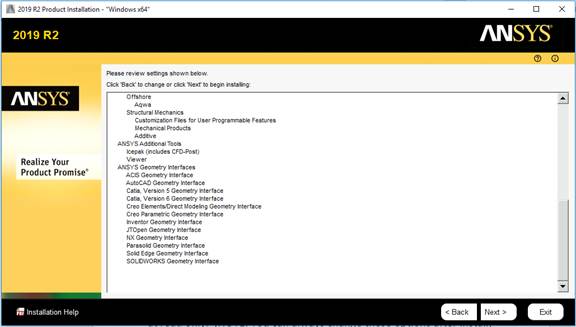
Your copy will now start to install.
STEP 10: When the installer asks you to insert Disk 2 it is imperative that
you EJECT DISK 1 FIRST.

MOUNT DISK 2 SECOND.
Click Ok.
If you get this error:
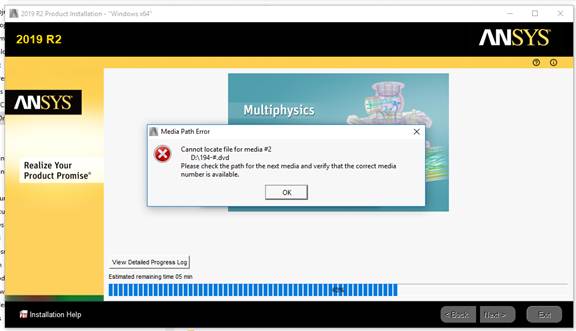
Click on Browse
Click on My Computer
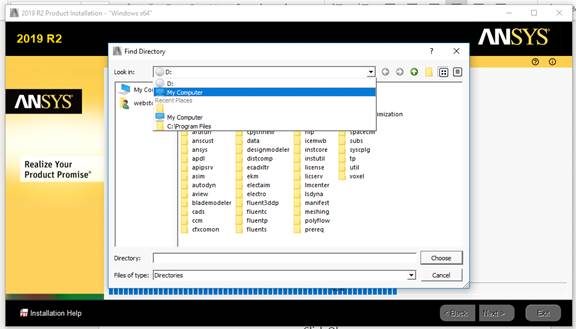
Click the Icon for your media drive (this one
happens to be labeled D:)
Click Choose
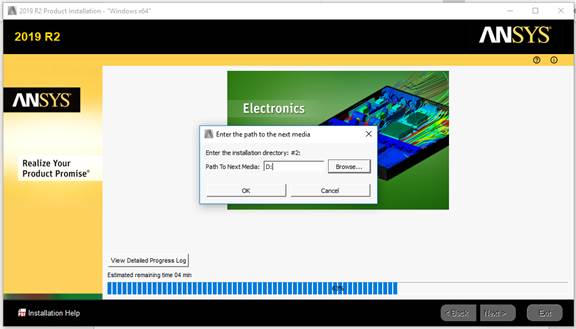
Click OK and your install should resume
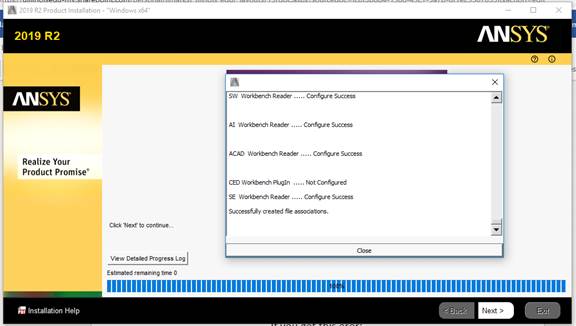
(To open the text window click the View Detailed Progress Log button)
Click Next when install is finished
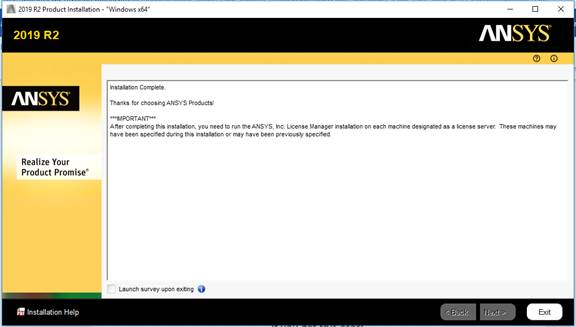
Click Exit and you may now close the installer
and run Ansys.
Due to firewall restrictions,
particularly on off-campus and wireless connections, you will need to connect
to your campus VPN
service before installing and to use
this software.