|
Ansys Mechanical
19.0 Installation Instructions |
|
|
|
Due to firewall restrictions, particularly on off-campus and
wireless connections, you will need to connect to your campus VPN
service before installing and to use this software. |
|
|
|
This
software requires additional registration. Please fill out this form to register the
name of the computer where you will use the software. |
|
|
|
Instructions for obtaining your computer name are available
via this FAQ
entry. You will be notified when the license manager has been configured for
your computer. |
|
|
|
|
|
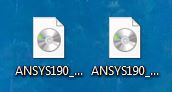
1.
You will need to download two .iso
files, labeled Disk1 and Disk2. Double click on the file labeled Disk1. |
|
|
|
|
|
|
|
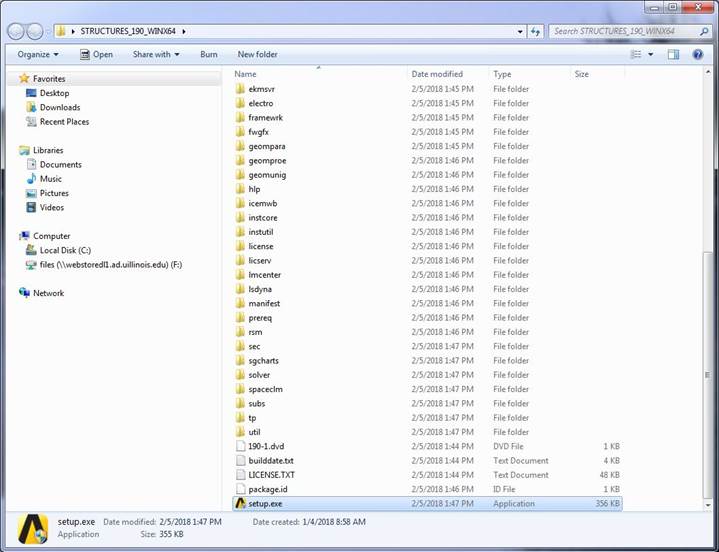
2.
An explorer window will open. Scroll down to setup.exe and double click on it. |
|
|
|
|
|
|
|
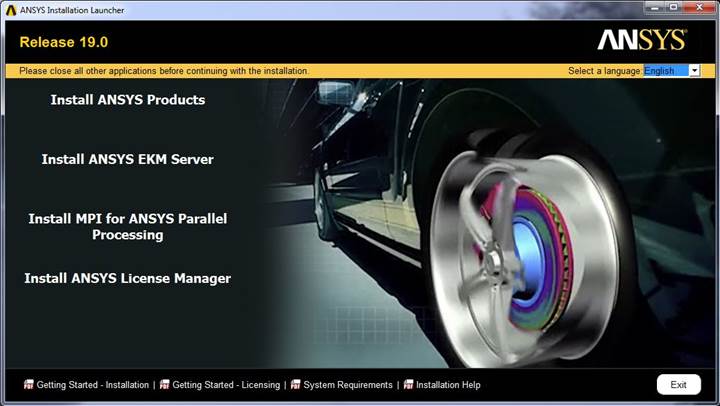
3.
Click on Install
ANSYS Products. |
|
|
|
|
|
|
|
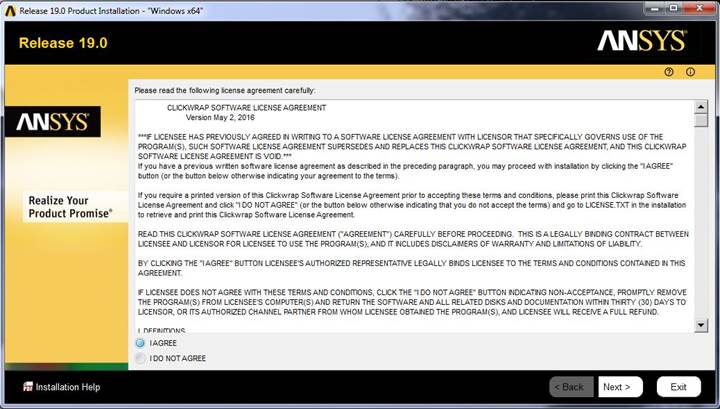
4.
Select I AGREE
and click Next. |
|
|
|
|
|
|
|
5.
Select an installation directory and click Next. |
|
|
|
|
|
|
|
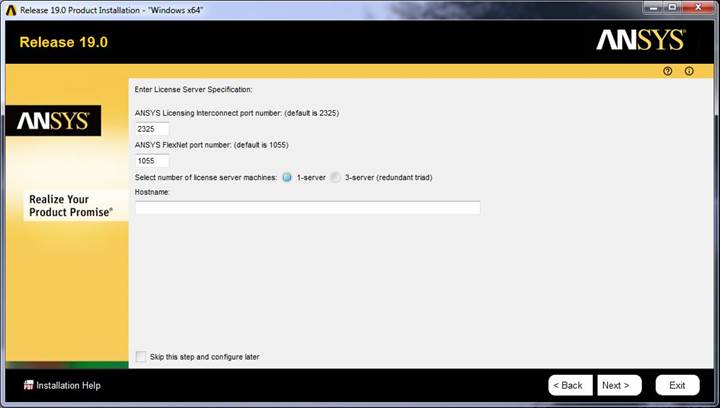
6.
Enter the license server information into the Hostname 1
field and click the black arrow. This information was provided to you when you
purchased the software. You can retrieve this information by logging into the
Webstore and clicking on Order History. Find this offer on your list and
click on the order number. |
|
|
|
|
|
|
|
7.
Select which ANSYS products you would like to install and
click Next. |
|
|
|
|
|
|
|
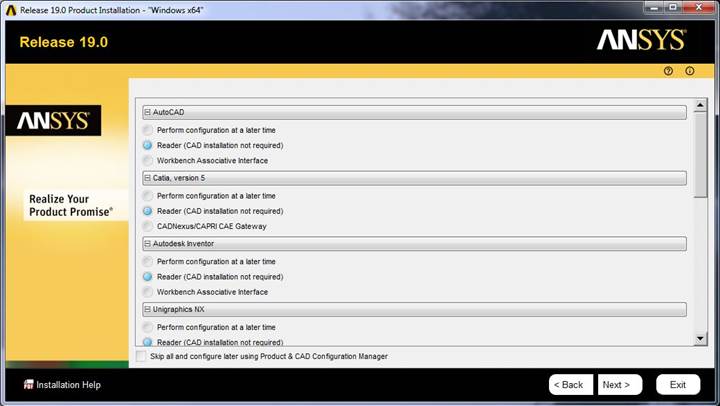
8.
Configure your installation and click Next. |
|
|
|
|
|
|
|
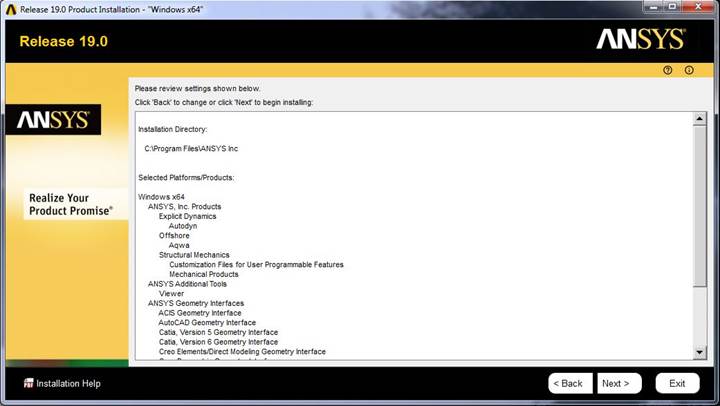
9.
Click Next. |
|
|
|
|
|
|
|
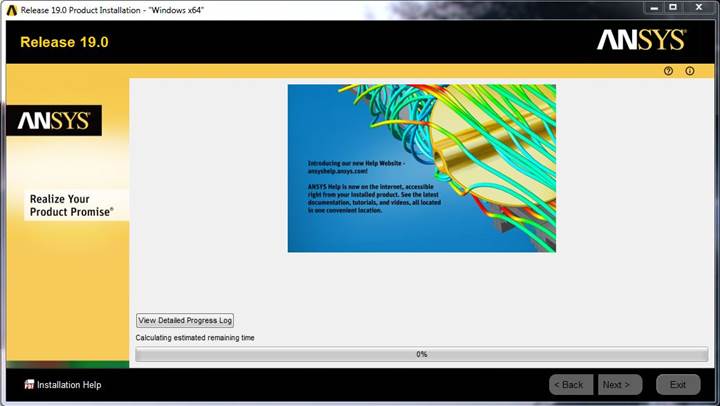
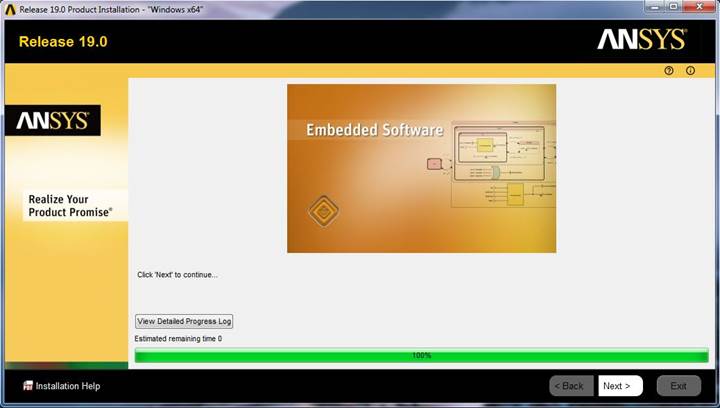
10.
The installation will begin. |
|
|
|
|
|
|
|
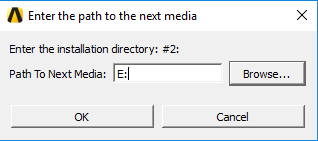
11.
The installation will pause and ask for a path to the
next media. Double click on the .iso file labeled
Disk2. This will open an explorer window with a new drive. Now click on Browse
in the original window and browse to the new drive you opened. This will
usually be the F: drive. Click OK. |
|
|
|
|
|
|
|
12.
The installation will complete. Click Next. |
|
|
|
|
|
|
|
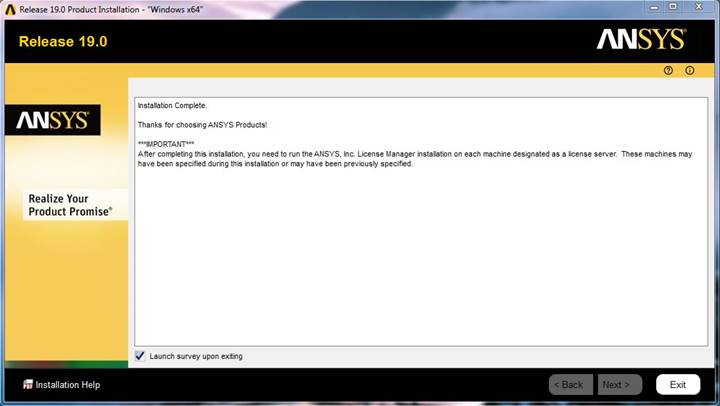
13.
Click on Exit. |
|
|
|
|
|
|
|
You are
now ready to use Ansys 19.0 for Windows. Remember, if
you are using this program via wireless or an off campus network connection
you will need to use the VPN software. |