![]()
|
Adobe Photoshop Elements 15 and Premiere
Elements 15 |
|
|
|
|
|
Before
installing Photoshop Elements and/or Premiere Elements, you must install the
K2 Client and register your computer to obtain the serial number. Refer to
your WebStore order history for the K2 Client Quick Start Guide. Due to
firewall restrictions, particularly on off-campus and wireless connections,
you will need to connect to your campus VPN service before installing and to
use this software. Note
that the pictures below only show the installation of Photoshop Elements. The
process is the same for installing Premiere Elements. |
|
|
|
|
|
|
|
1.
Download the .exe files corresponding your choice of
Adobe Photoshop Elements or Premiere Elements. You may download both. Double
click on application you wish to install. |
|
|
|
|
|
|
|
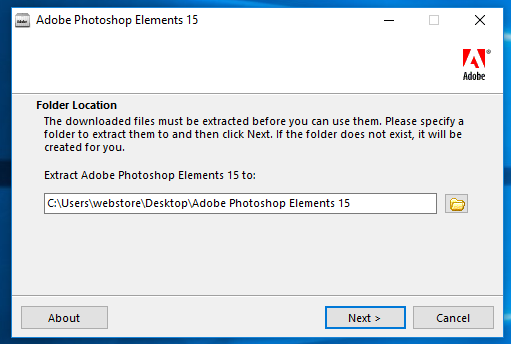
2. Choose
a location to extract your installation files to. Click Next. |
|
|
|
|
|
|
|
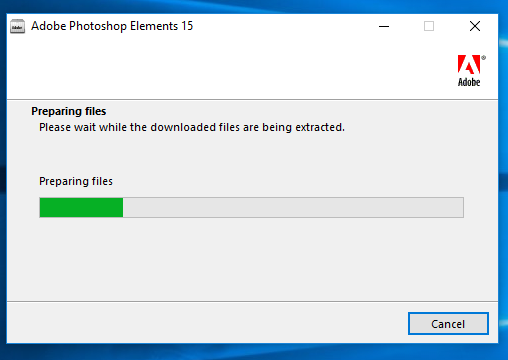
3. Wait
for the files to extract. |
|
|
|
|
|
|
|
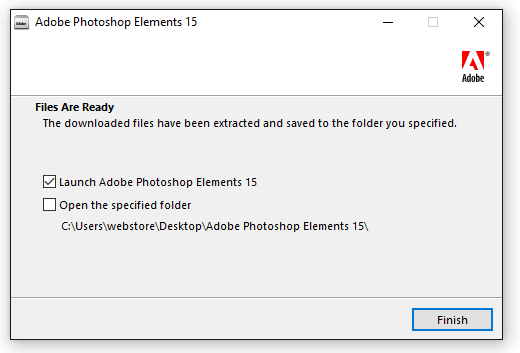
4. Make
sure that the Launch Adobe Photoshop
Elements 15 box is checked. Click Finish. |
|
|
|
|
|
|
|
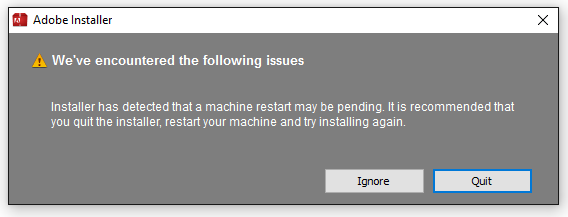
5. If
you get this message, press quit
and then restart the computer. After you restart your computer, browse to the
location of the files you extracted from step 2. (If you can’t find this,
start the installation over again from step 1.) |
|
|
|
|
|
|
|
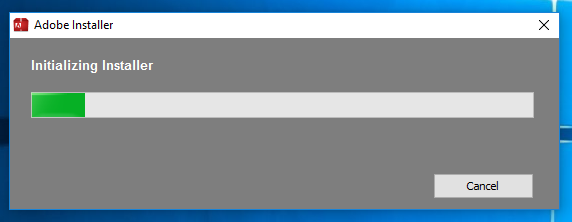
6. If
the warning above doesn’t appear, you will see this screen. This screen
should pop up after step 4. Wait for the installaler to initialize. |
|
|
|
|
|
|
|
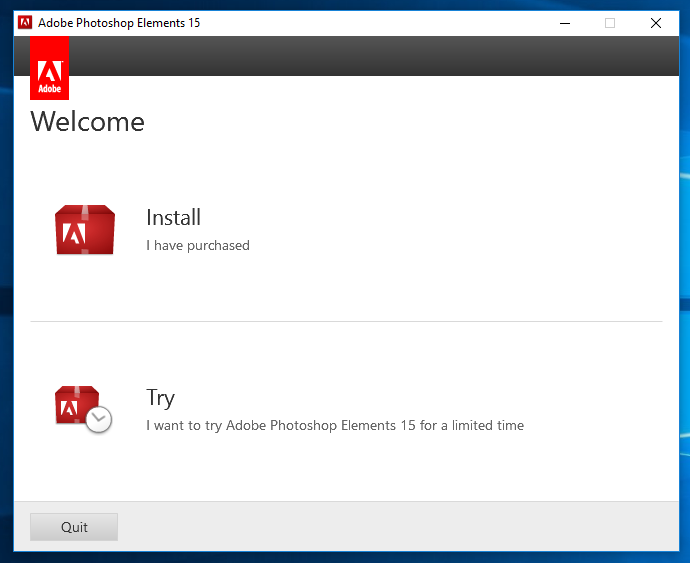
7. A
welcome screen will appear. Press Install. |
|
|
|
|
|
|
|
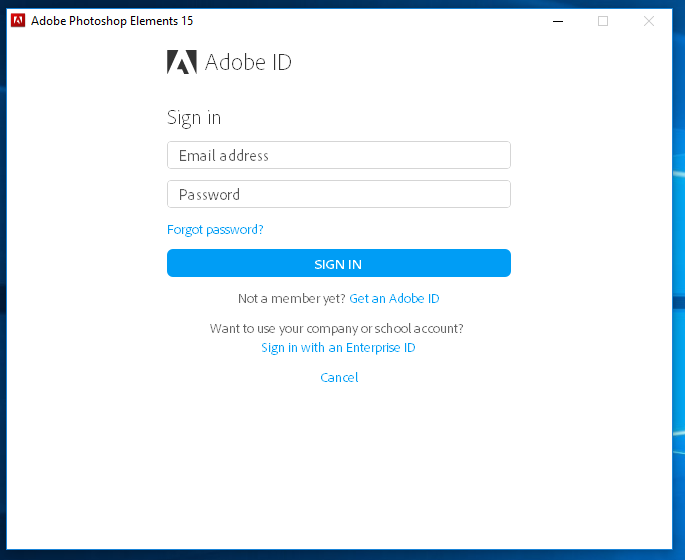
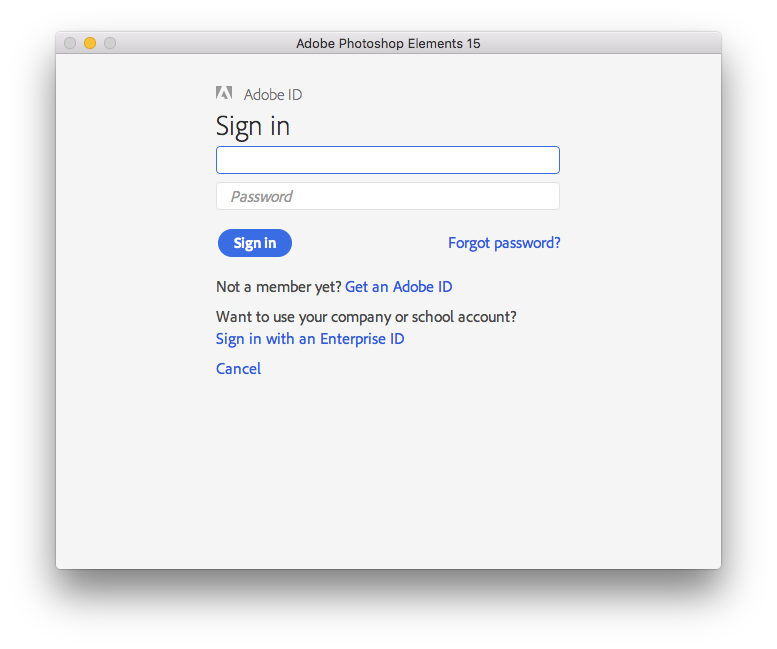
8. Sign
in with your Adobe ID and password. If you do not have an Adobe ID, click on Get an Adobe ID. Note that this is not
the same as your Enterprise ID. |
|
|
|
|
|
|
|
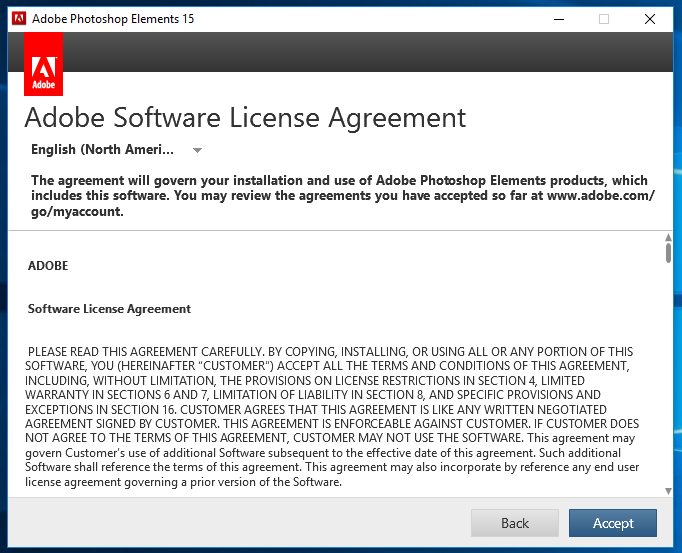
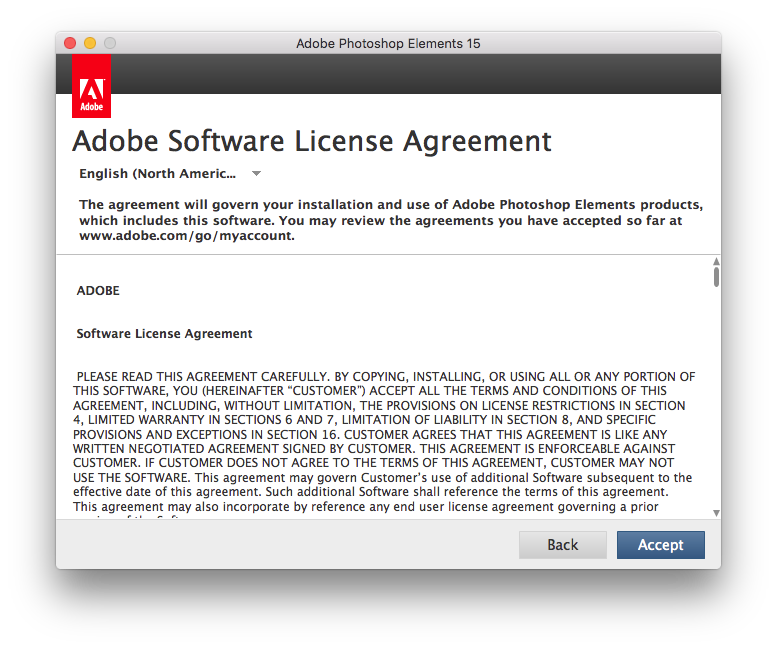
9. Read
the License Agreement and then press Accept. |
|
|
|
|
|
|
|
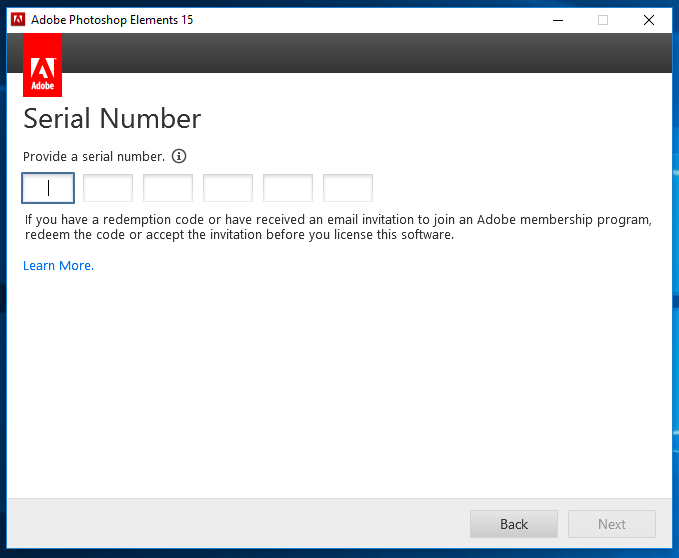
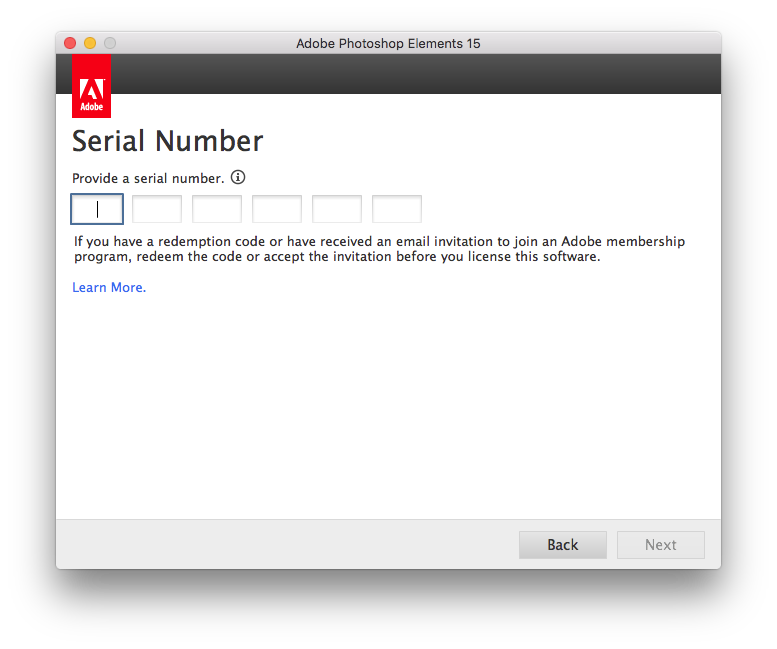
10. Enter
the provided Serial Number and then click Next. |
|
|
|
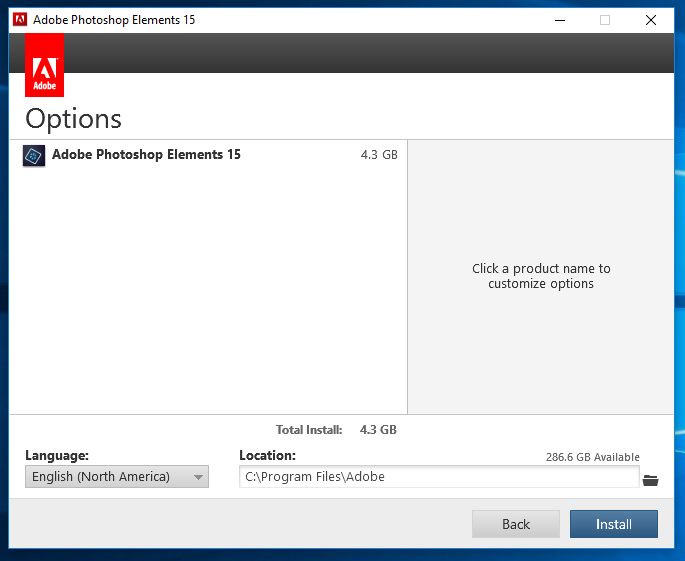
11. Click on the program you and to install. Set
your language and choose a location to install your application to. Press Install.
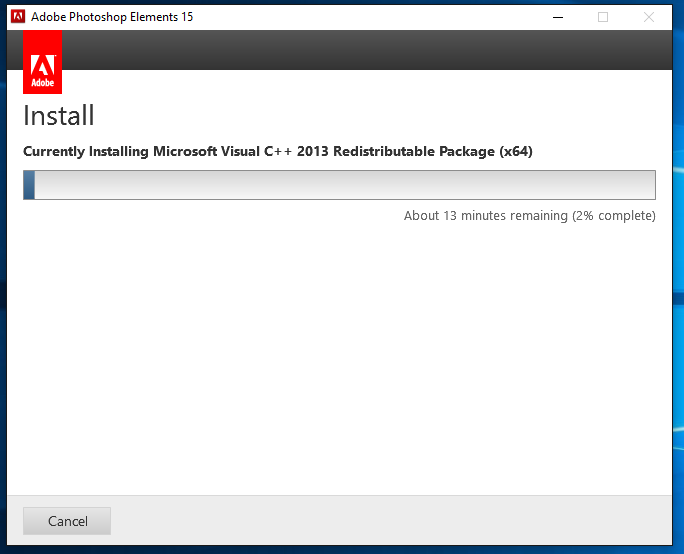
12. Wait
for the installation to finish.
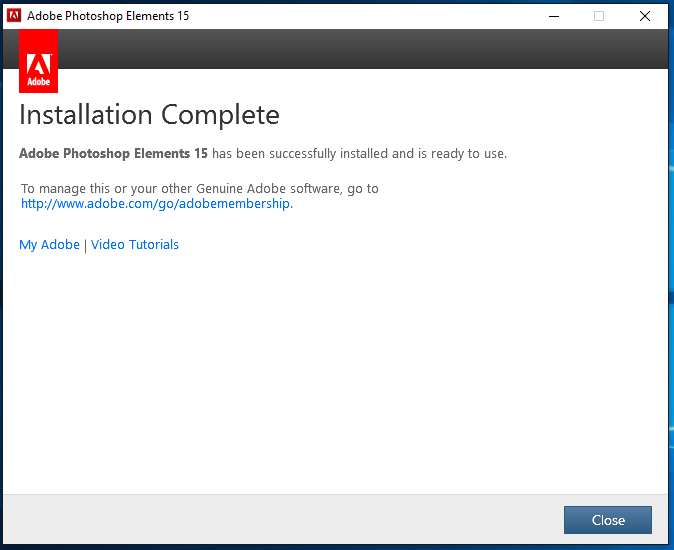
13. Click
Close. You are now ready to use
your application. Remember, if you are Photoshop and Premier via wireless or an off campus network connection you will need to use the VPN software.
|
|
1.
Download the .dmg files
corresponding your choice of Adobe Photoshop Elements or Premiere Elements.
You may download both. Double click on application you wish to install.
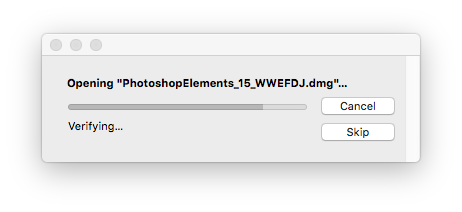
2.
The screen below will pop up. Wait it to finish opening.
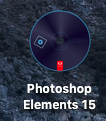
3.
A shortcut will appear on your desktop while step 2
occurs.
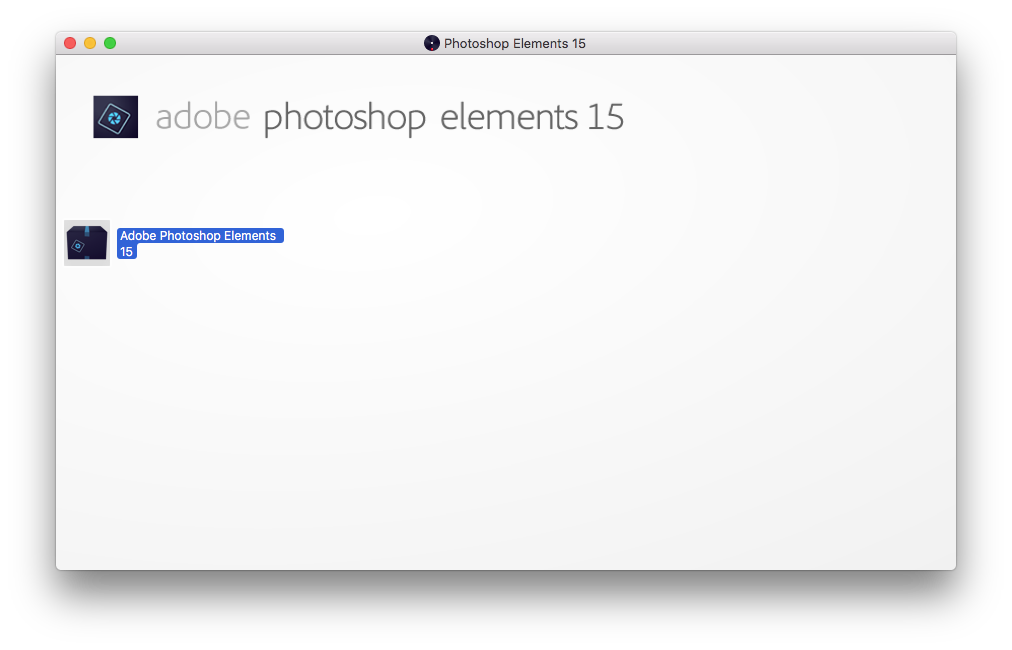
4.
A screen will pop up corresponding to the application you
are installing. Double click the application as highlighted below.
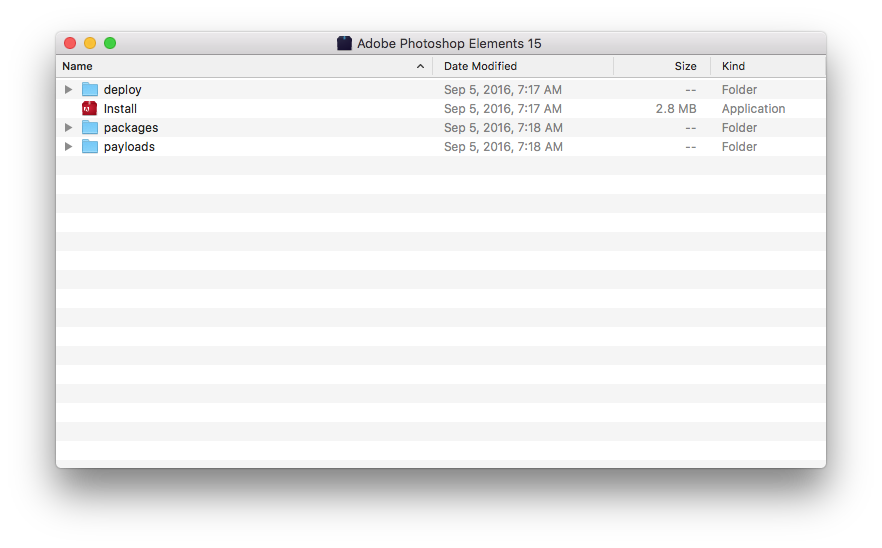
5.
A folder will open. Double click Install.
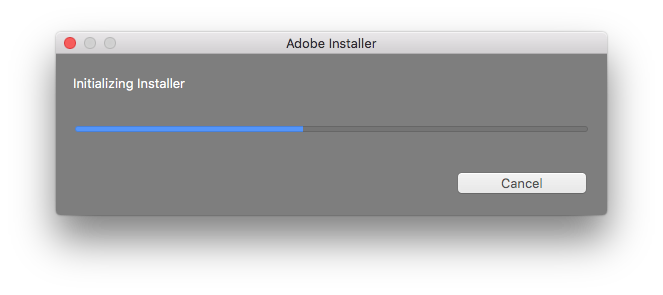
6.
The installer will initialize. If you receive a popup
asking if you want to allow Adobe to make changes to your computer, allow it
to do so.
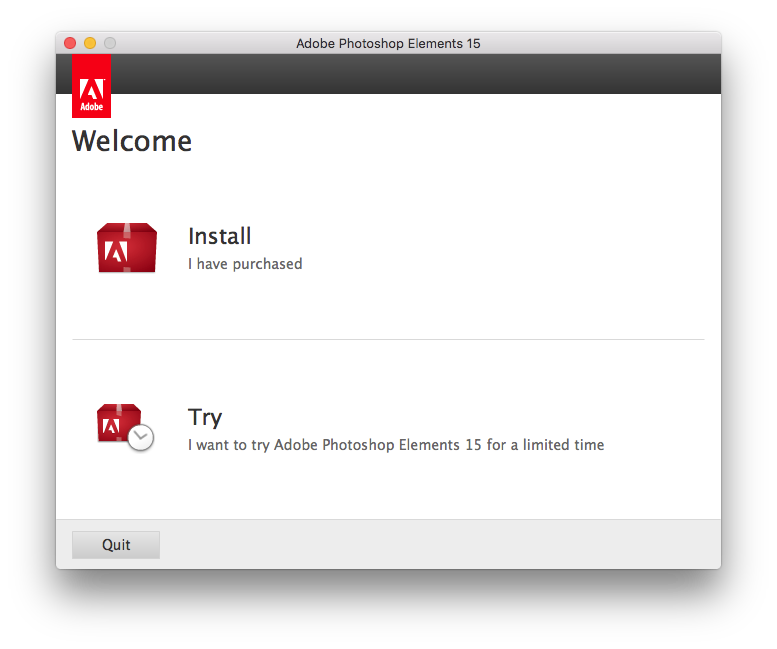
7.
The screen below will appear. Press Install.
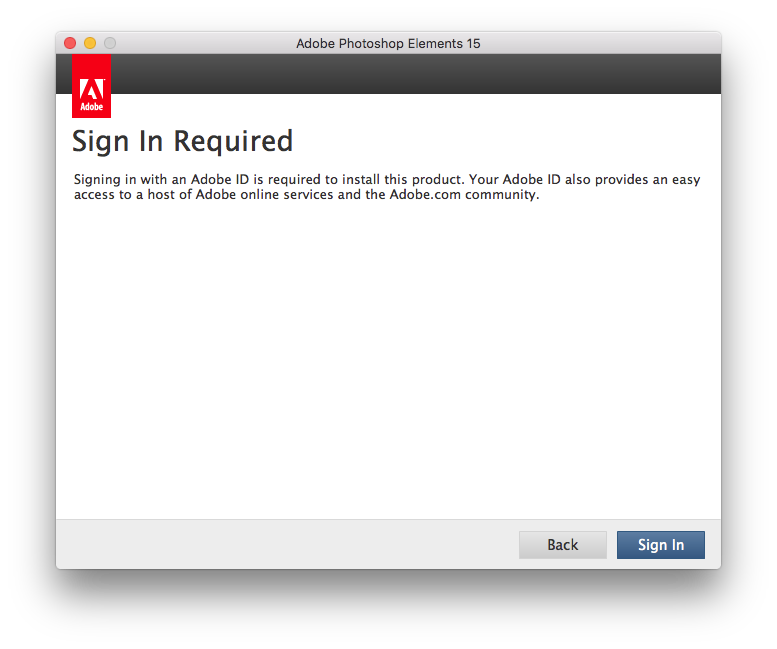
8.
You will be asked to sign in using an Adobe ID. Press Sign In.
9.
Sign in with your Adobe ID and password.
If you do not have an Adobe ID, click on Get
an Adobe ID. Note that this is not the same as your Enterprise ID.
10.
Read the License
Agreement and then press Accept.
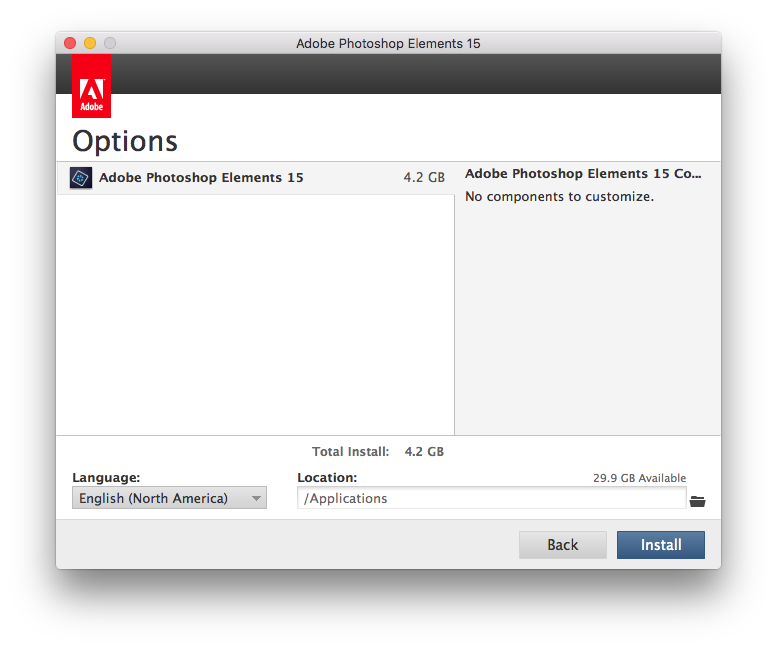
11.
Enter the provided
Serial Number and then click Next.
12.
Click on the
application you want to install. Choose a language and select a location to
install to. Click
Install.
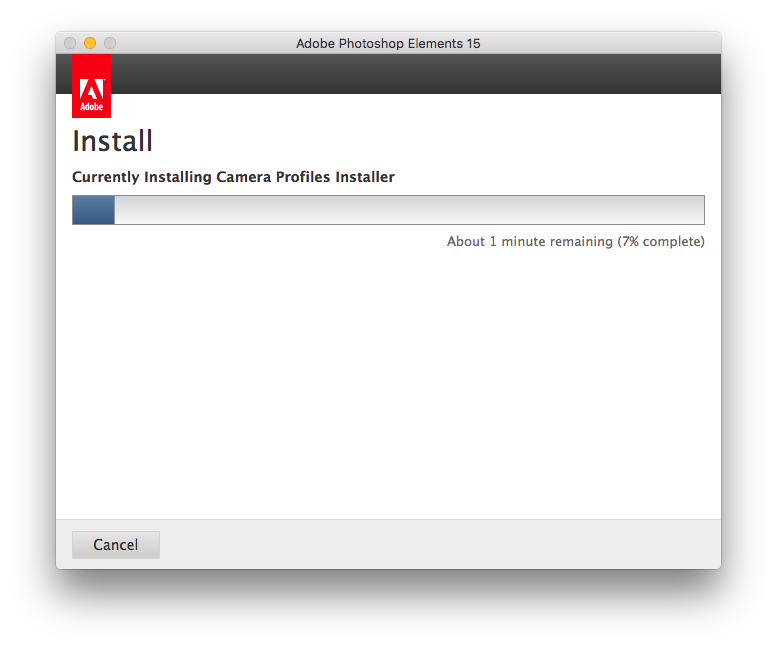
13.
Wait for the
installation to complete.
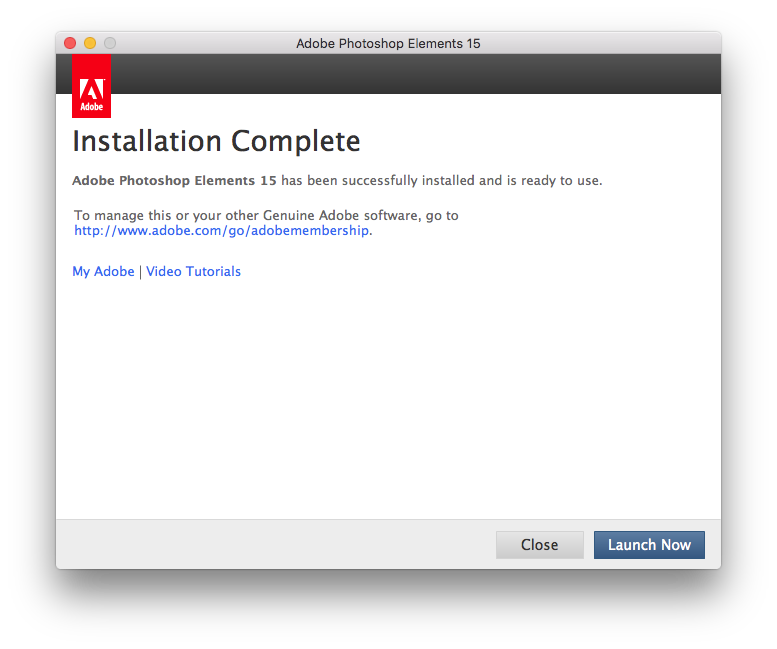
14.
You are now ready
to use your application. If you want to use it now, click Launch Now. Otherwise, click close. Remember, if you are using Photoshop or Premier via wireless or an off campus network connection you will need to use the VPN software. |
|
|