|
|
|
|
Abaqus 2023 Teaching Installation Instructions |
|
|
|
|
|
· Due to firewall restrictions, particularly on off-campus and wireless connections, you will need to connect to your campus VPN service before installing and to use this software. |
|
|
|
|
|
|
|
|
|
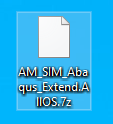
1. This offer comes in the form of a .zip file. Extract it using your preferred unzipping program and open it. |
|
|
|
|
|
|
|
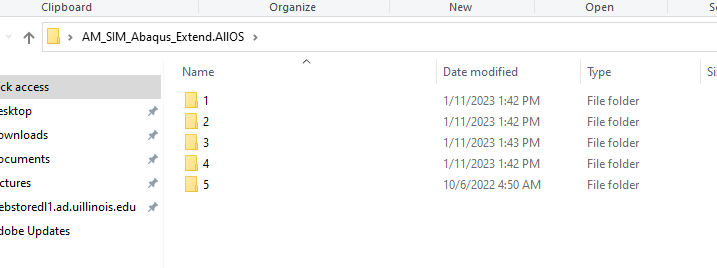
2. There will be five folders inside the extracted folder |
|
|
|
|
|
|
|
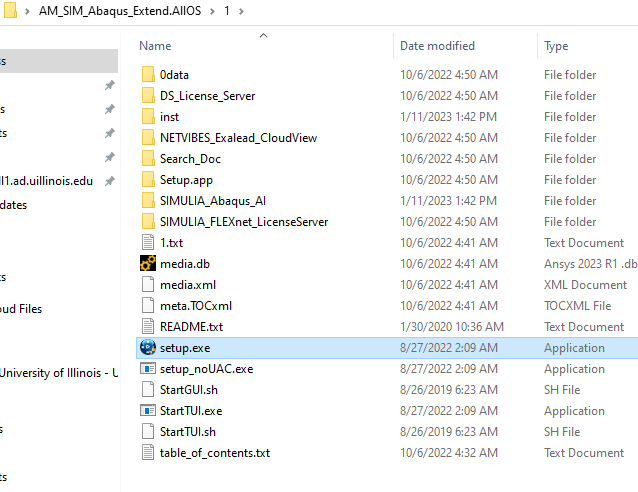
3. Double click on the one folder and then double click on setup.exe. |
|
|
|
|
|
|
|
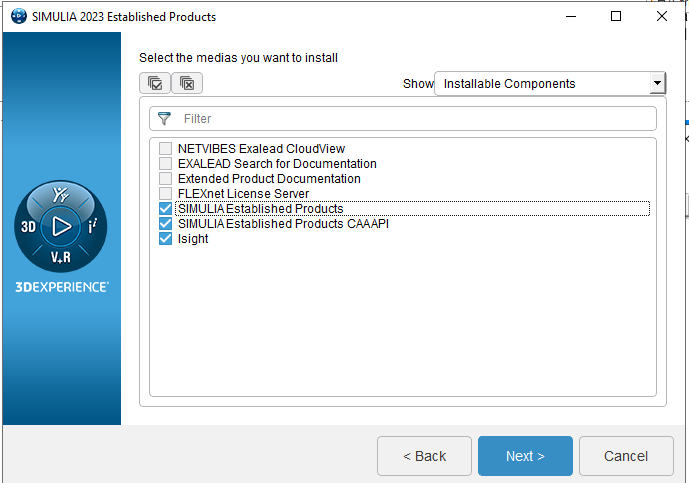
4. The installer will open. Select the products that you would like to install. The default options are already checked. Please note that Isight is a separate plugin that will install in its own separate folder. You do not need to install Isight if you just want the core Abaqus application.
****Please do NOT install the FLEXnet License Server.**** Click Next |
|
|
|
|
|
|
|
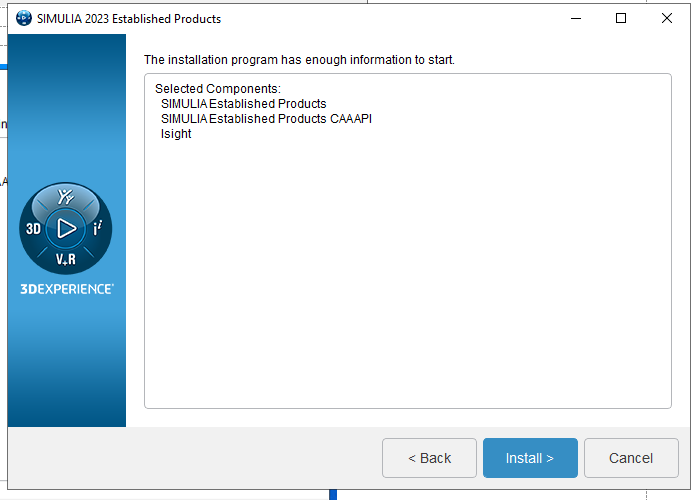
5. The installation will begin. Click Install. |
|
|
|
|
|
|
|
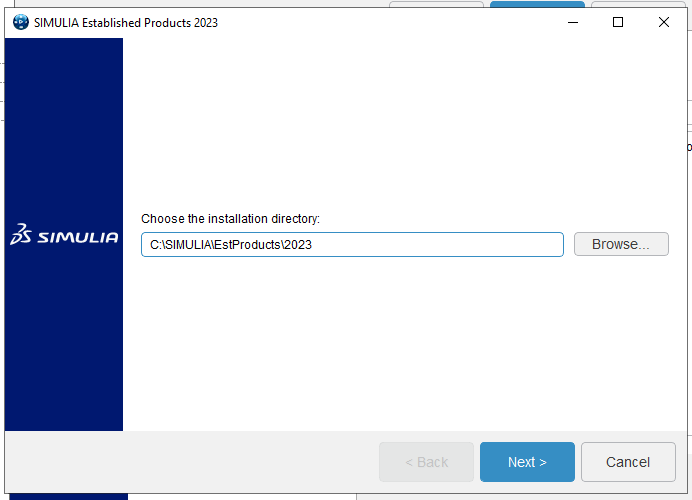
6. Choose an installation directory and click Next. |
|
|
|
|
|
|
|
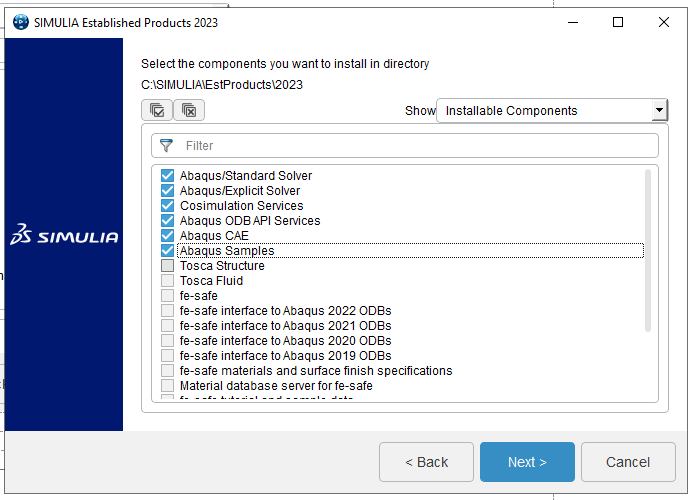
7. Select the components you want to install in the directory and click Next. The following selections are for Abaqus only. If you wish to install Tosca and/or fe-safe, select the additional components. If you are new to Abaqus and you wish to only install the minimum components, select only Abaqus/Standard Solver and Abaqus CAE. CAE is the GUI interface for Abaqus. |
|
|
|
|
|
|
|
8. SIMULIA FLEXnet will be selected. Click Next. |
|
|
|
b |
|
|
|
9. Enter the license manager information from your WebStore order history. To locate this, log into WebStore.illinois.edu, click on Order History in the left menu. Find this order on your list and open it. The information is in the sections down below the download links. |
|
|
|
|
|
|
|
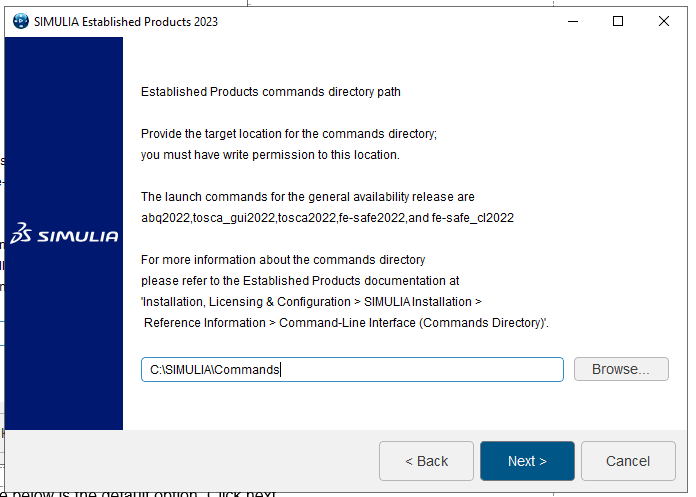
10. Set the working directory and any other paths as prompted. We suggest you accept the default locations. Click Next. |
|
|
|
|
|
|
|
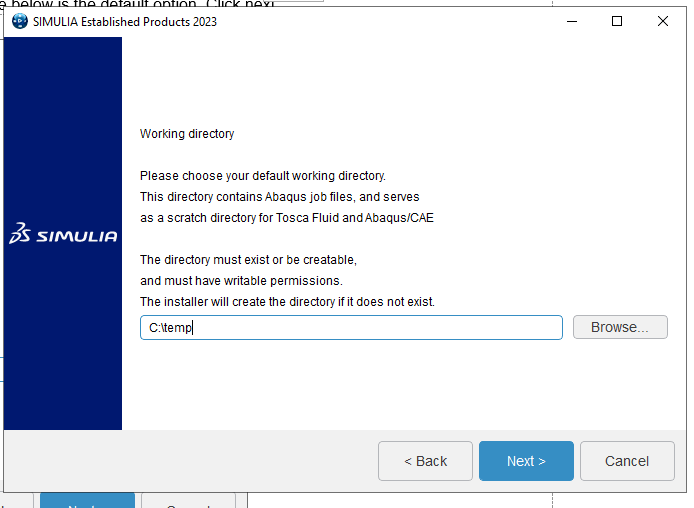
11. A working directory will be specified or created. The picture below is the default option. Click next. |
|
|
|
|
|
|
|
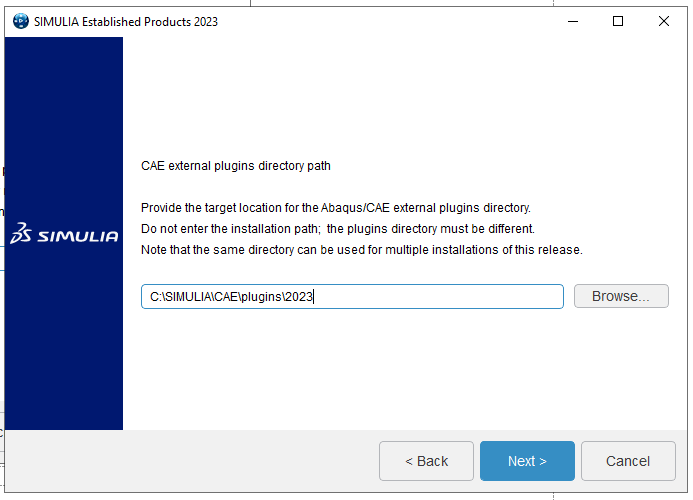
12. An external plugin directory path will be created. Click Next. |
|
|
|
|
|
|
|
|
|
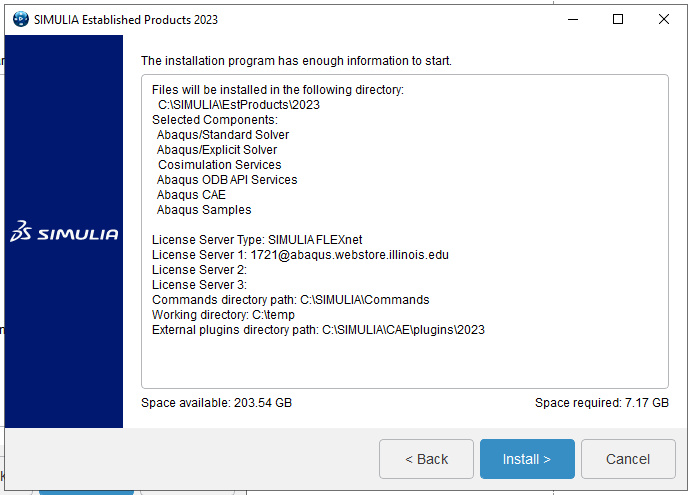
13. Installation is ready to begin. Click Install. |
|
|
|
|
|
|
|
|
|
|
|
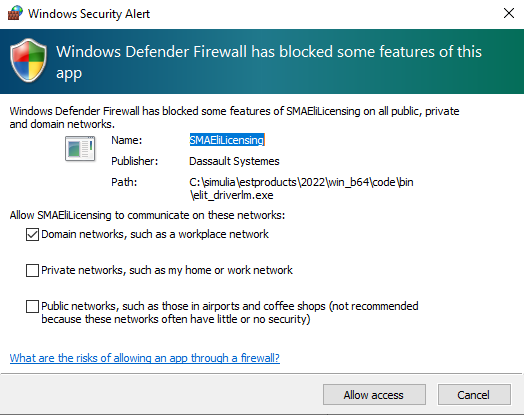
14. Depending on the components you chose to install and the security permissions on your computer, you may receive notifications during the install process like the ones below. |
|
|
|
A Windows Security Alert windows may open. Click Allow Access on any that appear. |
|
|
|
|
|
|
|
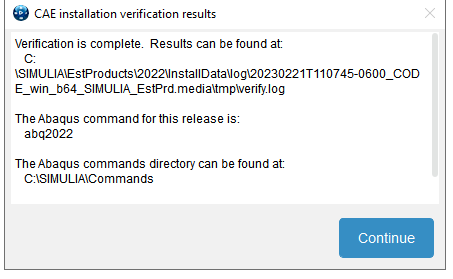
16. If you install the CAE, you will get a notification that verification is complete. Click continue. |
|
|
|
|
|
|
|
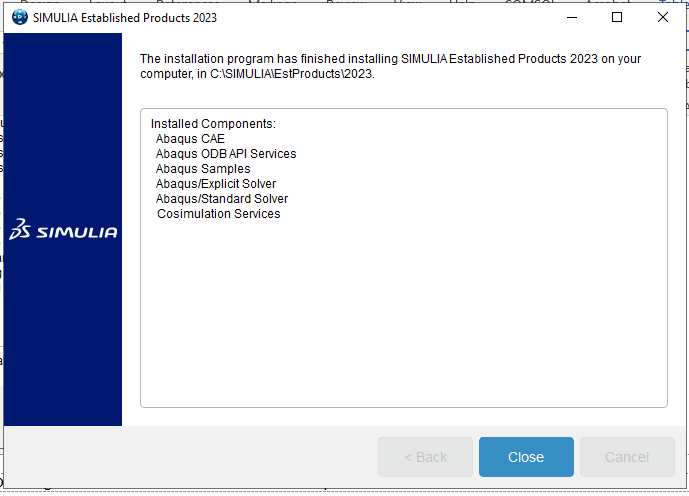
15. The Established Products part of the installation is now complete. Click Close. |
|
|
|
|
|
|
|
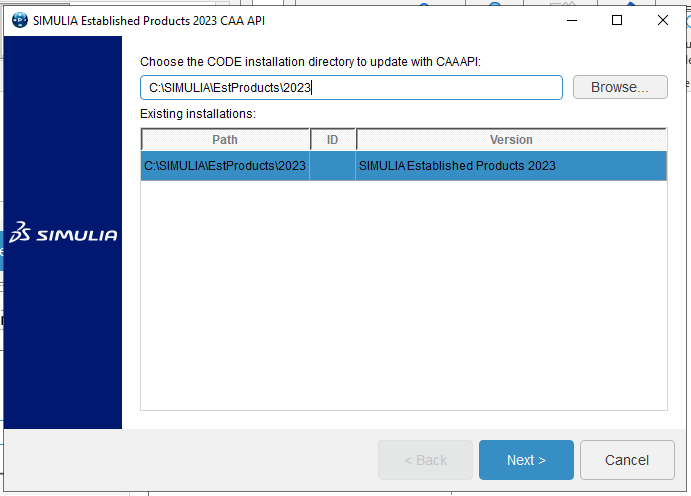
17. The CAA API update will now proceed. Choose the CODE installation directory to update with CAAAPI. Click Next. |
|
|
|
|
|
|
|
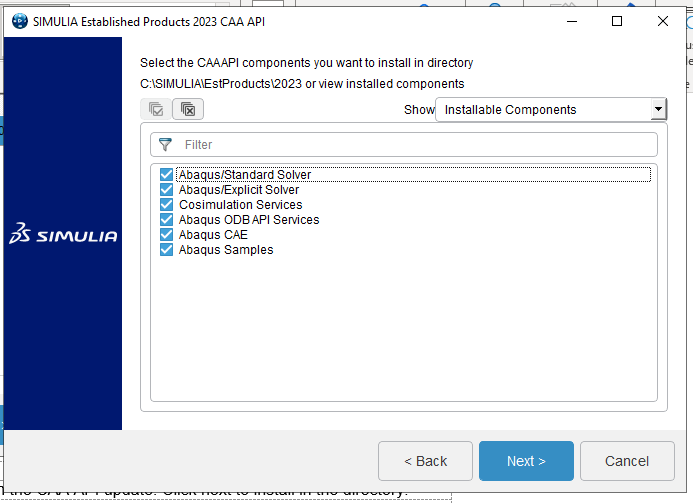
16. The components that you originally selected to install will appear again in the CAA API update. Click next to install in the directory. |
|
|
|
|
|
|
|
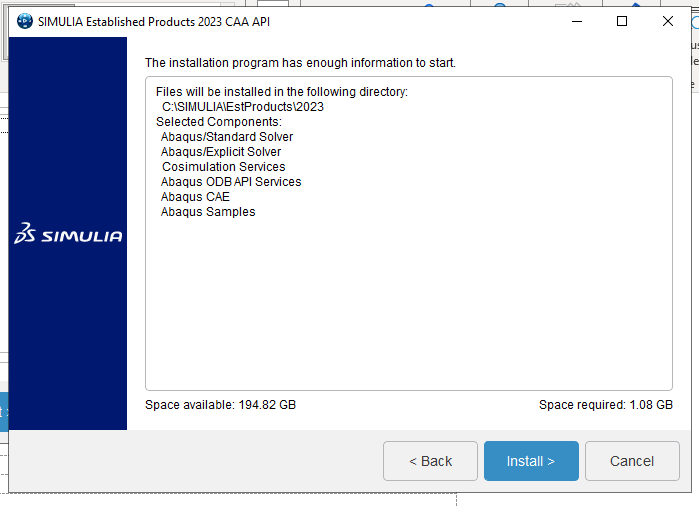
17. Verify the components to update and click Install. |
|
|
|
|
|
|
|
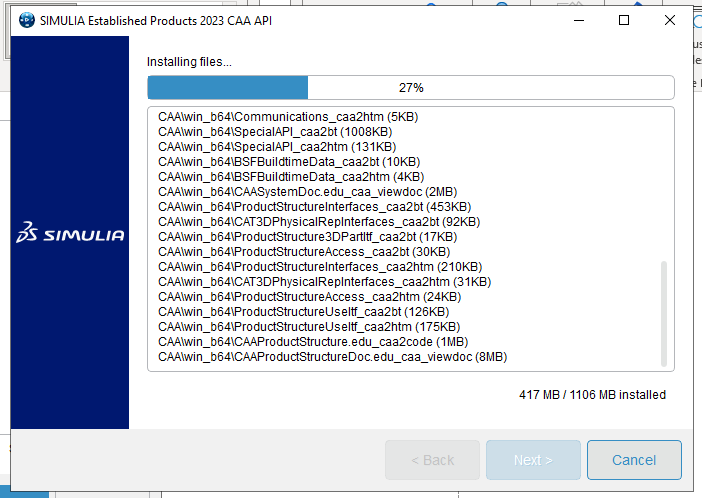
19. The installation will proceed. |
|
|
|
|
|
|
|
20. A confirmation will appear that the program has finished installing. Click Close. |
|
|
|
|
|
|
|
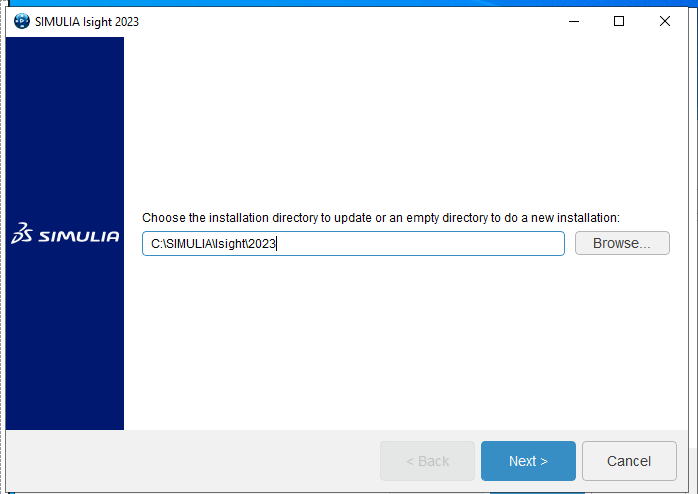
21. The Isight installation wizard will launch after the CAA API wizard is finished. Click next after accepting the default directory. |
|
|
|
|
|
|
|
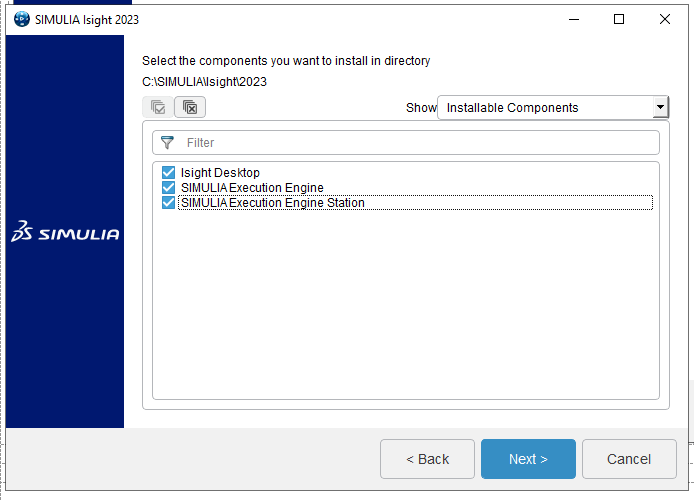
22. If you are new to Isight, keep the default options and click Next. |
|
|
|
|
|
|
|
23.You will have an option to configure the TomEE application server. If you don’t know what this is and how to configure it, skip this step for now. SIMULIA has documentation you can read to configure the TomEE server later. |
|
|
|
|
|
|
|
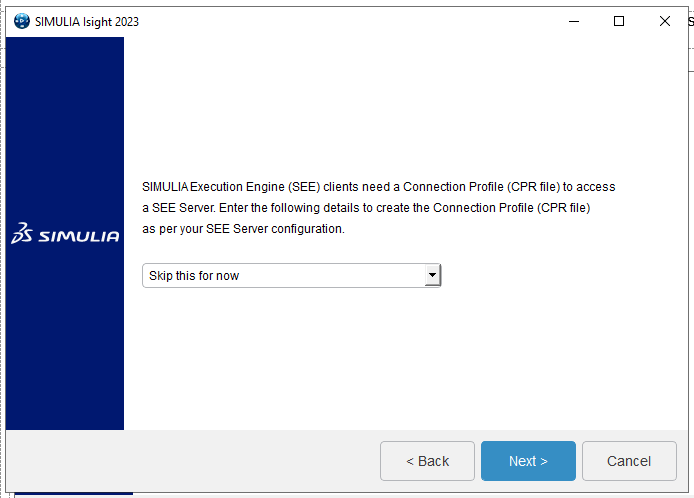
23. Skip this step too if you are unfamiliar with creating a Connections Profile for an SEE Server. |
|
|
|
|
|
|
|
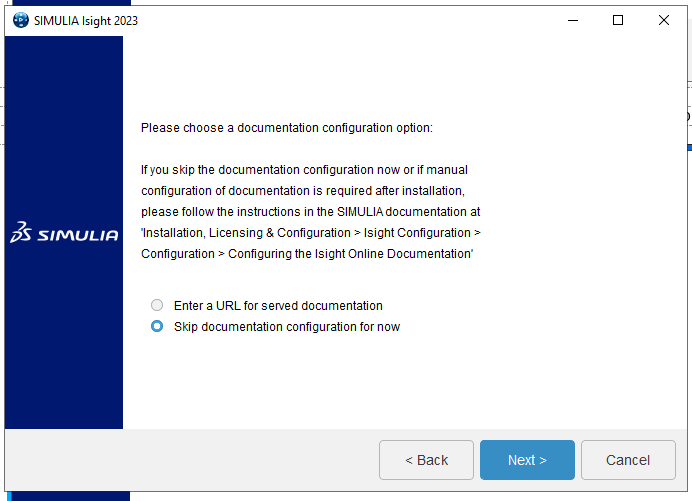
24. If you are not familiar with choosing documentation configuration, you can ignore this step and skip it for now. Click Next. |
|
|
|
|
|
|
|
25. The wizard will confirm your choices. Click Install to proceed. |
|
|
|
|
|
|
|
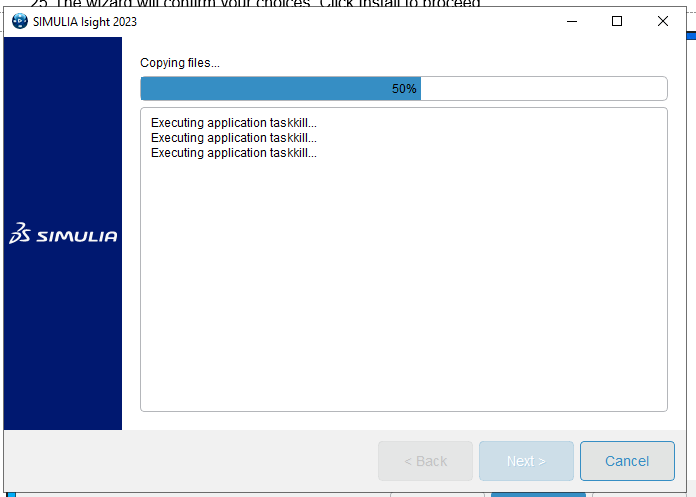
26. You will see a progress bar as Isight installs. |
|
|
|
|
|
|
|
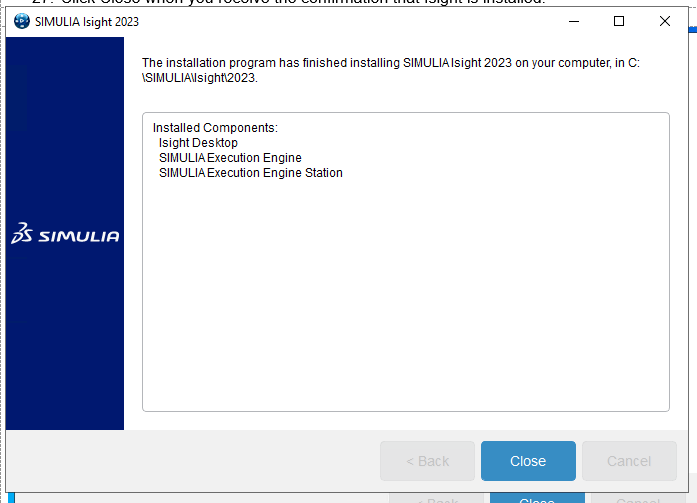
27. Click Close when you receive the confirmation that Isight is installed. |
|
|
|
|
|
|
|
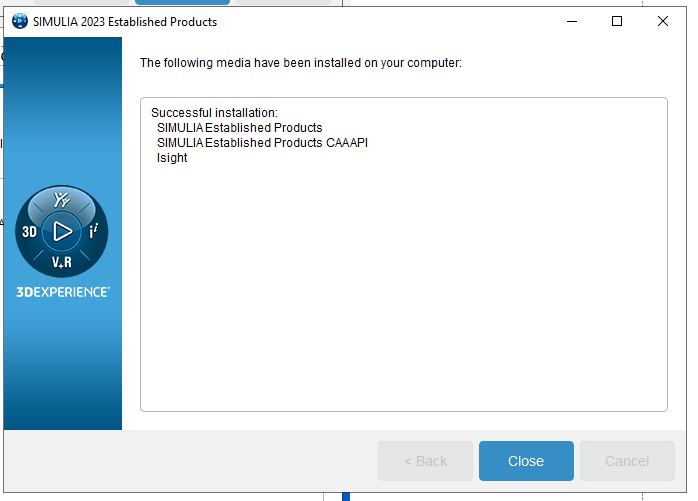
28. When you have finished installing all your chosen Simulia products, click Close. |
|
|
|
|
|
|
|
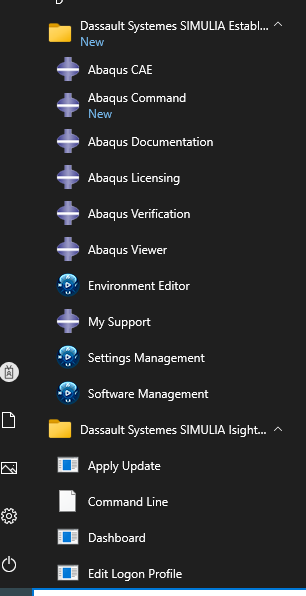
29. You will see two folders in your Windows Start Menu. One is for Abaqus and the other is for Isight. |
|
|
|
|
|
|
|
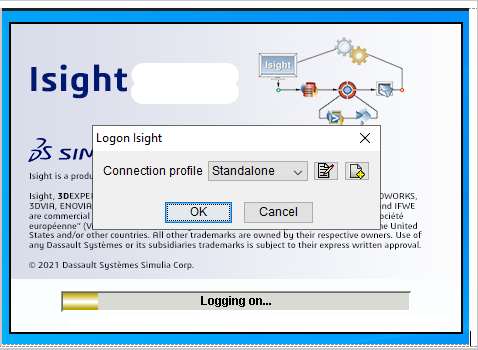
30. When you open Isight, you will get a login prompt. If you have followed the steps in this guide and skipped the optional steps of configuring the application server and connection profile, then select the Standalone option for the Connection Profile. You should then be able to logon to Isight. You can read more about connection profiles for the SIMULIA Execution Engine here. · https://abaqus.uclouvain.be/English/IhrUserMap/ihr-c-Gateway-ConnectionProfiles.htm |
|
|
|
|
|
|
|
You are now ready to use Abaqus 2023 Teaching for Windows. Remember due to firewall restrictions, particularly on off-campus and wireless connections, you will need to connect to your campus VPN service before installing and to use this software. |
|
|
|
|
|
|
|
|
|
|
|
|