|
|
|
|
Igor Pro 9.0 Installation Instructions |
|
|
|
|
|
|
|
|
|
|
|
Due to firewall restrictions, particularly on off-campus and wireless connections, you will need to connect to your campus VPN service before installing and to use this software. |
|
|
|
Computer registration is required. Please complete this form and submit it to begin the registration process. We will respond when the license manager has been configured for your license with the Serial Number to use during installation. |
|
|
|
1. Download the K2-Client and Igor Pro 9.0 files from your WebStore order. |
|
|
|
|
|
|
|
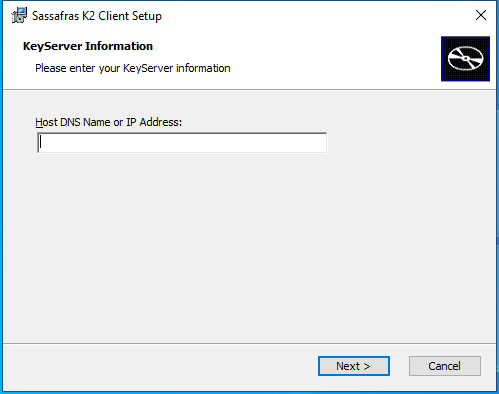
2. Click the K2 Client installer to start the installation process. Enter the K2 server name when prompted. (The server name is provided in the product info in your WebStore Order History.) |
|
|
|
|
|
|
|
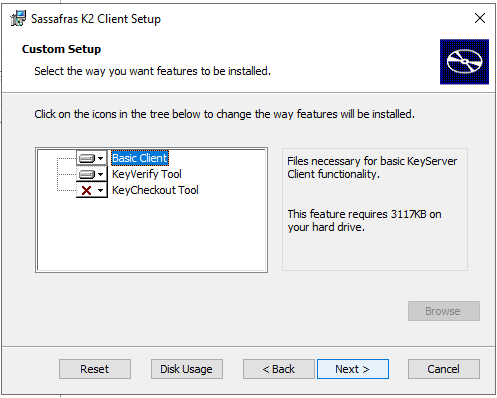
3. Keep the default selection for Basic Client and click Next. |
|
|
|
|
|
|
|
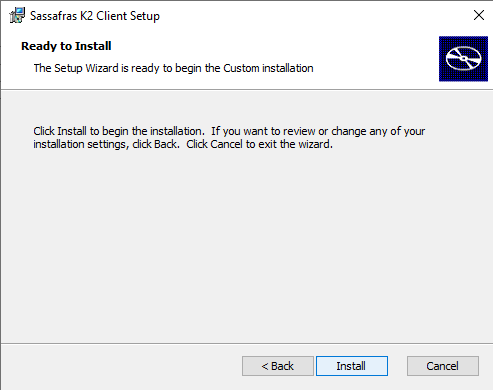
4. Click Install. |
|
|
|
|
|
|
|
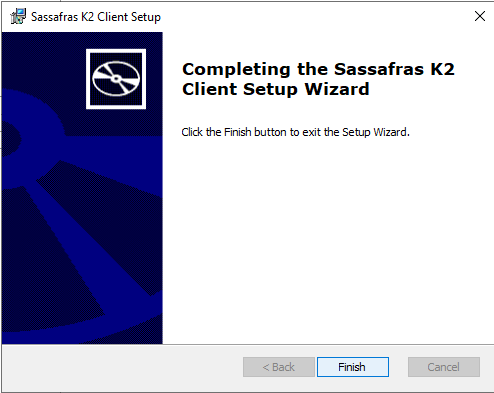
5. Click Finish to complete the Setup. |
|
|
|
|
|
|
|
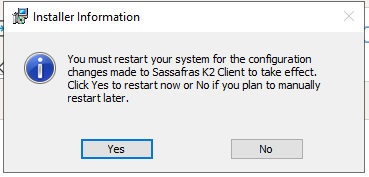
6. You will need to restart your system before continuing with the Igor Pro 9.0 installation. |
|
|
|
|
|
|
|
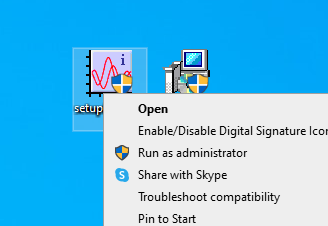
7. Right-click the Igor Pro 9 installer that you downloaded in Step 1 and choose “Run as administrator”. |
|
|
|
|
|
|
|
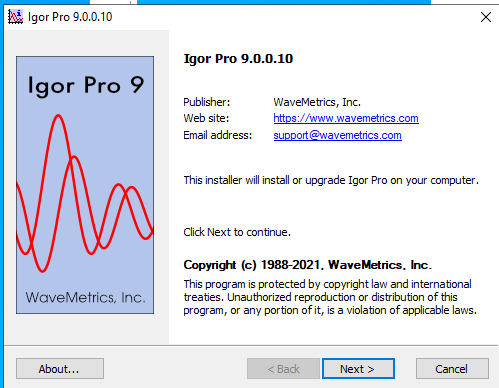
8. Click Next to continue. |
|
|
|
|
|
|
|
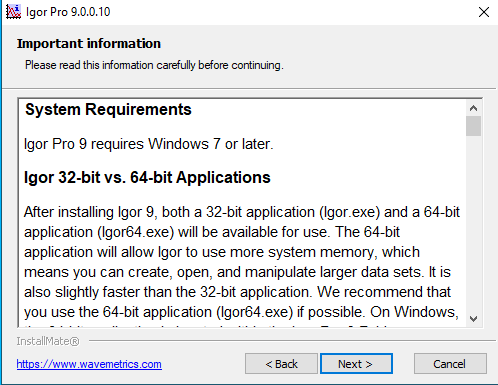
9. Review the system requirements and click Next. |
|
|
|
|
|
|
|
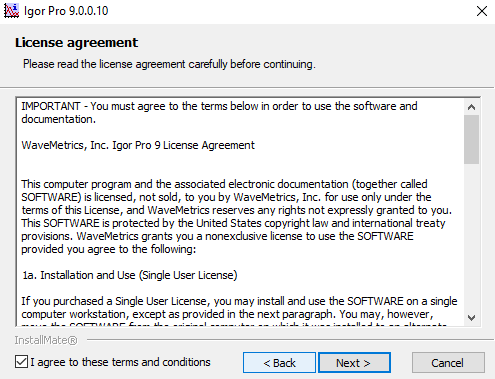
10. Agree to the terms and conditions of the Licencse agreement and click Next. |
|
|
|
|
|
|
|
11. Select the Installation options and click Install. |
|
|
|
|
|
|
|
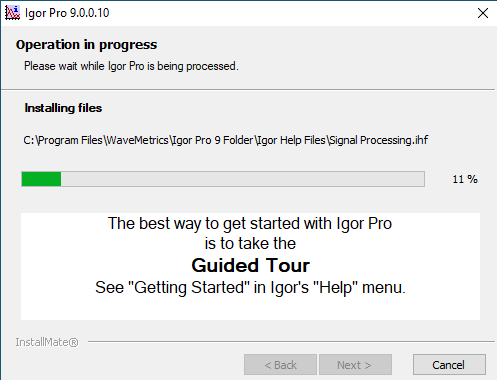
12. The installer will begin. |
|
|
|
|
|
|
|
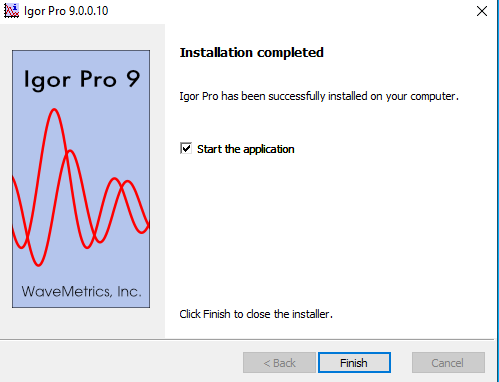
13. Once the installer completes, click Finish to close the installer and start the application. |
|
|
|
|
|
|
|
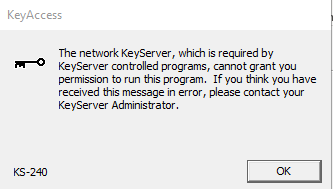
14. You may get a message saying that the network KeyServer cannot grant permission to run the program. Click OK. |
|
|
|
|
|
|
|
15. Find the installed program and right click to expand and Run as administrator. |
|
|
|
|
|
|
|
16. The application will open and may ask to install the latest version. Click Install update. |
|
|
|
|
|
|
|
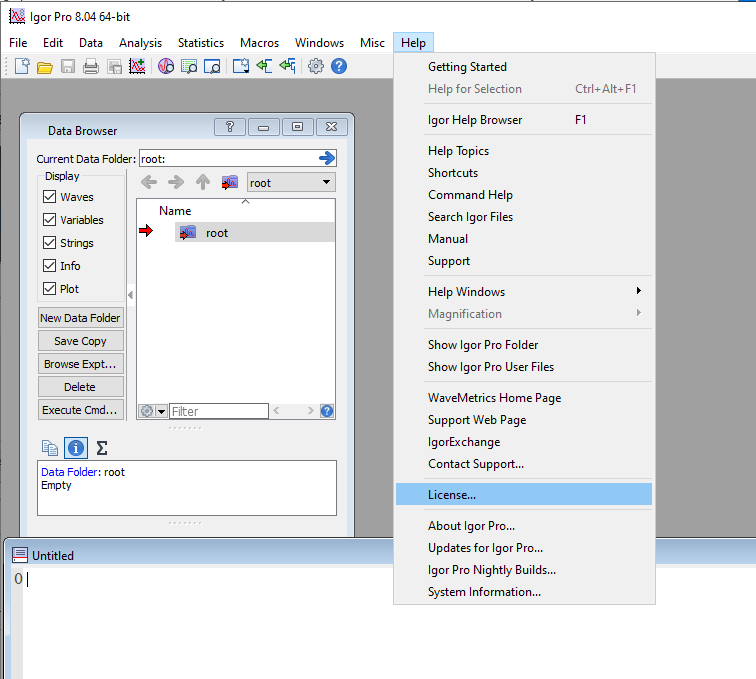
16, After the application restarts, select “License” from Igor’s “Help” menu. |
|
|
|
|
|
|
|
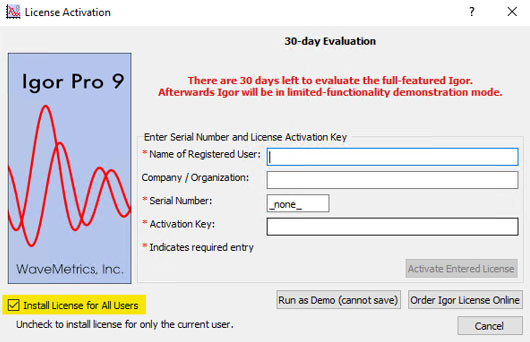
17. Enter your NetID in the Registered User field, along with the serial number and activation key that you received in your email from WebStore. Check Install License for All Users if there is more than one user who will be using the application on the computer. Click the “Activate Entered License” button to display the License Installation dialog. |
|
|
|
|
|
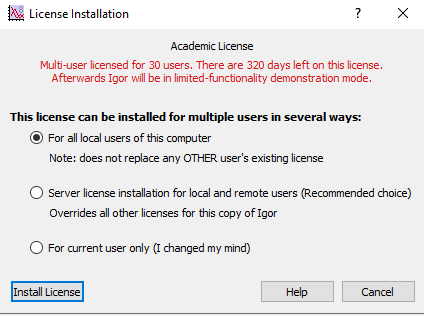
18. The License Installation dialog box will pop up. Choose the “For all local users of this computer” radio button. Click Install License. |
|
|
|
|
|
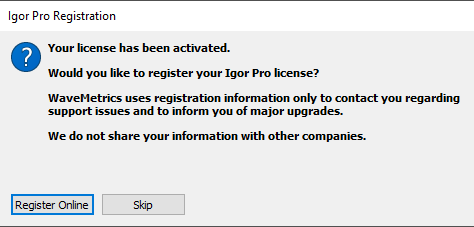
19. You will get a confirmation that your license is now activated. Igor Pro 9.0 is ready to use. |
|
|
|
|
|
|
|
|
|
|
|
|
|
|
|
|
|
|
|
1. Install the K2Client pkg first if it is not installed previously. The K2 client will be necessary to transfer your license information to the Key Server. |
|
|
|
|
|
|
|
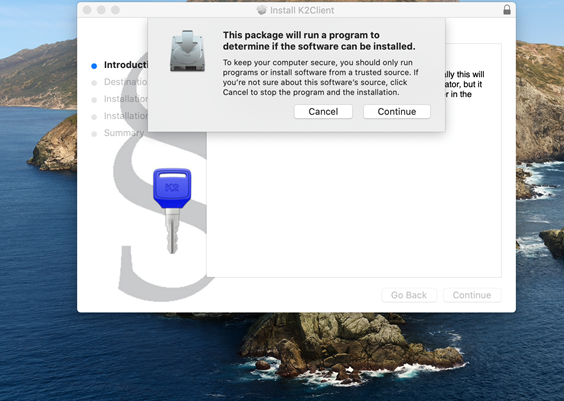
2. Click Continue to check if the software can be installed. |
|
|
|
|
|
|
|
3. Click Continue to proceed with the install. |
|
|
|
|
|
|
|
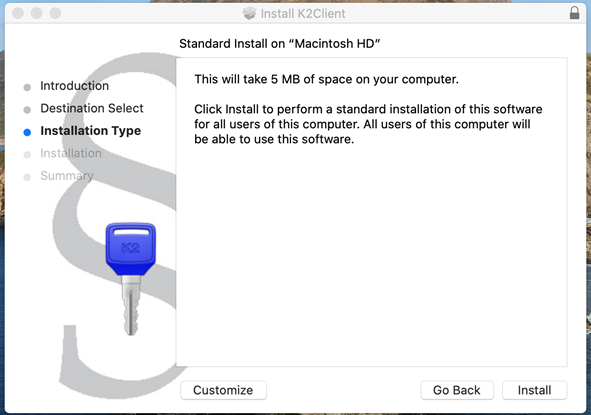
4. The default installation type will be Standard. Click “Install”. |
|
|
|
|
|
|
|
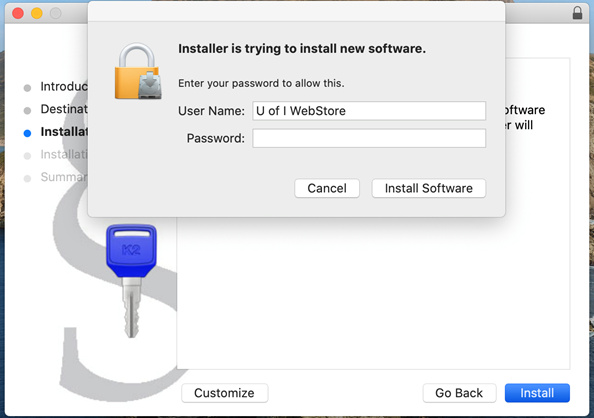
5. Enter the Username and password of your computer to allow administrative privileges to install the software. |
|
|
|
|
|
|
|
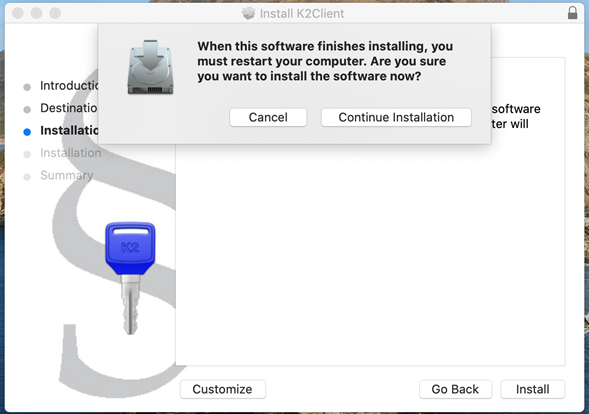
6. You will be notified that a restart is necessary after installation. Close or save any open work and click Continue. |
|
|
|
|
|
|
|
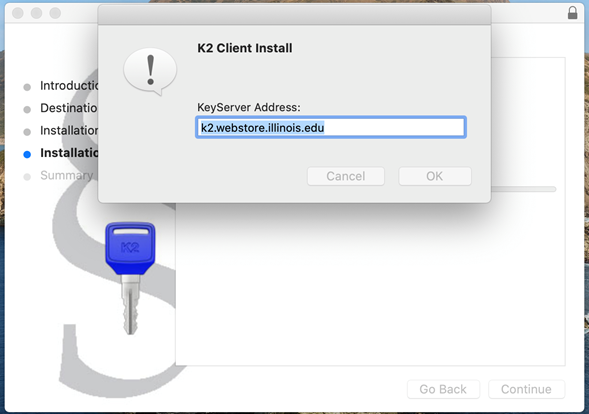
7. Enter the following KeyServer address for the program to find. “k2.webstore.illinois.edu” |
|
|
|
|
|
|
|
8. Once you installation is confirmed, tap restart to reboot your computer. |
|
|
|
|
|
|
|
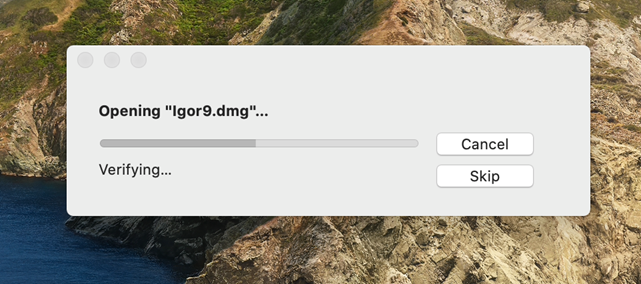
9. After rebooting the computer to finish the K2 installation, double-click the Igor9.dmg file. |
|
|
|
|
|
|
|
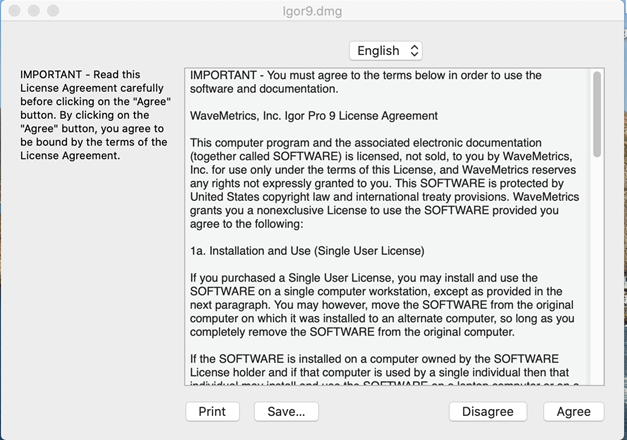
10. Agree to the License Terms. |
|
|
|
|
|
|
|
11. The package will open. |
|
|
|
|
|
|
|
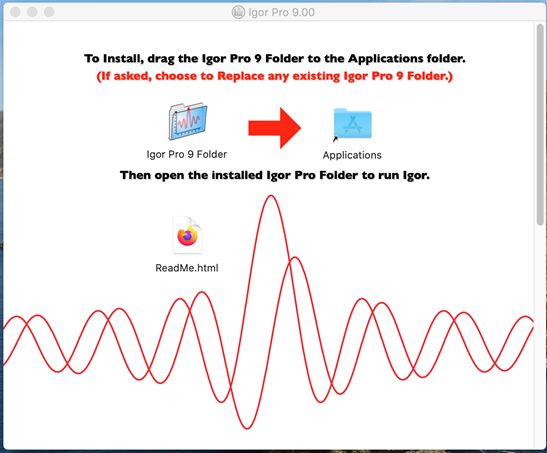
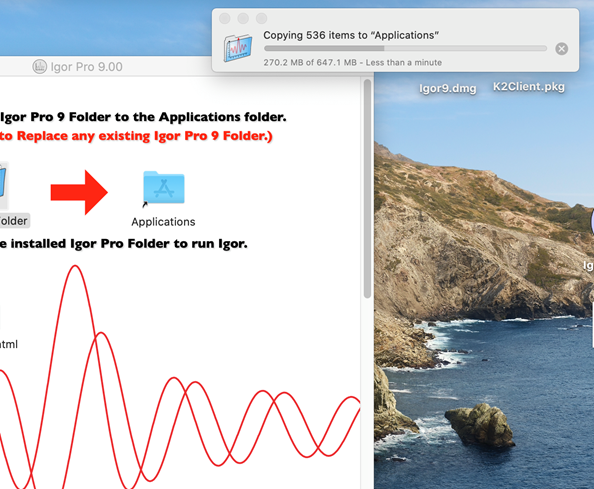
12. Drag the Igor Pro 9 folder to the Applications folder to install the program. Once the program is installed, open the Igor Pro Folder to run Igor. |
|
|
|
|
|
|
|
5. You will see a progress bar as the program is installed to Applications. |
|
|
|
|
|
|
|
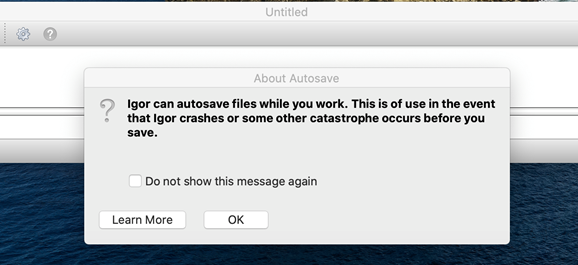
6. Open the program. You will see an Autosave message. Click OK. |
|
|
|
|
|
|
|
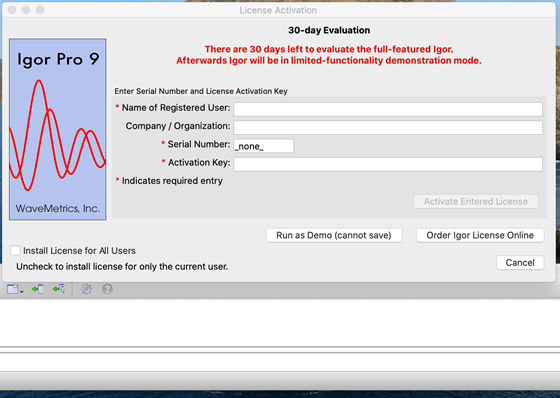
7. Enter your NetID in the Registered User field, along with the serial number and activation key that you received in your email from WebStore. Check Install License for All Users if there is more than one user who will be using the application on the computer. Click the “Activate Entered License” button to display the License Installation dialog. |
|
|
|
|
|
|
|
8. Igor 9 is now ready to use. |
|
|
|
|
|
|
|
|
|
|
|
|
|
|
|
|

 Windows