|
|
|
|
ETABS 20 Installation Instructions |
|
|
|
· Due to firewall restrictions, particularly on off-campus and wireless connections, you will need to connect to your campus VPN service before installing, to use during the installation and while running the software. |
|
|
|
|
|
|
|
|
|
|
|
1. Double click the .exe file you downloaded from WebStore. |
|
|
|
|
|
|
|
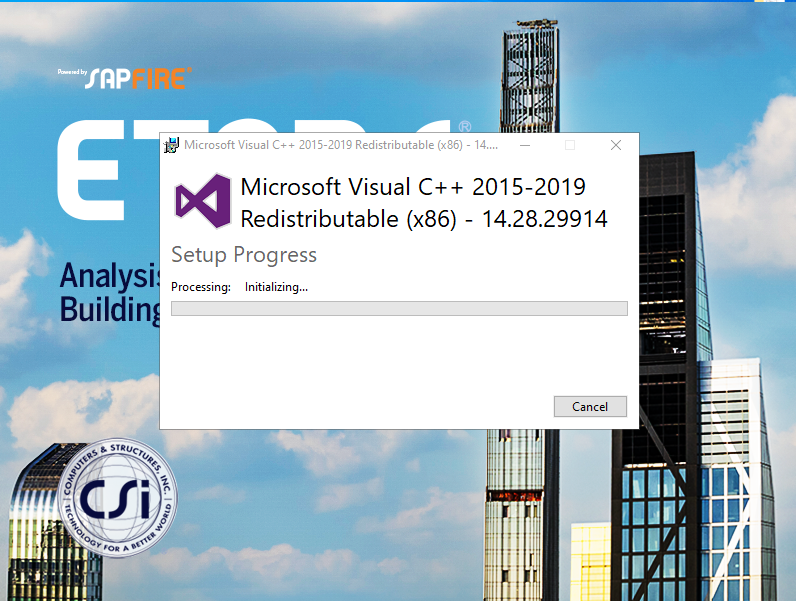
2. On launch the program may setup the Microsoft Visual C++ redistributable package. |
|
|
|
|
|
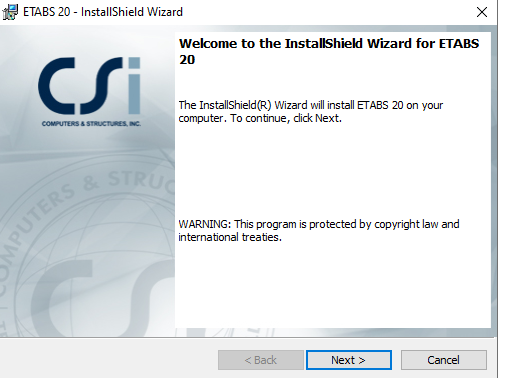
The InstallShield Wizard will open. Click Next to continue. |
|
|
|
|
|
|
|
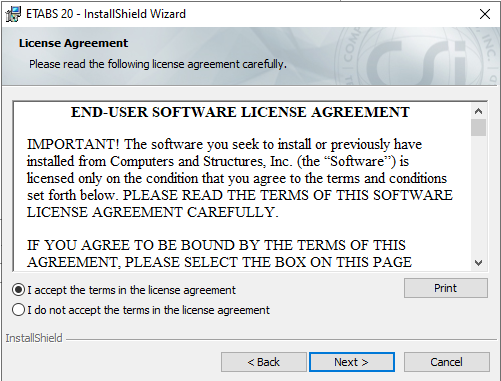
3. Agree to the EULA and click Next. |
|
|
|
|
|
|
|
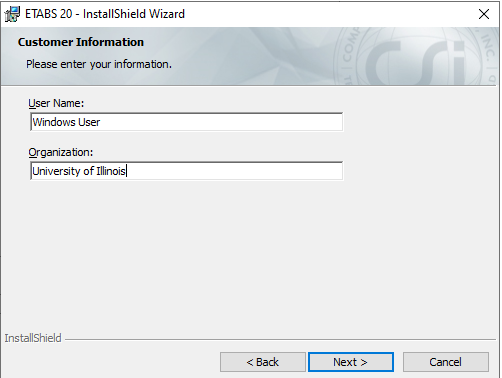
4. Enter your Name and organization. |
|
|
|
|
|
|
|
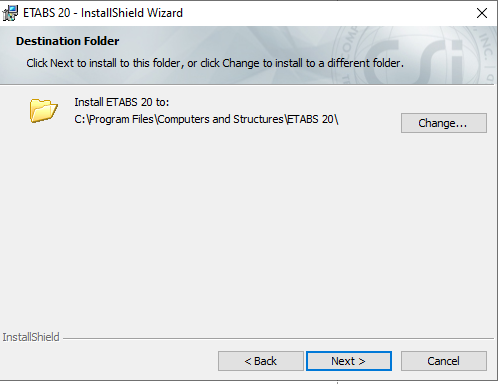
5. Accept the default install location and Click Next or change the install folder. |
|
|
|
|
|
|
|
|
|
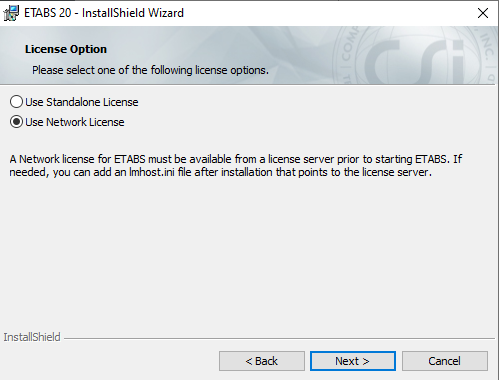
6. In the License Options, select “Use Network License”. The license server name can be found in your WebStore Order History. Click Next. |
|
|
|
|
|
|
|
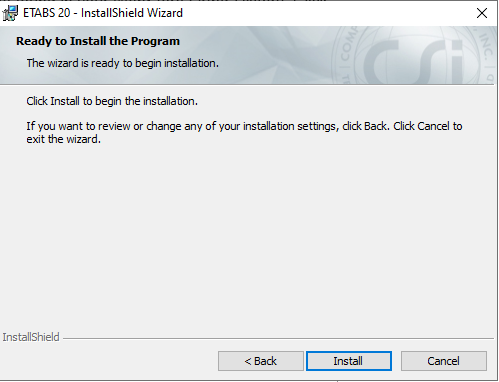
7. Click Install to begin the installation. |
|
|
|
|
|
|
|
|
|
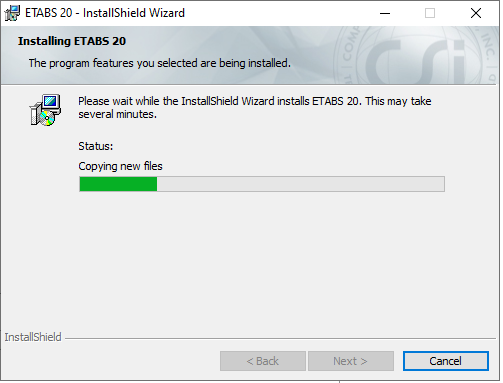
8. The installation Wizard will continue. |
|
|
|
|
|
|
|
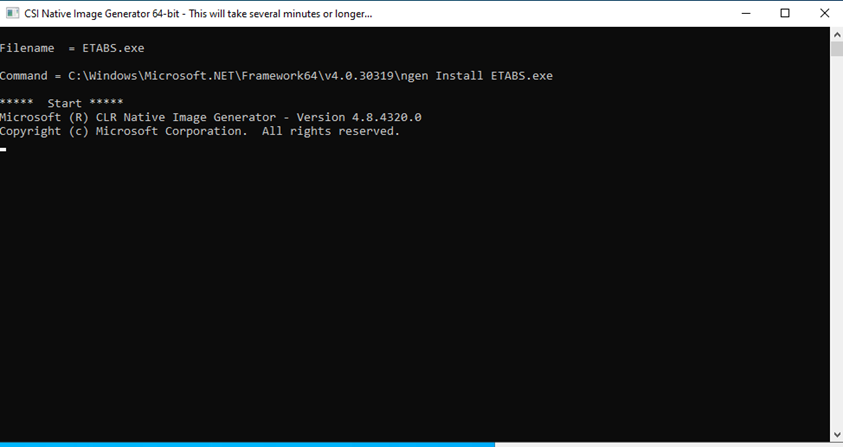
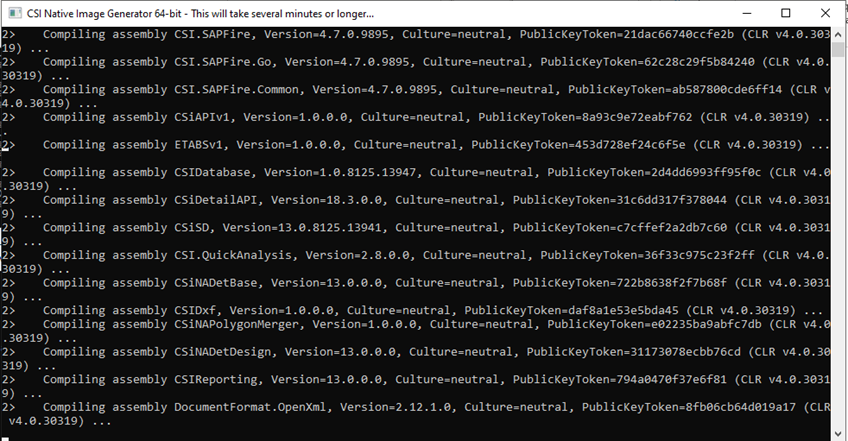
9. A new window will open and the CSI Native Image Generator will compile the assembly. The process will take a few minutes. |
|
|
|
|
|
|
|
|
|
|
|
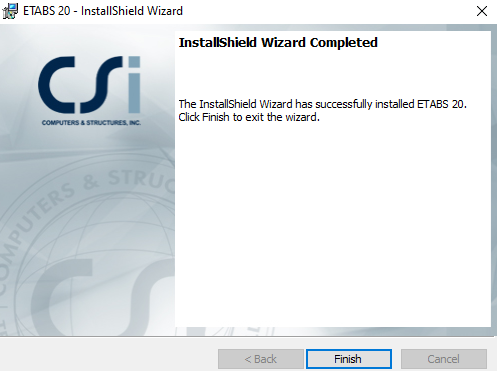
10. The Installation Wizard is complete. Click Finish |
|
|
|
|
|
|
|
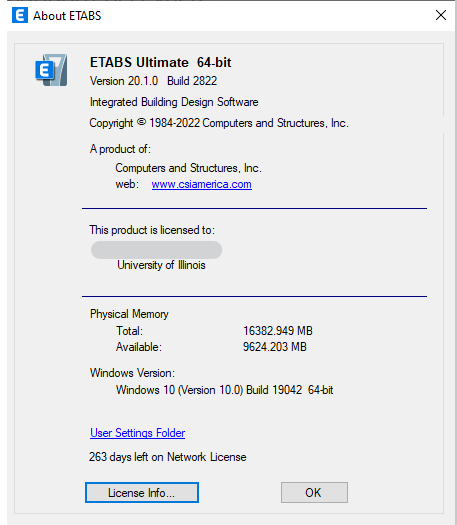
11. Etabs will automatically configure the Network license information. You are not required to do anything else to activate the software. There is more information about your license in the Helpà About Etabs section of the program. |
|
|
|
|
|
|
|
12. The install is complete. |
|
|
|
|
|
|
|
13. You are now ready to use ETABS version 20. Please remember that if you are off campus, you must use the VPN to connect to the campus network |
|
|
|
|
|
|
|
|
|
|