|
||||||
|
|
|
|||||
|
|
|
|||||
Installation Instructions for Ansys Multiphysics 2025 R2 |
|
|||||
|
|
|
|||||
|
|
|
|||||
|
||||||
|
|
|
|||||
|
|
|||||
|
|
|
|||||
|
||||||
|
|
|
|||||
|
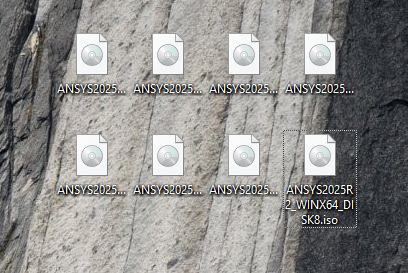
1. First you will need copies of all eight .iso files from WebStore. |
|
|||||
|
|
|
|||||
|
|
|
|||||
|
|
|
|||||
|
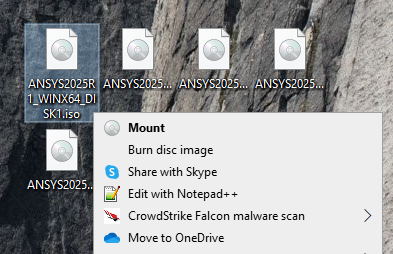
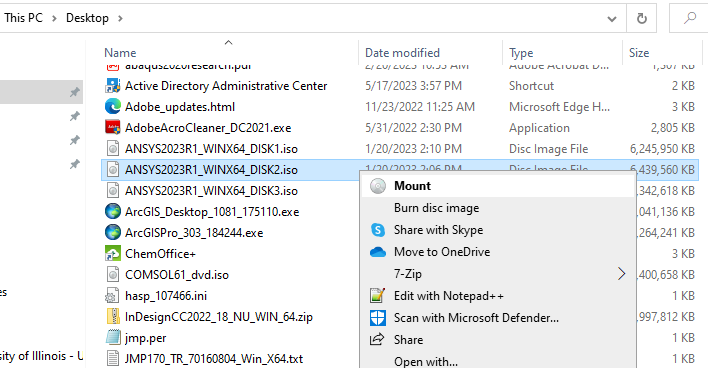
2. Start with Disk 1Right click and choose Mount. If you do not have that option, double clicking will work for you. |
|
|||||
|
|
|
|||||
|
|
|
|||||
|
|
|
|||||
|
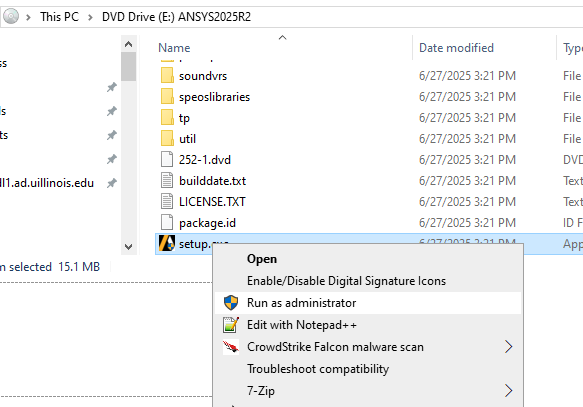
3. Now that the ‘DVD’ is mounted you may open it using File Explorer (the file icon on the bottom task bar). Find the setup application, right click it, and choose Run as administrator. |
|
|||||
|
|
|
|||||
|
|
|
|||||
|
|
|
|||||
|
b |
|
|||||
|
|
|
|||||
|
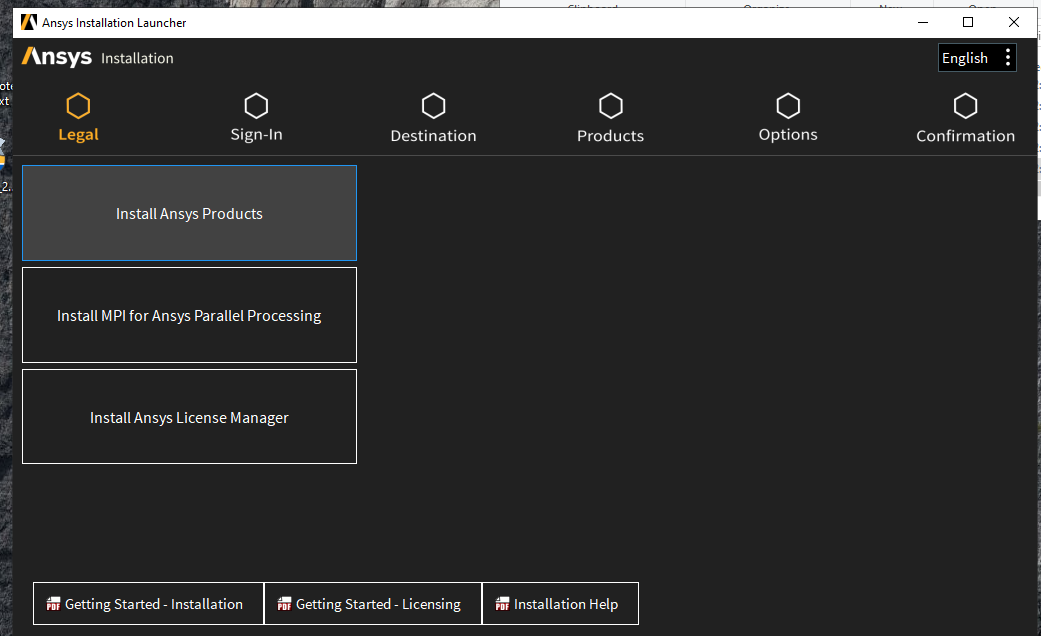
4. Choose Install ANSYS Products |
|
|||||
|
|
|
|||||
|
|
|
|||||
|
|
|
|||||
|
5. Read and agree to the EULA. Click Next. |
|
|||||
|
|
|
|||||
|
|
|
|||||
|
|
|
|||||
|
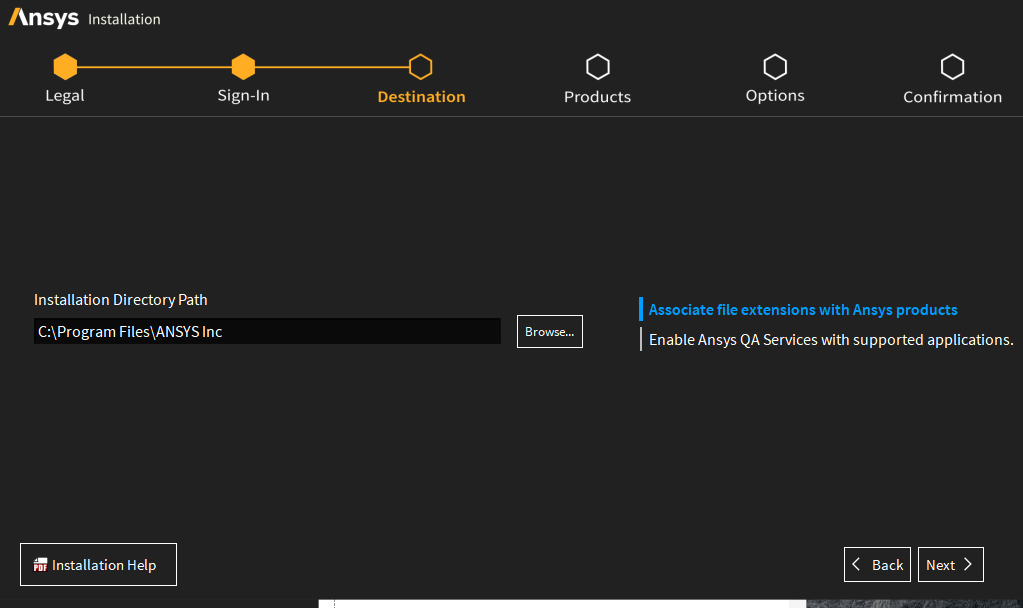
6. Leave the file association set. DO NOT CHANGE UNLESS YOU ABSOLUTELY KNOW WHAT YOU ARE DOING. Click Next. |
|
|||||
|
|
|
|||||
|
|
|
|||||
|
|
|
|||||
|
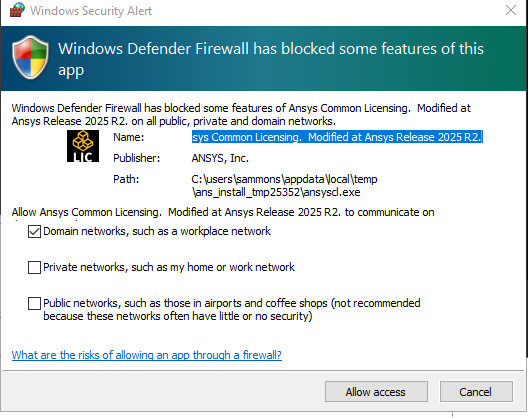
7. You may get a message to allow access. If so, proceed. |
|
|||||
|
|
|
|||||
|
|
|
|||||
|
|
|
|||||
|
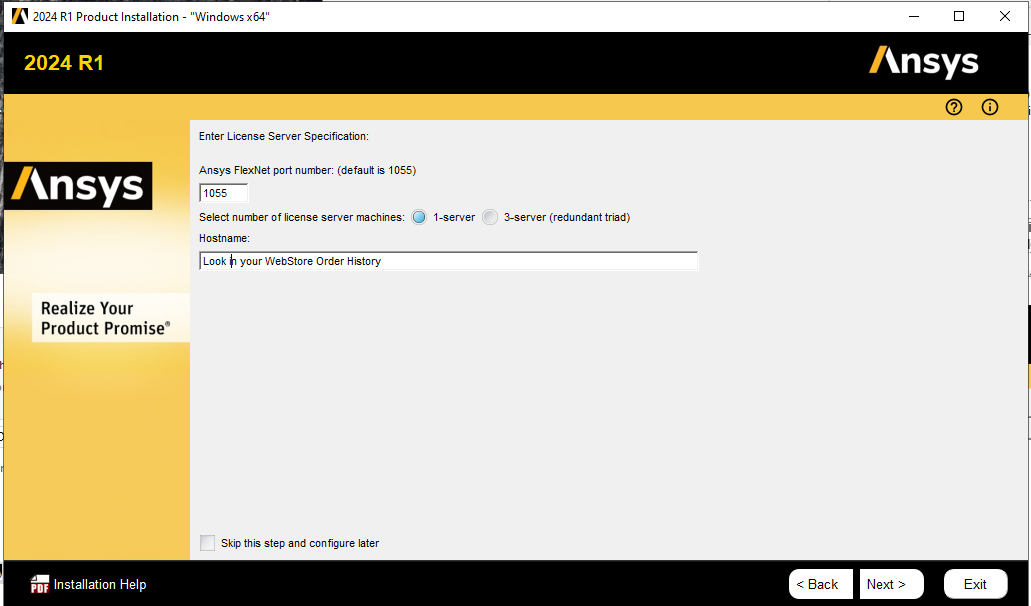
8. You may encounter an opportunity to input your license server specifications during the installation. If not, proceed to the next step since you can fill this information in later. The Hostname for the License Manager can be found on your Order History. To locate this, log into WebStore.illinois.edu, click on Order History in the left menu. Find this order on your list and open it. The information is in the text section underneath the download links. |
|
|||||
|
|
|
|||||
|
|
|
|||||
|
|
|
|||||
|
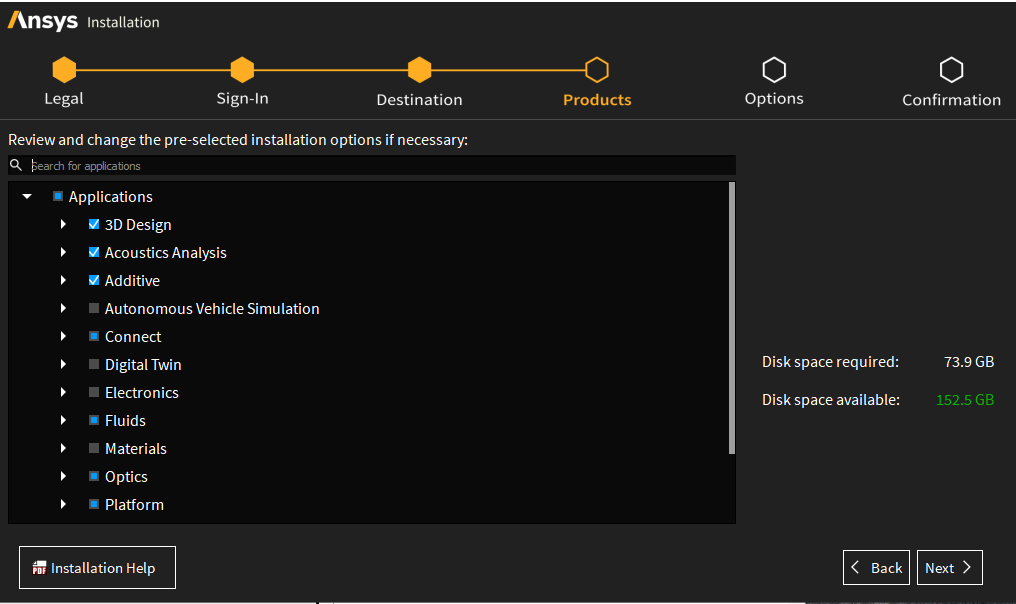
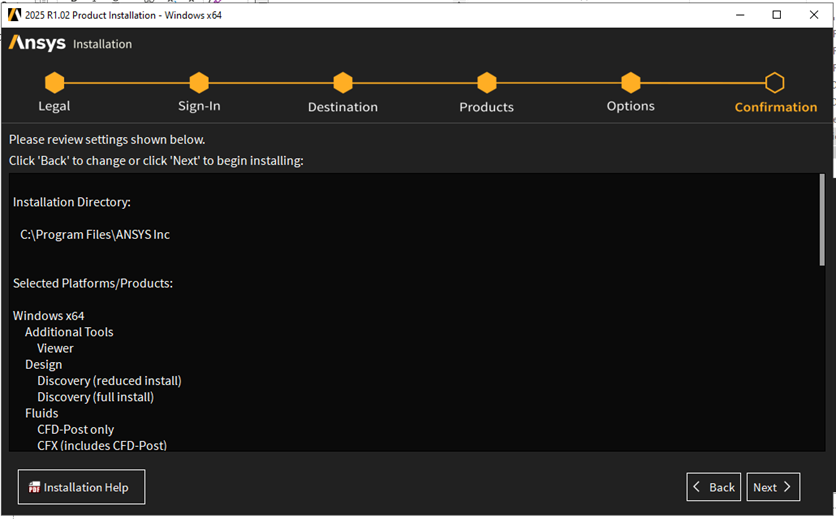
9. Review your installation choices. The Academic license covers them all. We left it all default for these instructions. Click Next. |
|
|||||
|
|
|
|||||
|
|
||||||
|
|
|
|||||
|
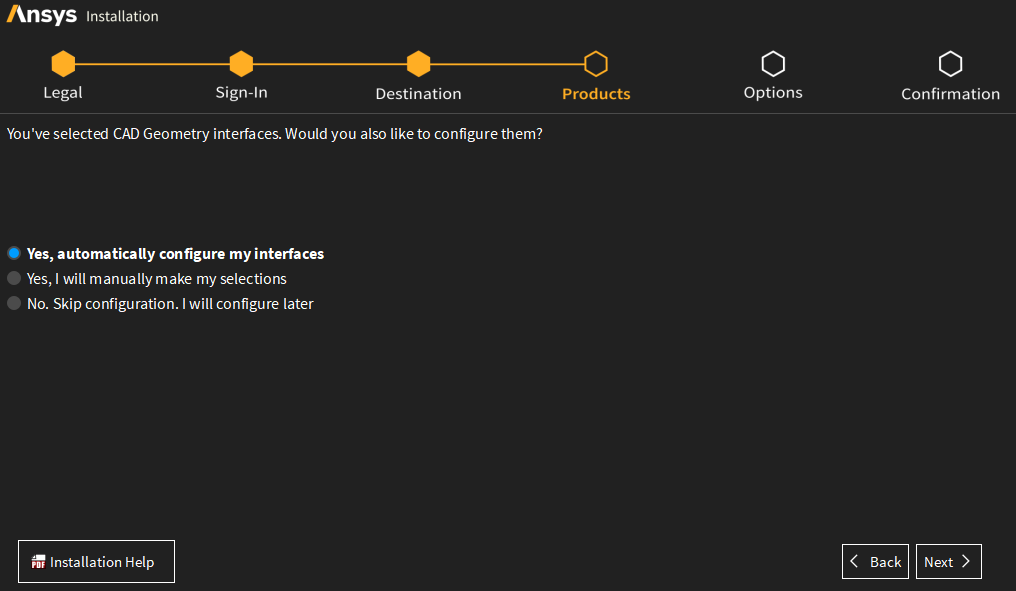
10. The default selection is to automatically configure my interfaces. We advise against changing this unless you know what you are doing. Click Next. |
|
|||||
|
|
|
|||||
|
|
|
|||||
|
|
|
|||||
|
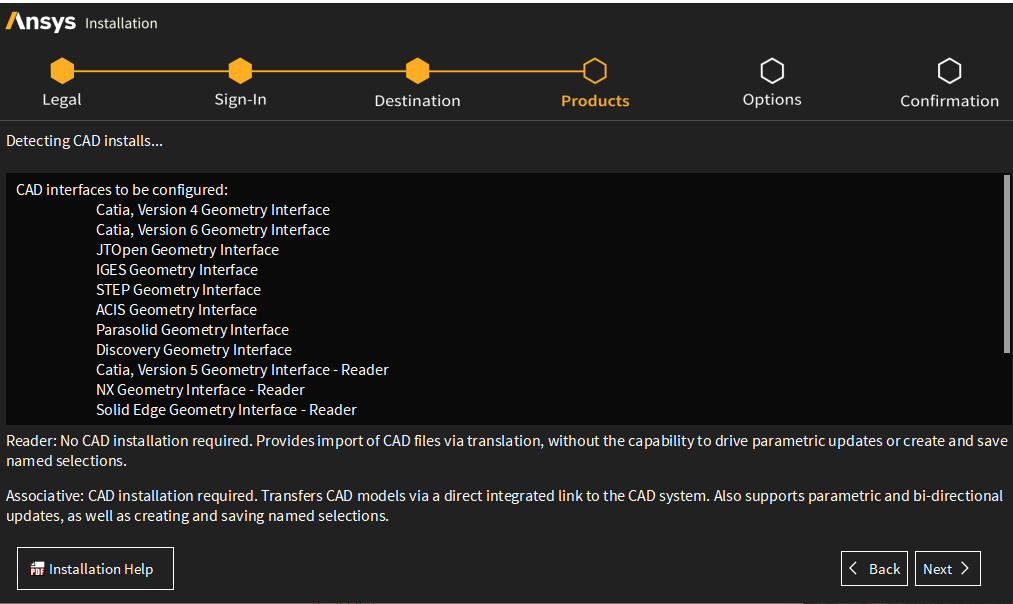
11. If you’ve chosen the CAD interfaces, which is default, ANSYS will prepare your installs. Click next. |
|
|||||
|
|
|
|||||
|
|
|
|||||
|
|
|
|||||
|
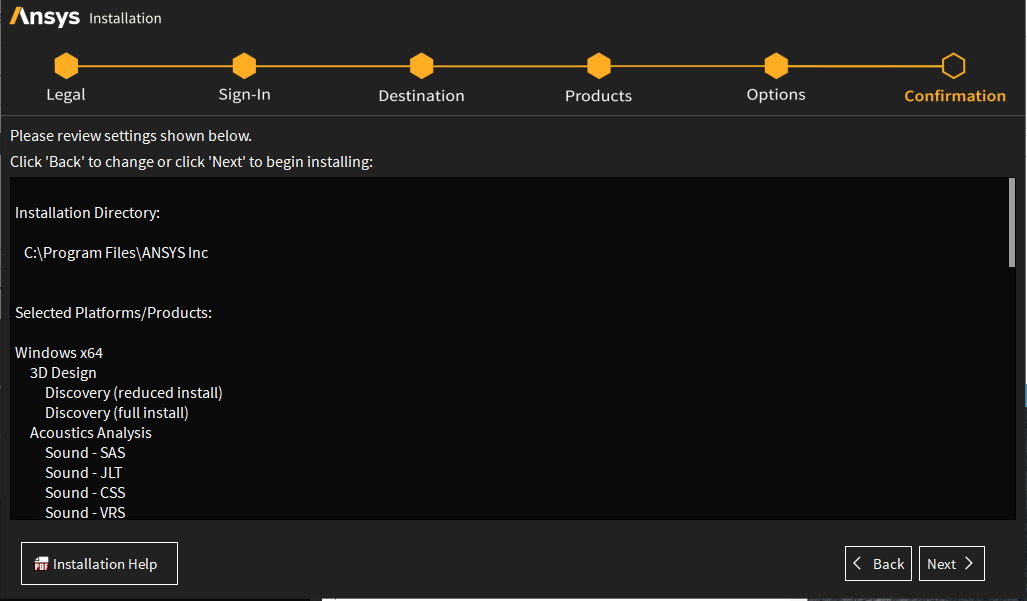
12. Review your install choices and click Next. |
|
|||||
|
|
|
|||||
|
|
|
|||||
|
|
|
|||||
|
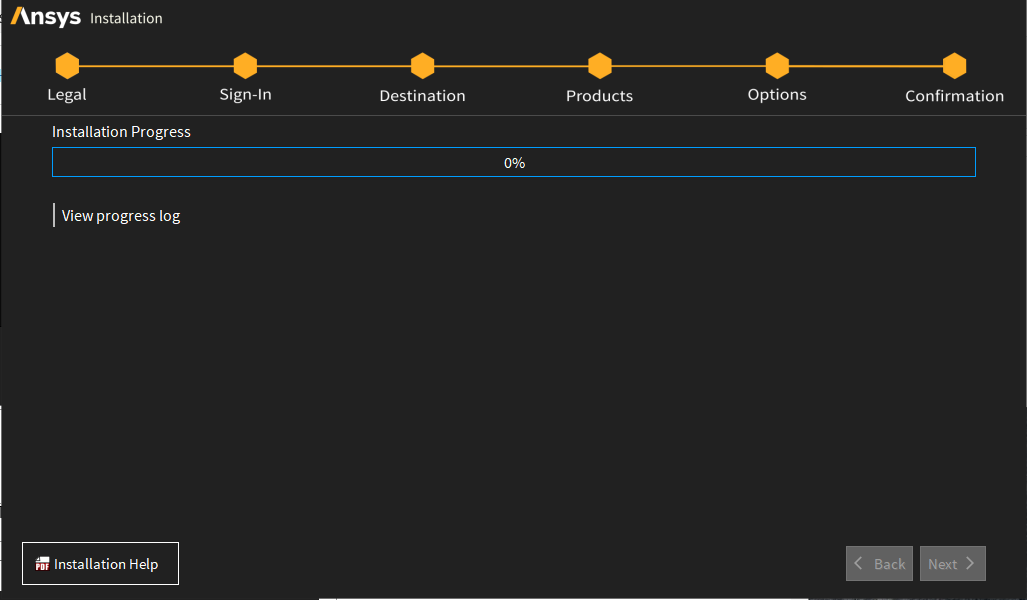
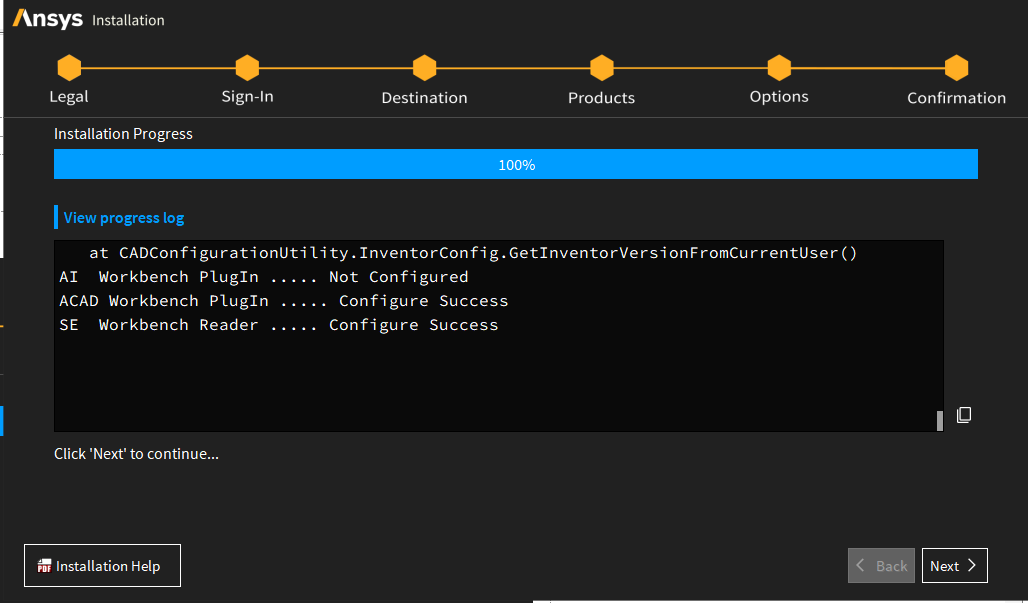
13. ANSYS will configure the install, grab any needed files, and install needed content and files. This will take a while. It is safe to click the View Detailed Progress Log. It’s a dynamically updated text file, so resource need is minimal. |
|
|||||
|
|
|
|||||
|
|
|
|||||
|
|
|
|||||
|
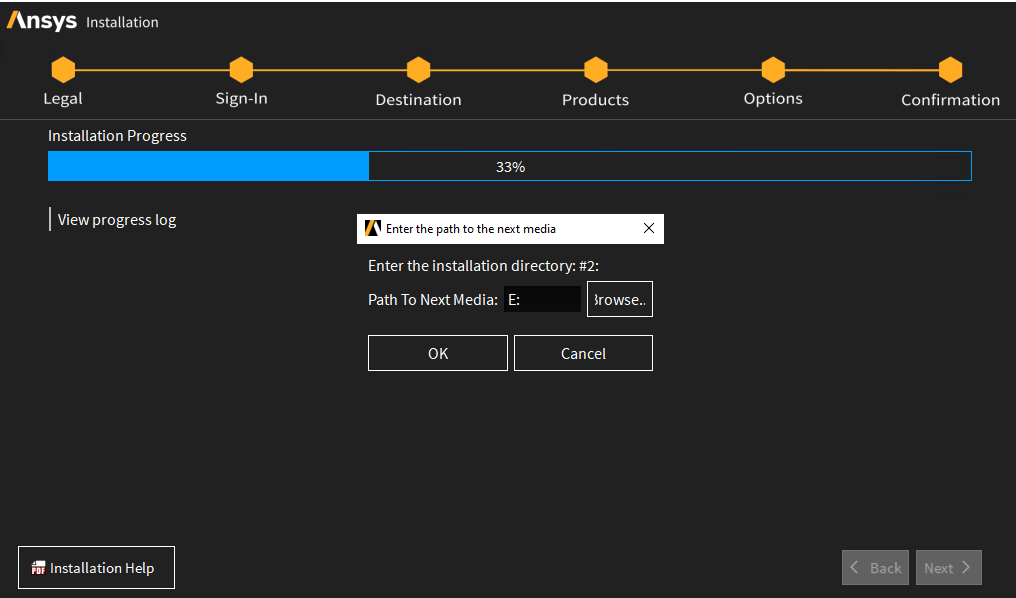
14. At some point you will be asked to change discs. |
|
|||||
|
|
|
|||||
|
|
|
|||||
|
|
|
|||||
|
|
|
|||||
|
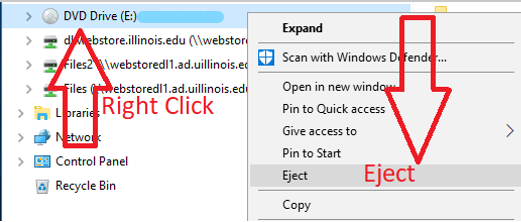
15. First eject the current Media. Open File Explorer, Right click on the media drive and choose Eject. |
|
|||||
|
|
|
|||||
|
|
|
|||||
|
16. Right click on the needed disc and choose Mount. Check File Explorer and take note of the drive letter. |
|
|||||
|
|
|
|||||
|
|
|
|||||
|
|
|
|||||
|
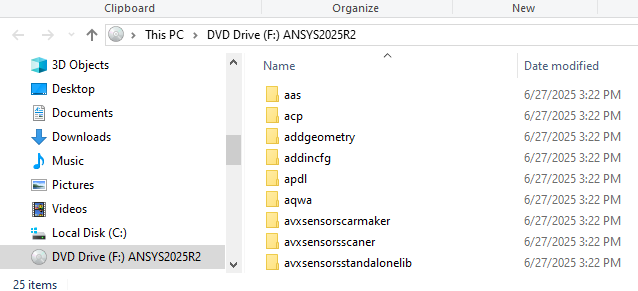
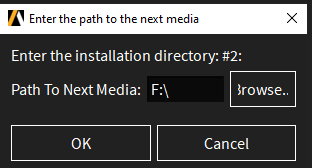
17. Take note of the drive letter since it may be different from the Ansys installer default pick. In this case, our Drive is labeled F. |
|
|||||
|
|
|
|||||
|
|
|
|||||
|
|
|
|||||
|
18. Change the Drive letter if needed and click OK. |
|
|||||
|
|
|
|||||
|
|
|
|||||
|
|
|
|||||
|
|
|
|||||
|
19. Repeat as needed. |
|
|||||
|
|
|
|||||
|
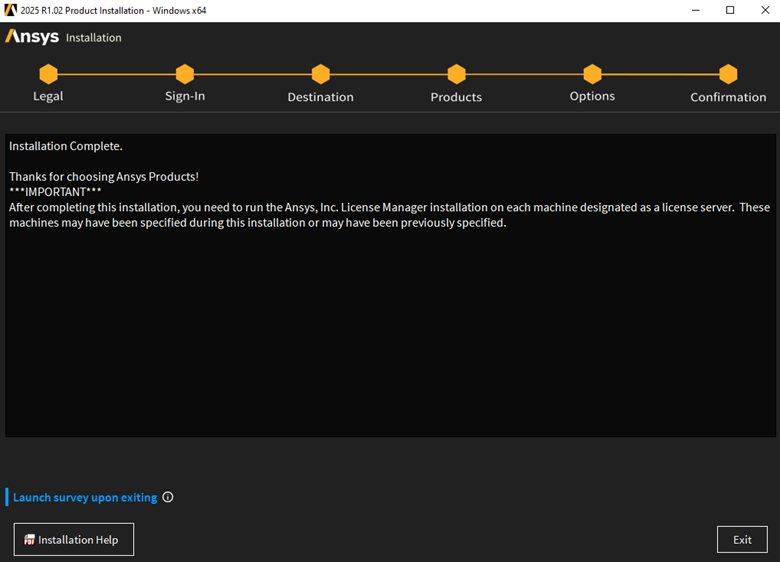
20. When the installation is finished, click Next to continue |
|
|||||
|
|
|
|||||
|
|
|
|||||
|
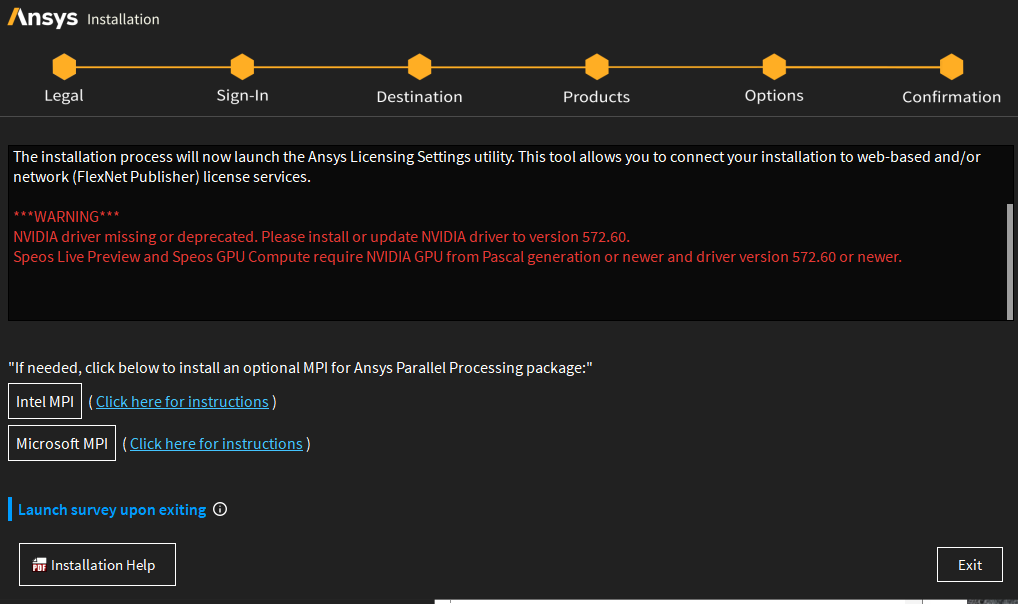
21. Review any warnings and update any drivers as needed. Click Exit. |
|
|||||
|
|
|
|||||
|
|
|
|||||
|
|
|
|||||
|
22. Steps 22 – 29 will cover how to install Service Packs if you wish to keep version 2025R1. There are not any service packs currently for 2025R2.
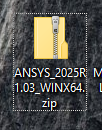
Before moving on to configuring the licensing settings, It is good to check and see if any service packs are available. If they are, you will find them with the rest of the downloads in your order history at the bottom of the list. Download the latest service pack and unzip it. |
|
|||||
|
|
|
|||||
|
|
|
|||||
|
|
|
|||||
|
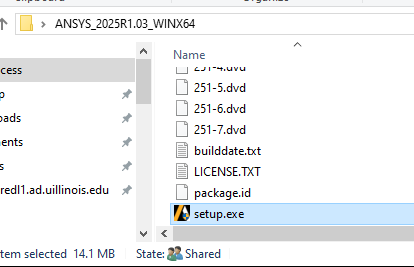
23. Open the folder and scroll down to doubleclick setup.exe |
|
|||||
|
|
|
|||||
|
|
|
|||||
|
|
|
|||||
|
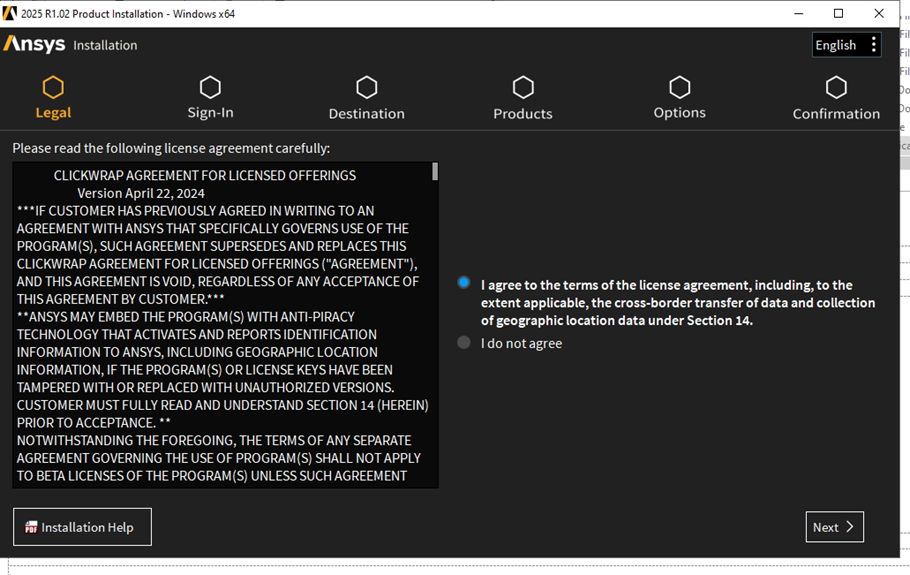
24. Agree to the license terms and click next. |
|
|||||
|
|
|
|||||
|
|
|
|||||
|
|
|
|||||
|
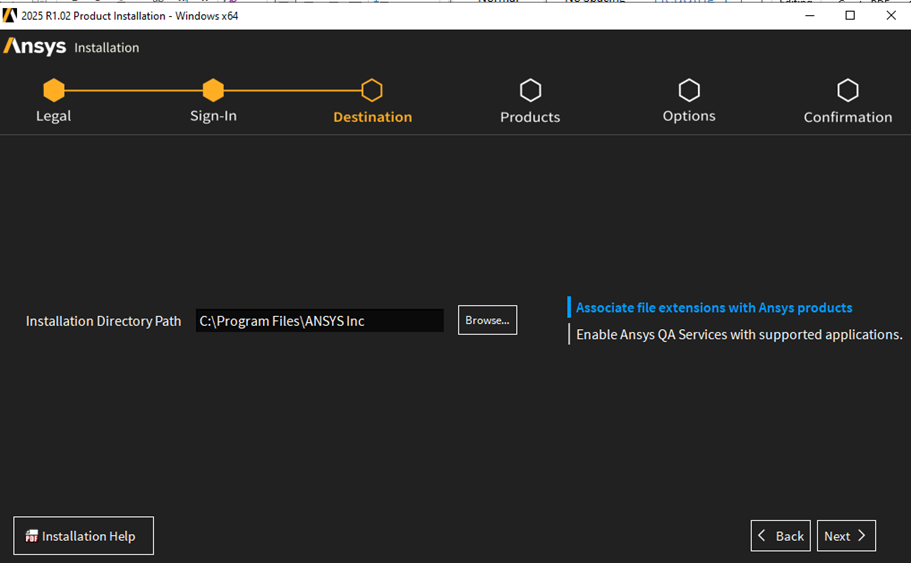
25. Select the install directory and click Next. |
|
|||||
|
|
|
|||||
|
|
|
|||||
|
|
|
|||||
|
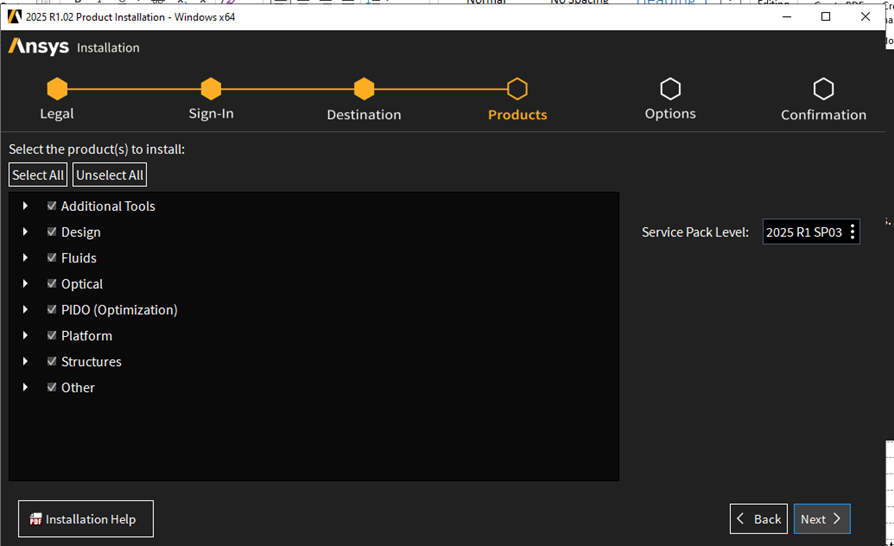
26. Confirm the Service Pack Level and select the products to install. Click Next. |
|
|||||
|
|
|
|||||
|
|
|
|||||
|
|
|
|||||
|
27. Review and confirm your settings. |
|
|||||
|
|
|
|||||
|
|
|
|||||
|
|
|
|||||
|
28. You will get a confirmation that the installation is complete. |
|
|||||
|
|
|
|||||
|
|
|
|||||
|
|
|
|||||
|
|
|
|||||
|
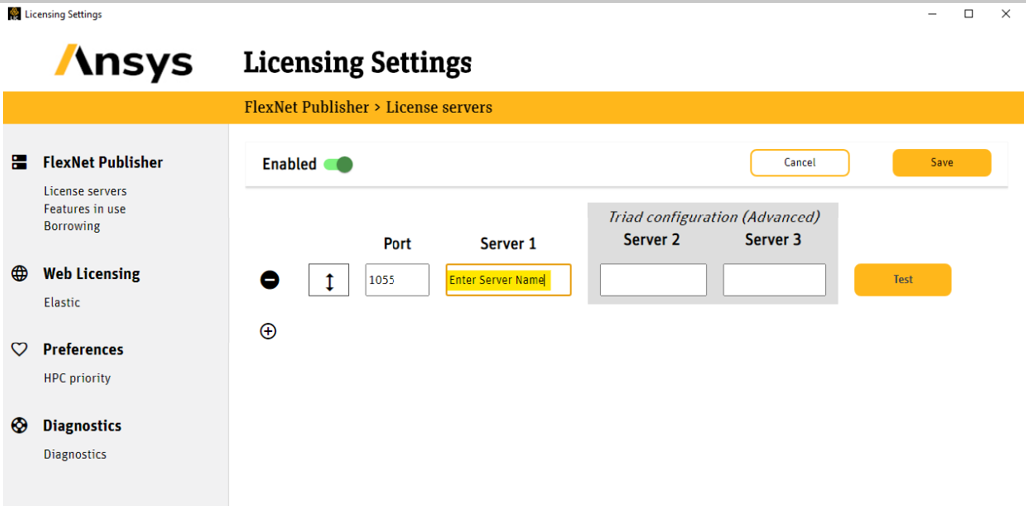
29. If you did not have an opportunity to configure the license server settings during the install, you can open the Ansys Licensing Client Settings from the Start Menu after you install the program. You can input the port number and the name of the license server there. |
|
|||||
|
|
|
|||||
|
|
|
|||||
|
|
|
|||||
|
30. The License Server name and port number that is specified in your WebStore Order for Ansys (located in your WebStore Order History) must be filled in the field below. |
|
|||||
|
|
|
|||||
|
|
|
|||||
|
|
|
|||||
|
31. You must also complete the form that is linked in your WebStore order history. Registration is allowed for up to two computers for the Ansys license, however you will only be able to use one computer at a time. You will receive an error message when you open the application until you have submitted the form and your computer has been registered by WebStore |
|
|||||
|
|
|
|||||
|
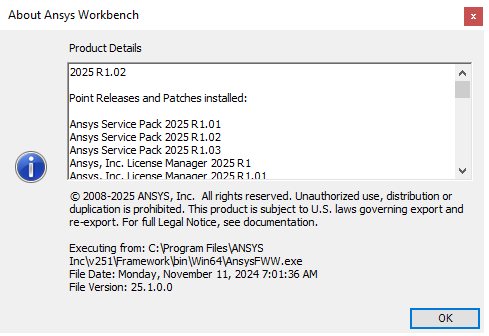
32. Ansys Multiphysics is ready for use. |
|
|||||
|
|
|
|||||
|
||||||
|
|
|
|||||
|
|
|
|||||
|
|
|
|||||
|
|
|
|||||
|
|
|
|||||
|
|
|
|||||

 Windows