![]()
Windows 7 Installation Instructions
- Due to
firewall restrictions, particularly on off-campus and wireless
connections, you will need to connect to the your
campus VPN
service before installing this software.
- The
installation instructions are for doing a clean install, where you wipe
your computer clean and reinstall all software. Back up all the files you
wish to preserve. More information about backing up your computer can be
found at http://www.cites.illinois.edu/backup/.
- You will
want to boot from the installation DVD. Insert the DVD into a DVD drive and
restart the computer (you may need to select F12 during the boot process
to tell the computer where you wish to boot from). A 7 Installation Window
will appear.
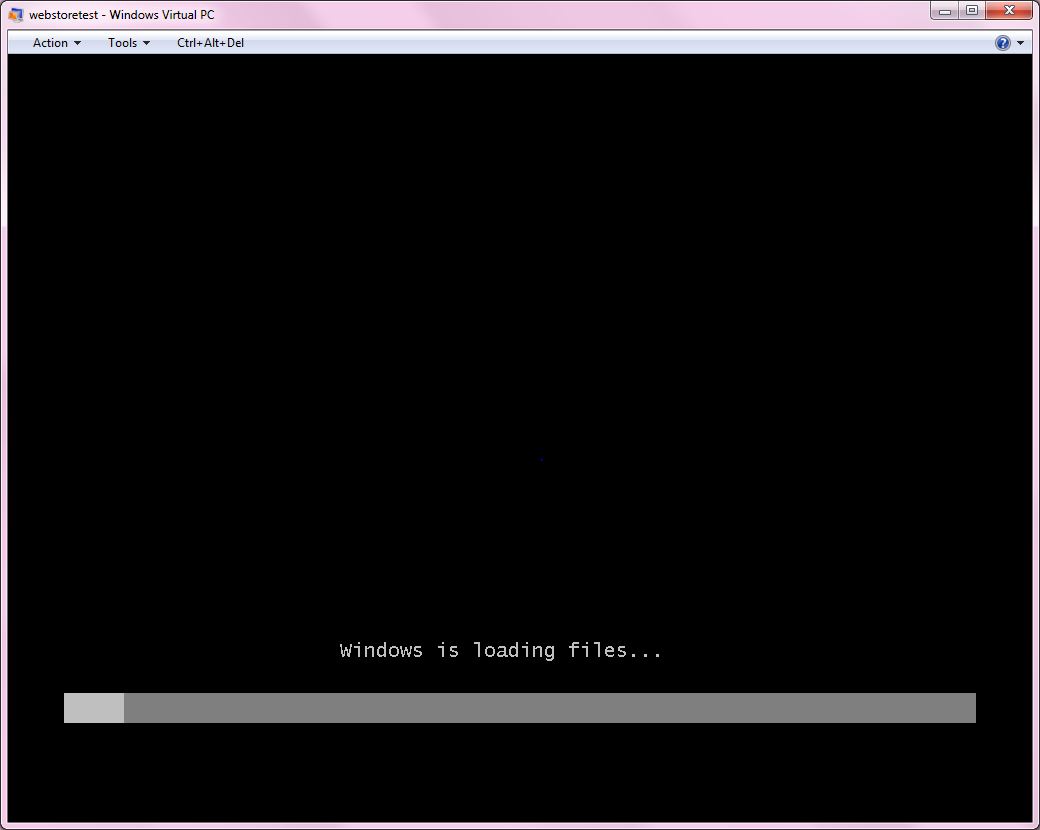
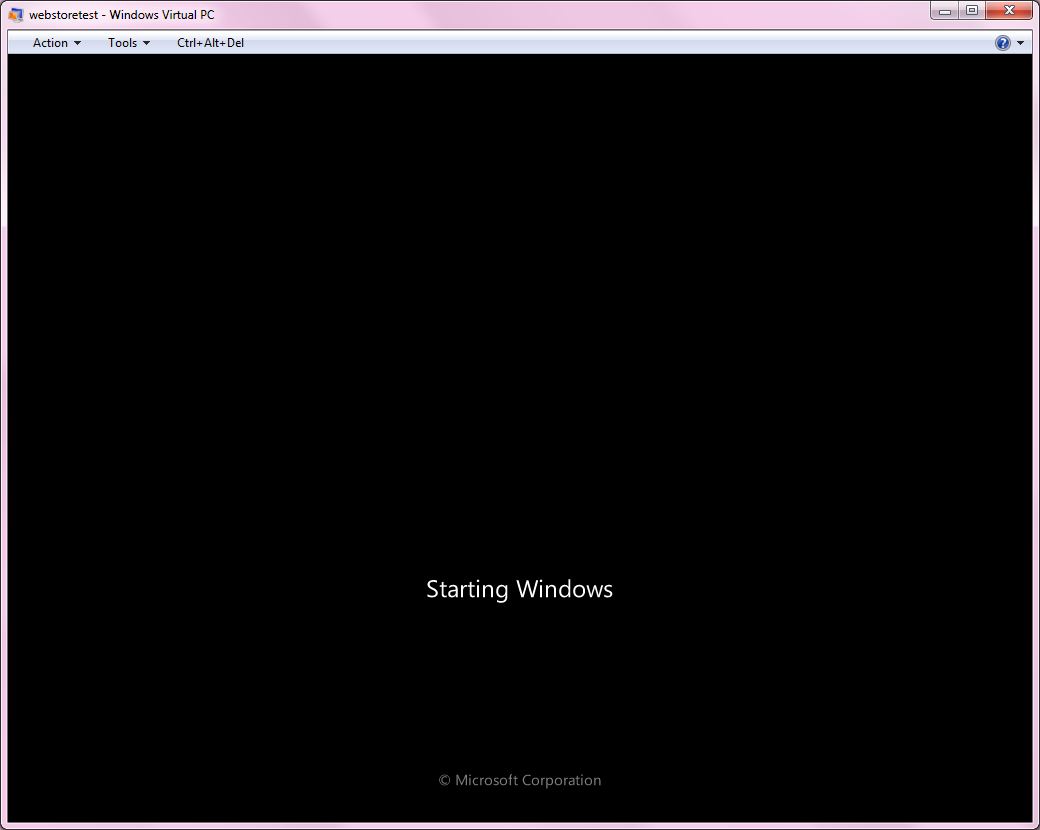
- Windows will
start.
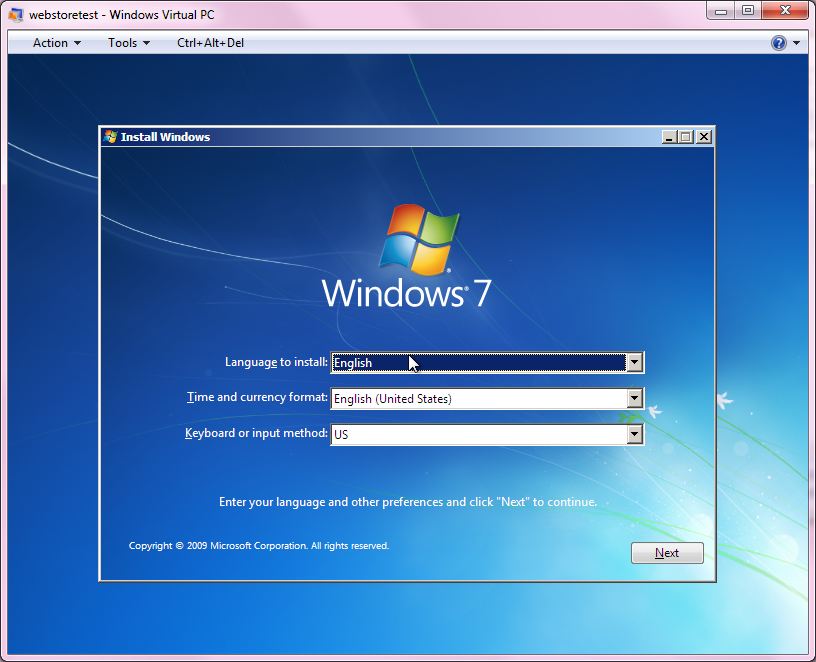
- Select your
language, time and curency format and keyboard
or input method and click on next.
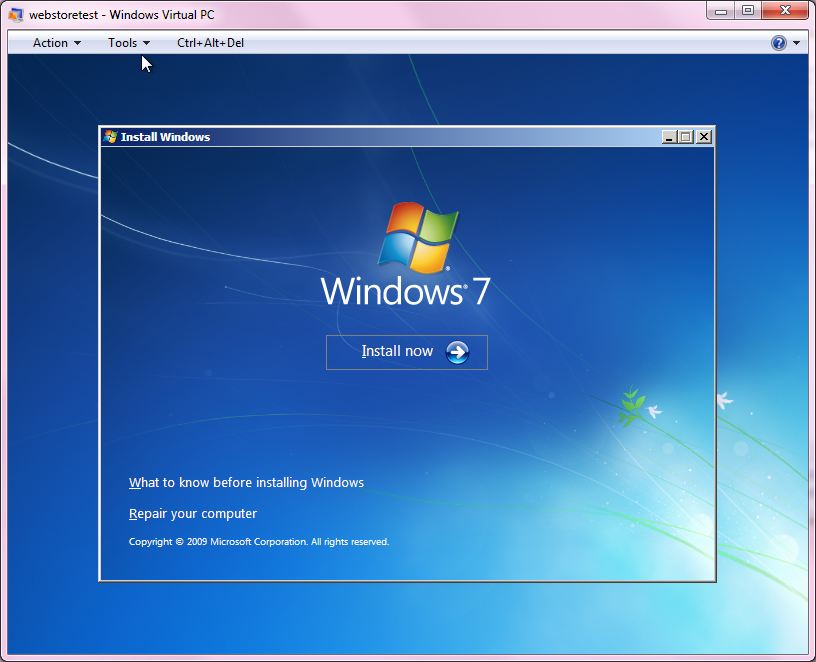
- Click on Install now.
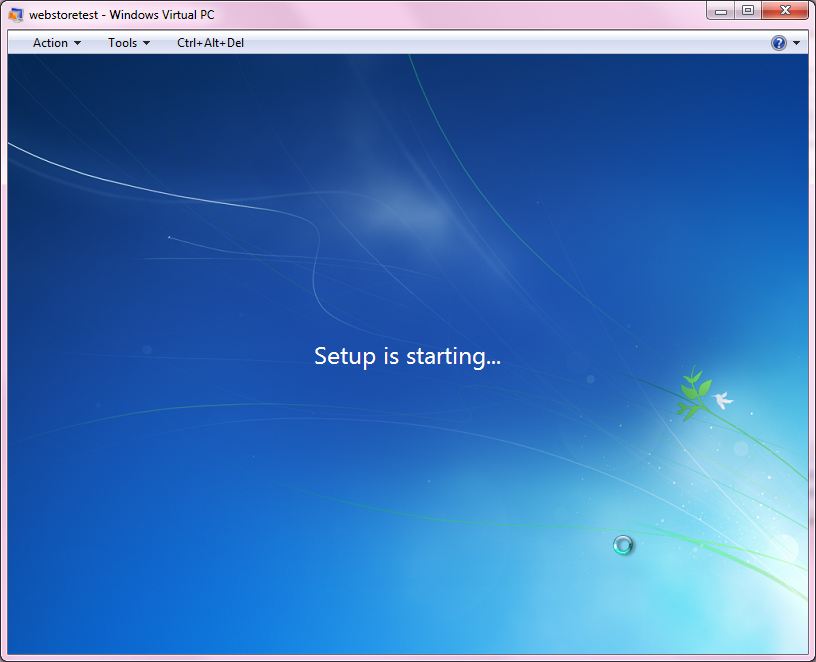
- The desktop
will change to a Windows 7 background with Setup is starting... on the
screen.
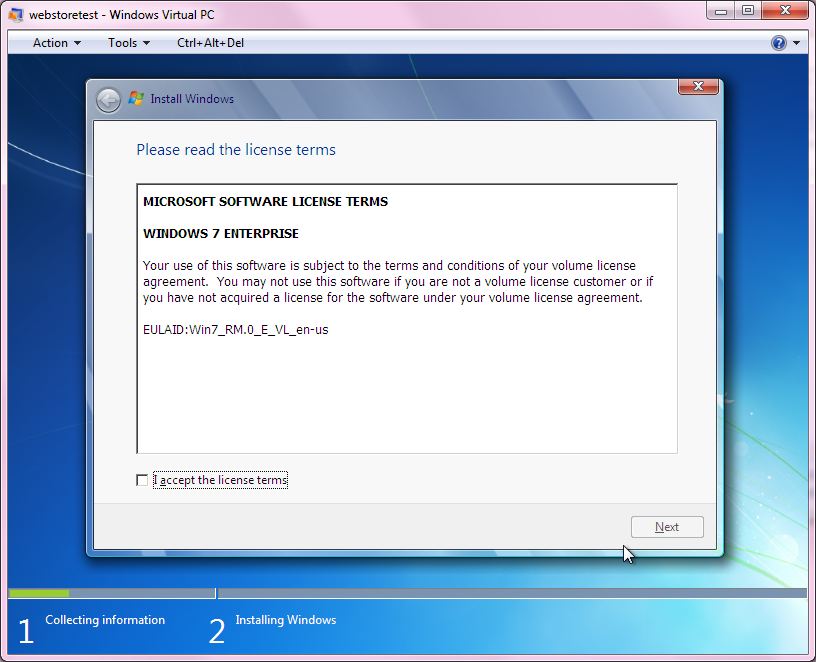
- Accept the
license terms and click on Next.
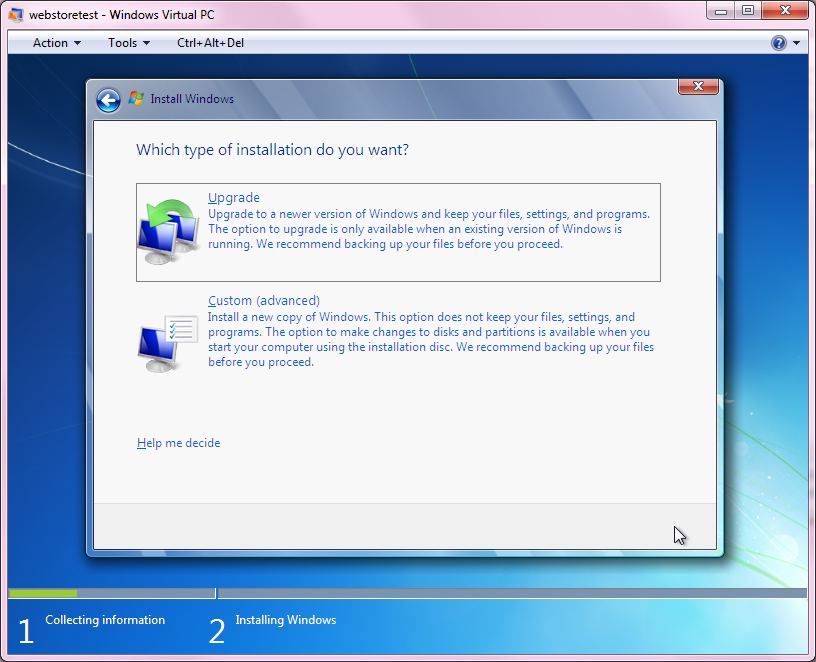
- You will get
the option of performing an Upgrade Installation or a Custom Installation.
In our example we are selecting Custom Installation. This will wipe your
hard drive of all data and install a copy of Windows 7. Remember to make
copies of any files you want to preserve.
- Select where
you wish to install windows and click Next.

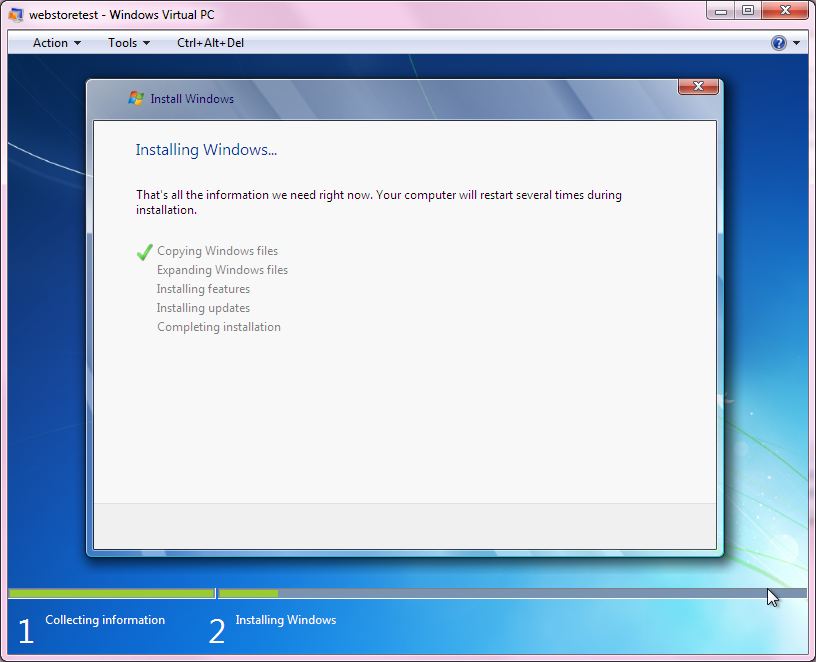
- A dialogue
box will appear that will display the progress of the Windows 7
installation.
- As the
installation goes through the above steps the computer will reboot several
times. Once it reaches the final step you will see a green progress bar at
the bottom of the screen. You will be asked to create a account and to name your computer.

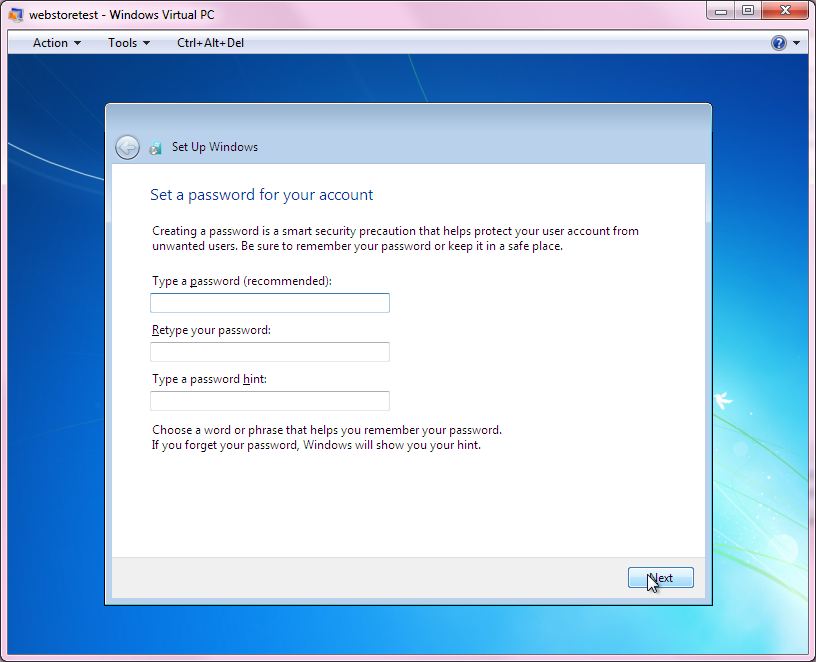
- You will be
asked to set a password and password hint. Click Next.
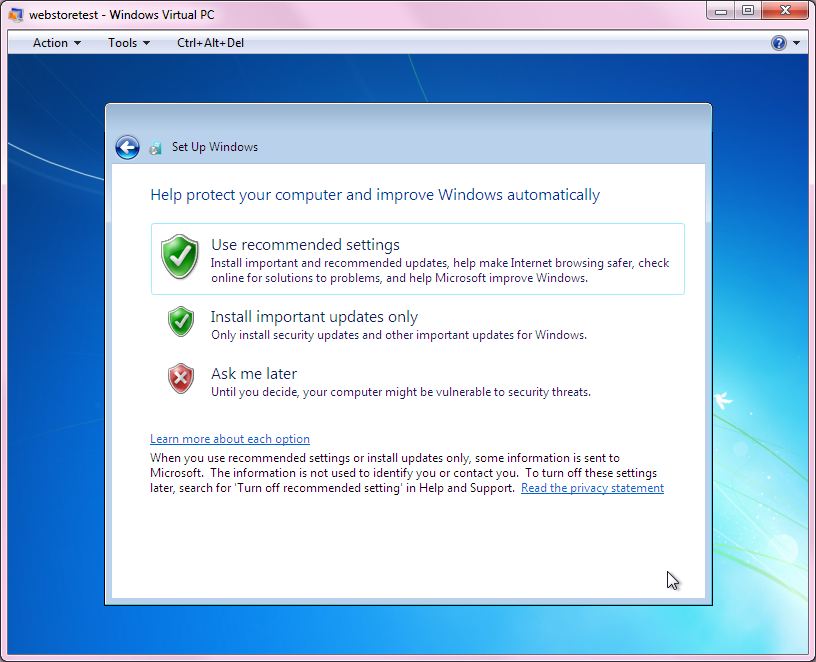
- Click on Use recommended settings.
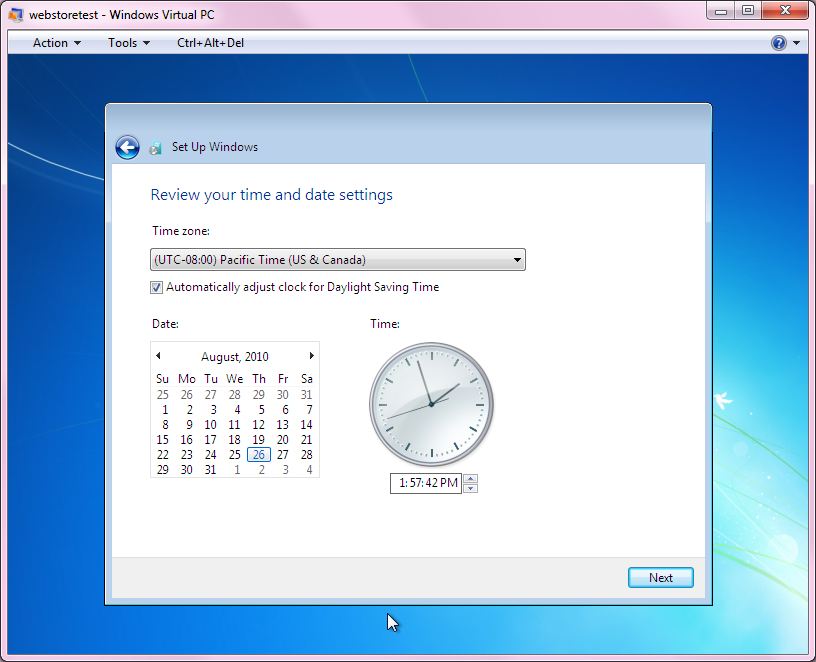
- You will be
asked to set the Time Zone Time and Date. Click Next.
- Select your
computer's current location. In our example we click on Work Network.

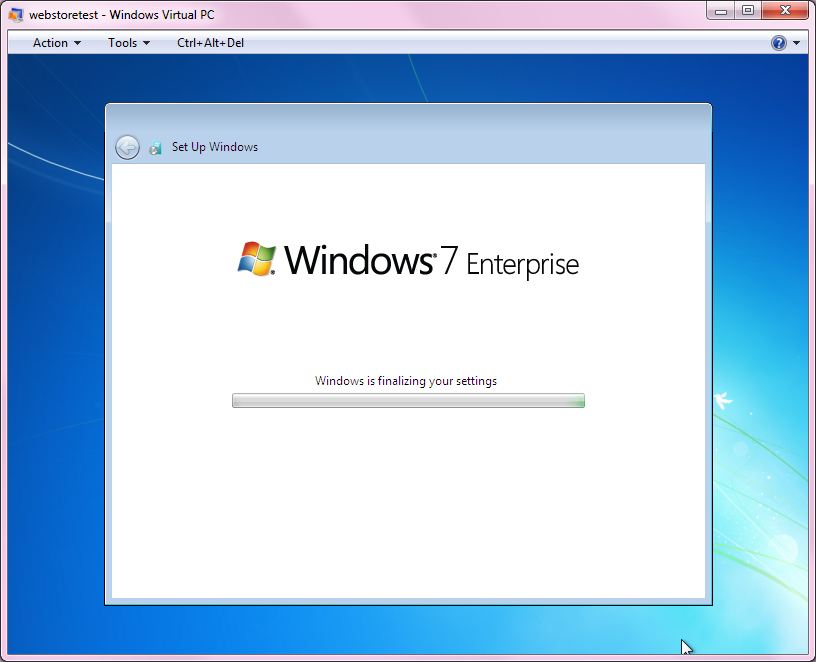
- The
installation is finalizing.
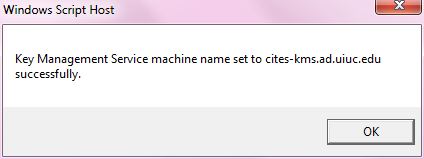
- To activate
your installation you will need to download and
run the activation file. To retrieve this file login to our website and
click on Order History. Find this offer on your list and click on the
order number. Save this file to your desktop. Right click on this file and
select Run As Administrator to activate your
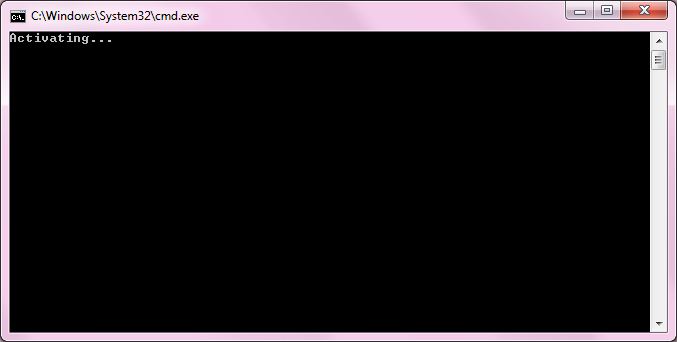
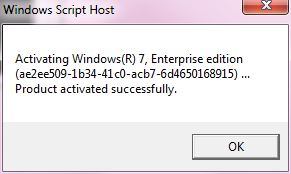
installation of Windows 7. You will see the below two windows. Click OK.

- Then the
next two windows. Click OK.
- Your
installation of Windows 7 is complete. You may wish to update the
operating system. You can do this by going to your Start menu and
selecting Windows Update. This may fix issues you have with hardware
devices like a monitor or CD/DVD burner.