|
|
|
|
Tecplot 360 EX
2021 R1 Installations Instructions
|
|
|
|
|
|
|
|
· Computer registration is required. Please complete this form and submit it to begin the registration process. We will respond when the license manager has been configured for your license. · Due to firewall restrictions, particularly on off-campus and wireless connections, you will need to connect to your campus VPN service before installing and to use this software. |
|
|
|
· Instructions for obtaining your computer name are available via this FAQ entry. You will be notified when the license manager has been configured for your computer. |
|
|
|
|
|
|
|
|
|
|
|
1. This offer comes in the form of an .exe file. Double click the .exe to begin the installation. |
|
|
|
|
|
|
|
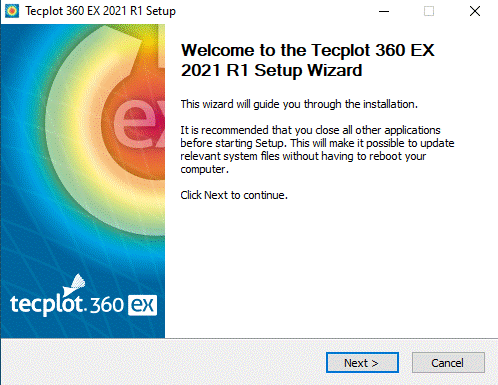
2. An installer window will appear. Click on Next. |
|
|
|
|
|
|
|
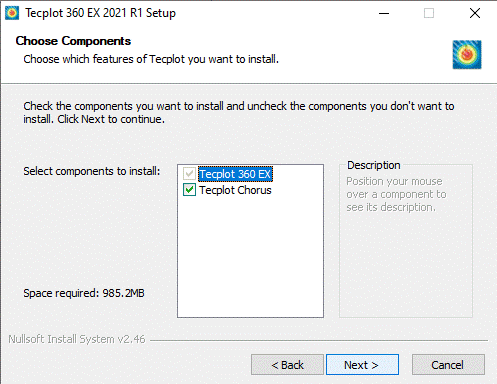
3. Choose the components you wish to install. |
|
|
|
|
|
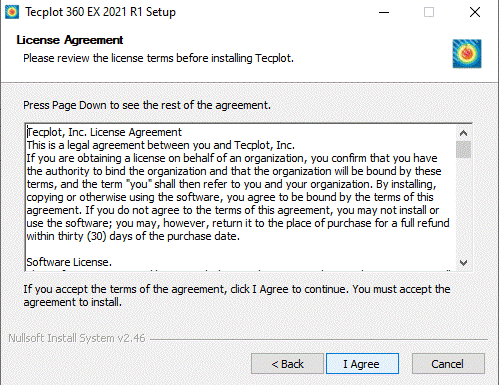
3. Accept the License Agreement. |
|
|
|
|
|
|
|
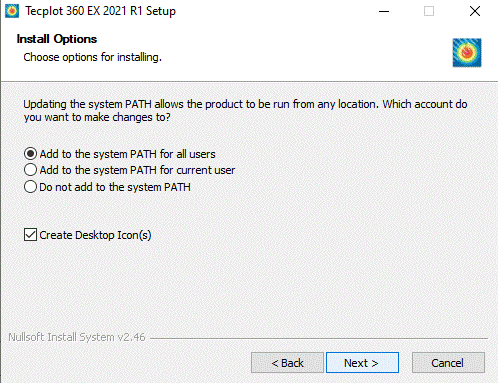
4. Keep the default Install Options and click Next. |
|
|
|
|
|
|
|
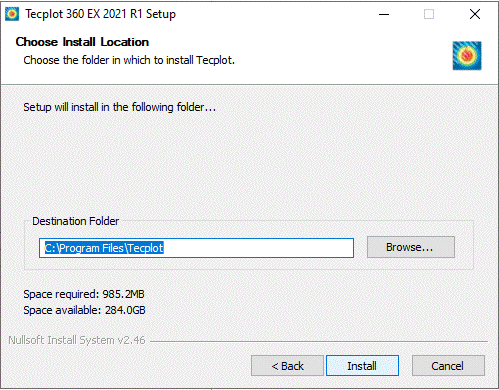
5. Choose where you want to install Tecplot. Click on Next. |
|
|
|
|
|
|
|
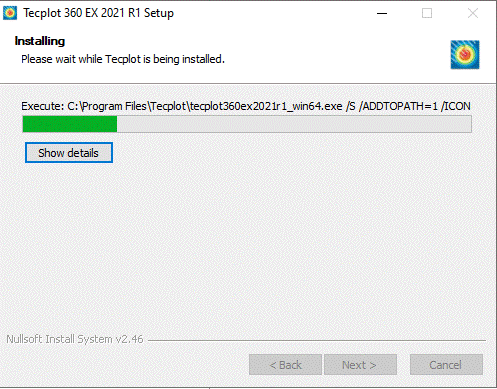
7. The installation will begin and may take several minutes. |
|
|
|
|
|
|
|
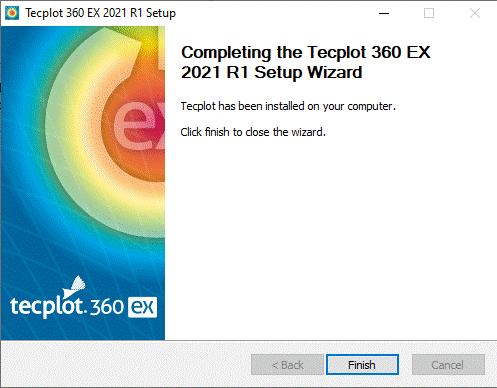
8. Installation is complete, click Finish. |
|
|
|
|
|
|
|
9. The following window will pop up on first launch of the application. Click on Network License Server and enter the License Manager and port number provided in your WebStore order. You can retrieve this information by logging into the WebStore and clicking on Order History. Find this offer on your list and click on the order number. Click OK when you are done. |
|
|
|
|
|
|
|
10. You are now ready to use Tecplot for Windows. If you see an error after the step above, check to be sure you are connected to your campus VPN and that you have submitted the registration form as instructed at the top of the document. |
|
|
|
|
|
|
|
|
|
|
|
|
|
|
|
|
|
The process for installing Tecplot 2021 R1 for Mac should be the same as for 2020 R1. Please proceed to follow the instructions for installing Tecplot 2020 R1 for both versions. |
|
|
|
|
|
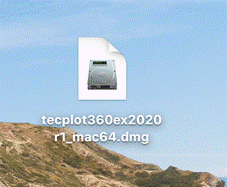
1. This offer comes in the form of a .dmg file. Double click the .dmg file you downloaded from your Webstore order history. |
|
|
|
|
|
|
|
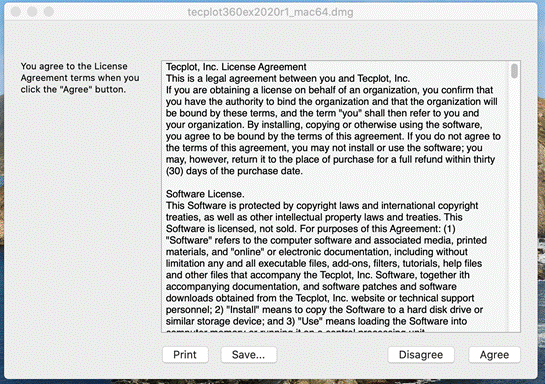
2. Click Agree. |
|
|
|
|
|
|
|
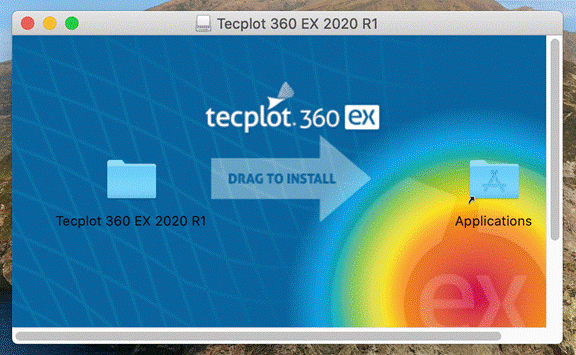
3. Drag the Tecplot 360 EX 2017 R2 folder to the Applications folder. |
|
|
|
|
|
|
|
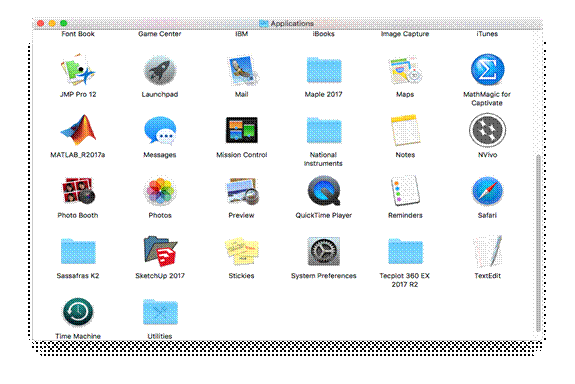
4. Double click the Applications folder to open a screen similar to the one below. Double click on the Tecplot 2021 folder. (This example is version 2017.) |
|
|
|
|
|
|
|
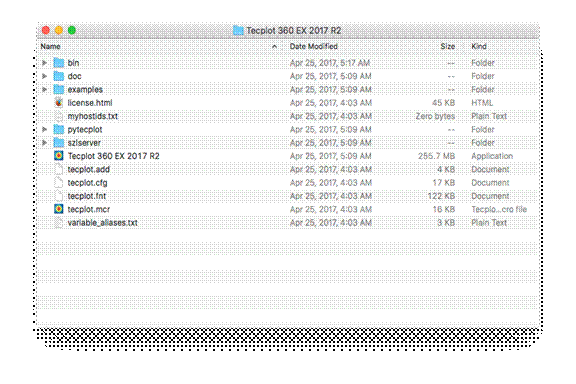
5. Double click on the Tecplot 2020 application. (This example is version 2017.) |
|
|
|
|
|
|
|
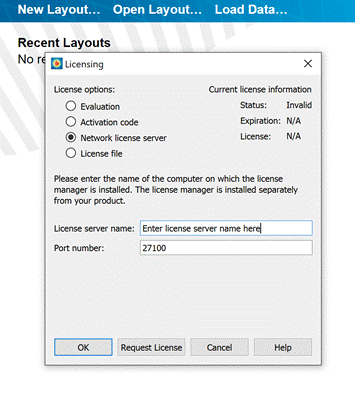
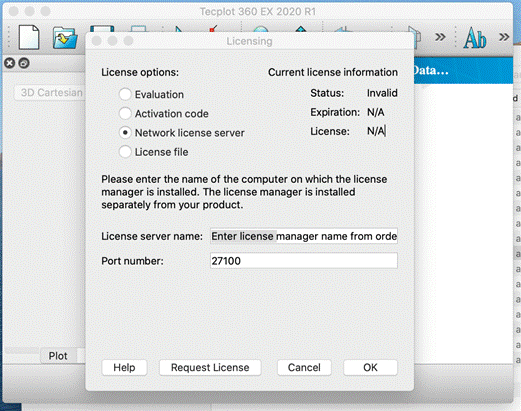
6. The first time you run Tecplot, the following screen will appear. Click Network license server and enter the license server name and port number. These items were provided in your Webstore order history. |
|
|
|
|
|
|
|
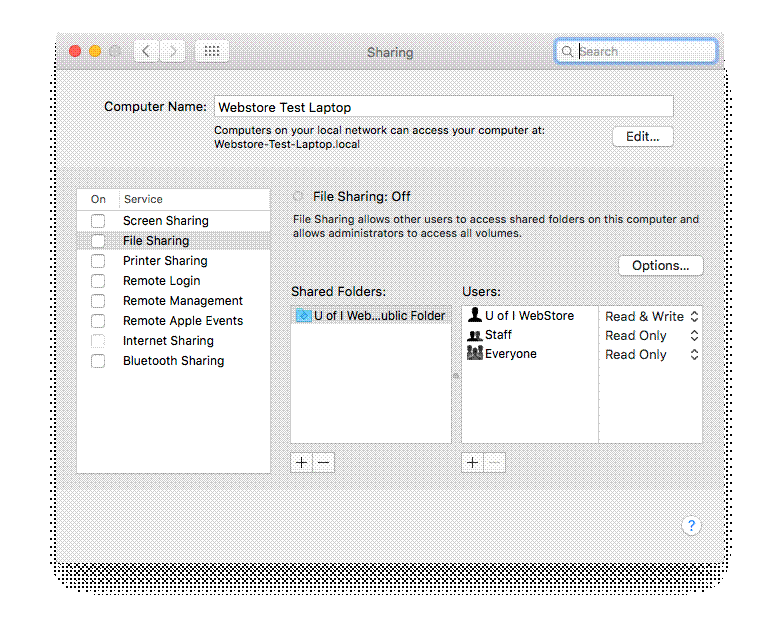
7. For newer Macs that do not have a physical Ethernet port, the following steps may be applicable. Please attempt the following steps ONLY IF YOU ARE UNABLE TO USE TECPLOT EVEN AFTER RECEIVING A CONFIRMATION EMAIL FROM THE WEBSTORE! Navigate to your System Preferences. Double click on the Sharing folder. |
|
|
|
|
|
|
|
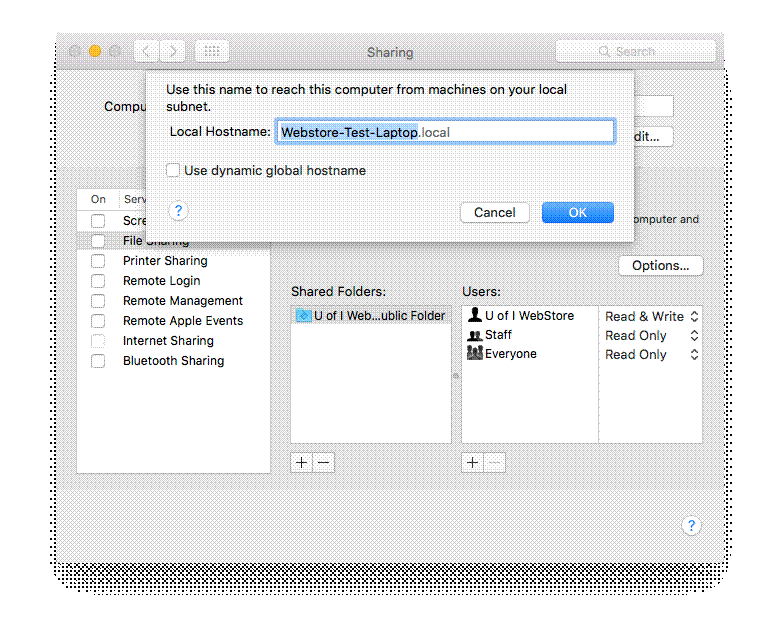
8. Take note of your exact computer name; here, it is “Webstore Test Laptop”. Click on Edit. |
|
|
|
|
|
|
|
9. Do NOT change your local hostname. If Use dynamic global hostname is checked, uncheck it and click OK. |
|
|
|
|
|
|
|
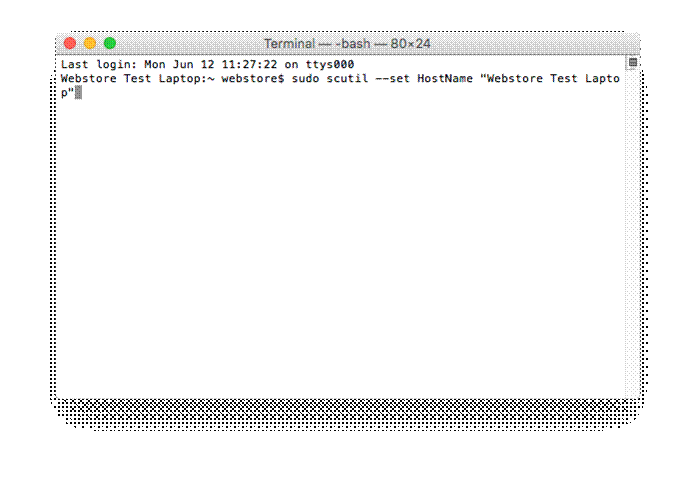
10. Enter the following command into a terminal window: sudo scutil --set HostName “YOUR HOSTNAME HERE”. Please make sure to include the enclosing quotes. You will need to enter your password after running this command. Restart your computer. |
|
|
|
|
|
|
|
You are now ready to use Tecplot for Mac. If you see an error after the step 6 above, check to be sure you are connected to your campus VPN and that you have submitted the registration form as instructed at the top of the document. |