
SYSTAT 13 Installation Instructions
 Windows
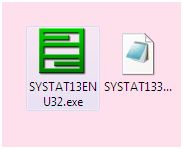
- In our example we will be installing the 32-bit version of SYSTAT 13. You will need two files to complete this installation.
SYSTAT13ENU32.exe and the license file, SYSTAT1332bitperpetual.lic. Double click SYSTAT13ENU32.exe.
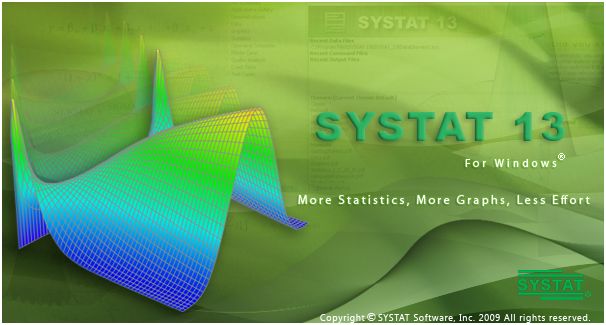
You will be installing an evaluation
copy of this software. At the end of the installation, you will license the
software.
- The files will extract.
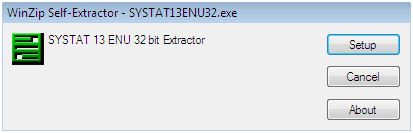
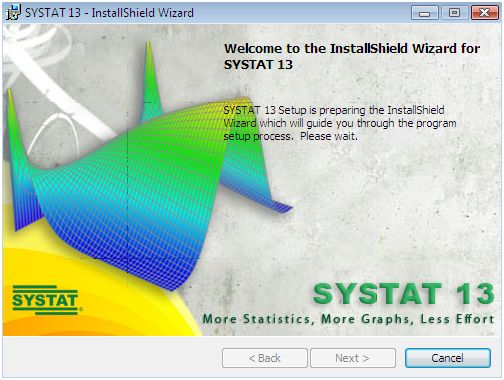
- Once the extraction is complete you will see two
windows.
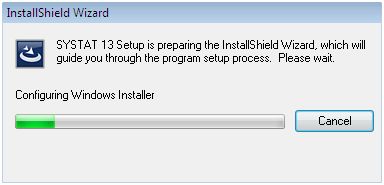
- You will see a windows installer window.
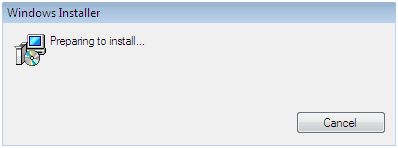
- The installation will prepare.
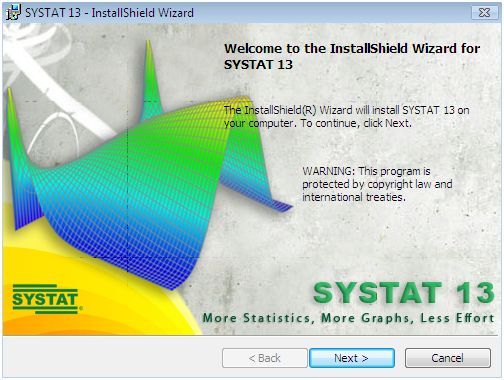
- Click Next
to begin.
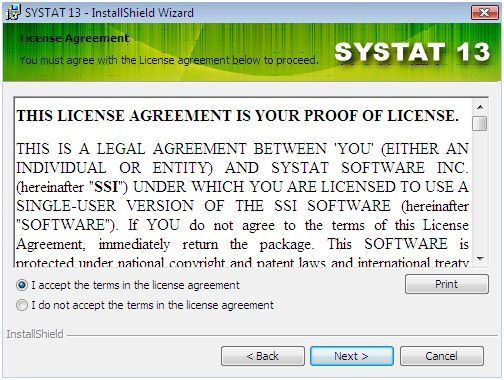
- Agree to the License Agreement and click on Next.
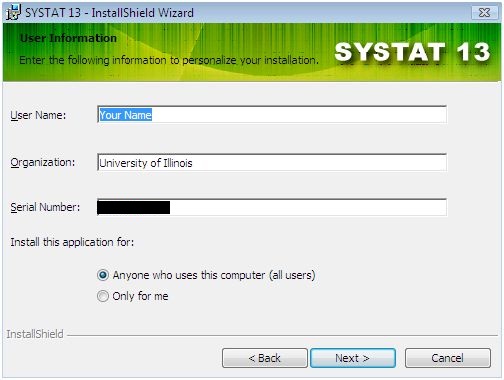
- Enter your name and organization and click on Next. The serial number
will be filled in for you by the installer.
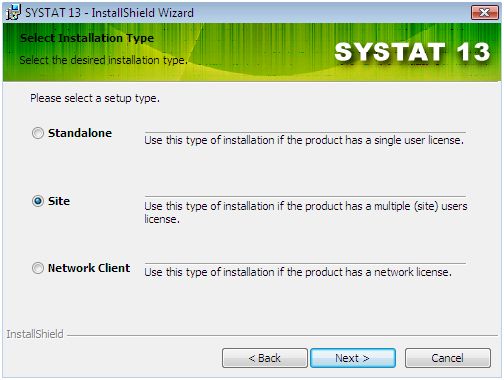
- Select Site
as your setup type and click on Next.
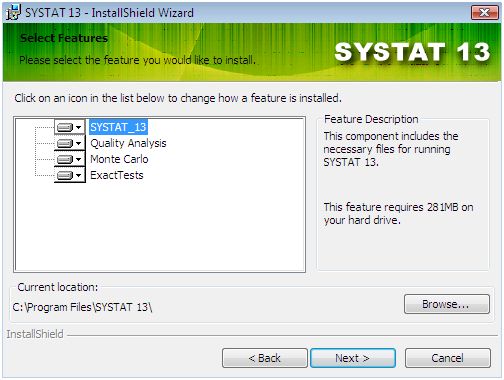
- Select the features you wish to install and click on Next.
- Click Next
to begin the installation.

- Space will be computed.
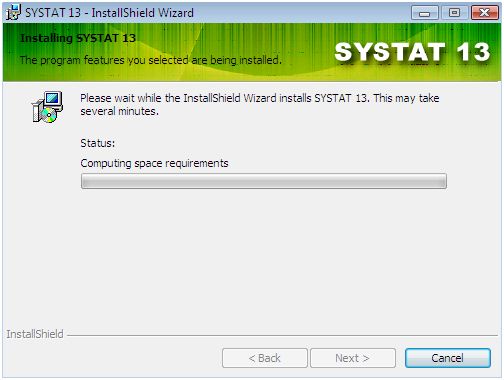
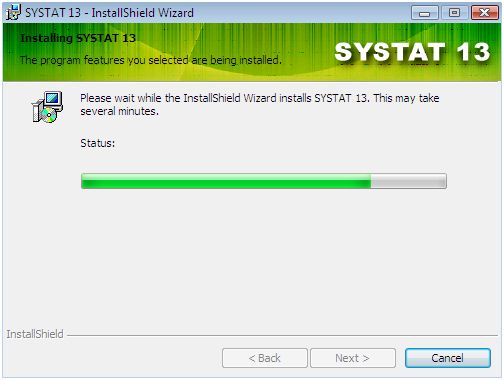
- The installation will begin and will take several
minutes.
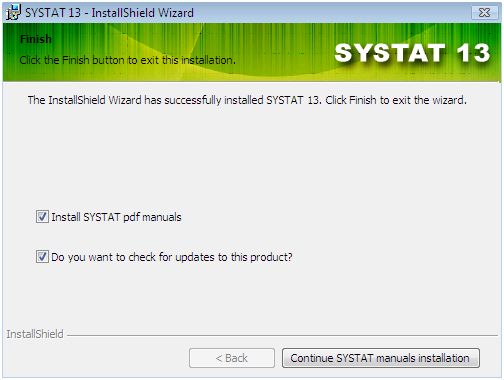
- Click on Continue
SYSTAT manuals installation.
- You will see a windows installer window.
- The Systat 13 manuals are configured and installed.
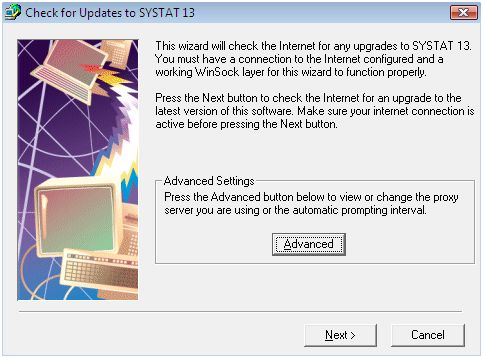
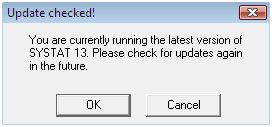
- Next the installer will check for updates. Click on Next.
- At the time of this installation, there were no
updates. Click on OK.
The installation is now complete.
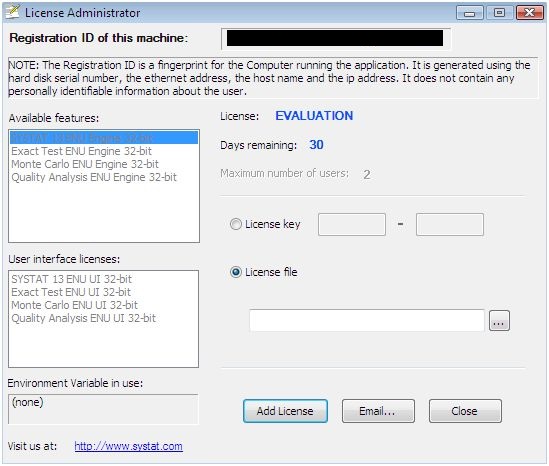
- To license SYSTAT 13, from the Start Menu select SYSTAT 13 > Update License.
You will see the window below.
Select
License file and
click on the ![]() to browse to the license file you
downloaded at the beginning of this installation.
to browse to the license file you
downloaded at the beginning of this installation.
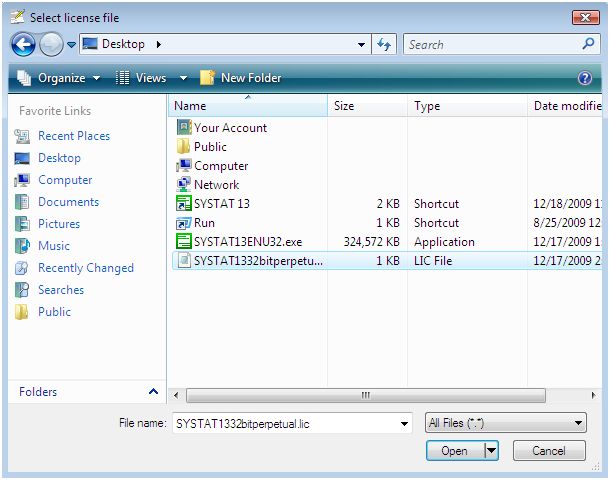
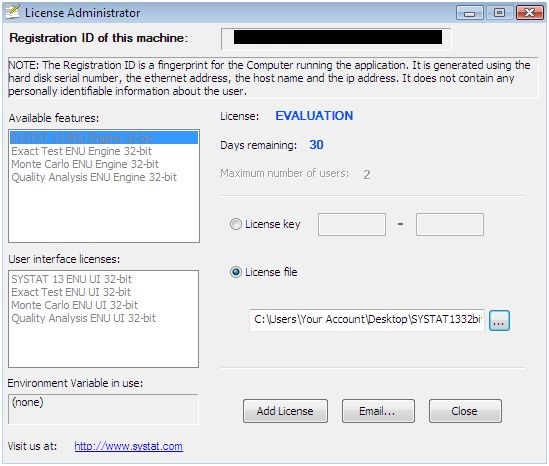
- Select the .lic file and click on Open.
- Click on Add
License. Click on Close.
- You are now ready to use SYSTAT 13.