|
|
|
|
SecureCRT and SecureFX 8.0 Installation Instructions |
|
|
|
|
|
|
|
|
|
|
|
|
|
|
|
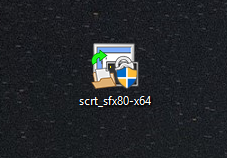
1. Double click on the .exe file you downloaded from the WebStore. |
|
|
|
|
|
|
|
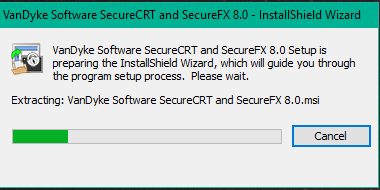
2. The extraction process will begin. |
|
|
|
|
|
|
|
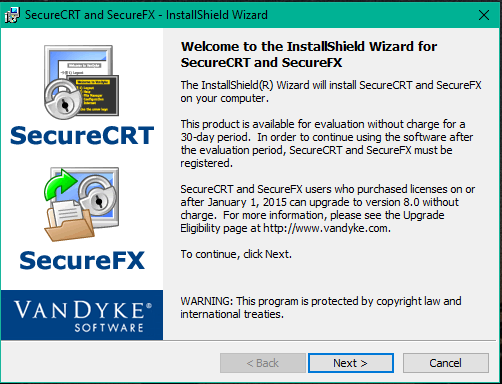
3. Click on Next. |
|
|
|
|
|
|
|
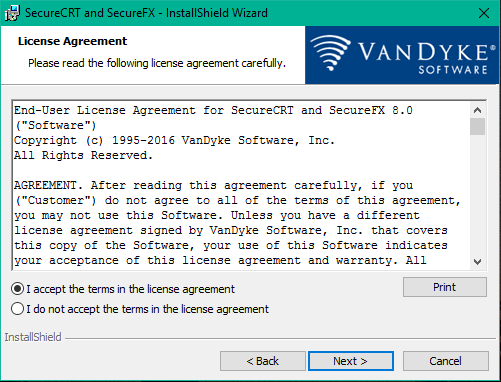
4. Accept the license agreement. Click on Next. |
|
|
|
|
|
|
|
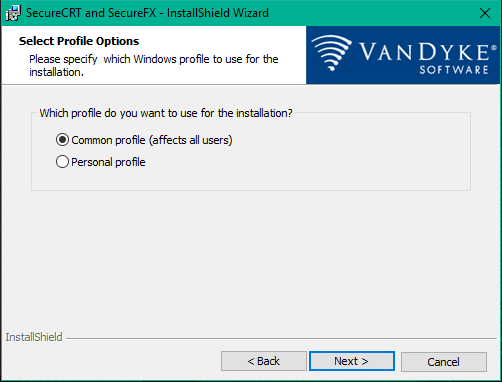
5. Select your desired Profile Options and click on Next. |
|
|
|
|
|
|
|
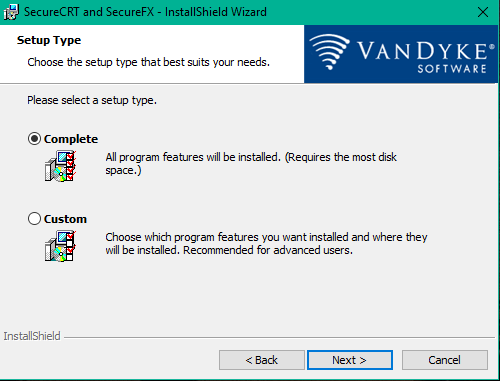
6. Select your desired Setup Type and click on Next. |
|
|
|
|
|
|
|
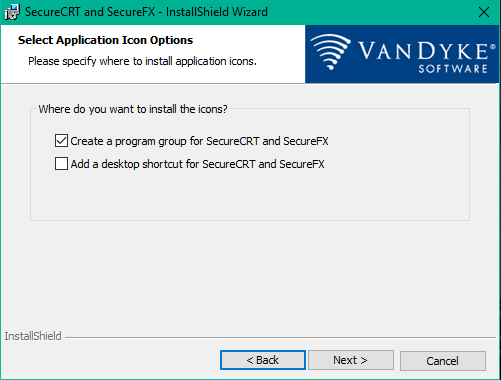
7. Select your desired Icon Options and click on Next. |
|
|
|
|
|
|
|
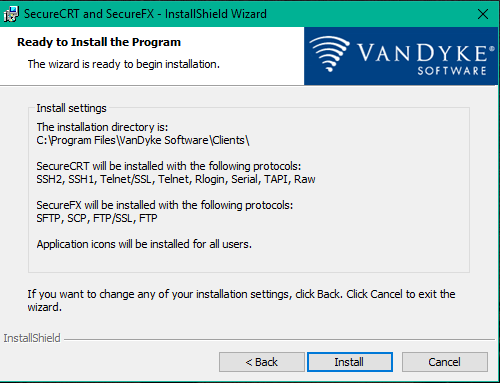
8. Click on Install to begin the installation process. |
|
|
|
|
|
|
|
9. Your installation will begin and will take several minutes. |
|
|
|
|
|
|
|
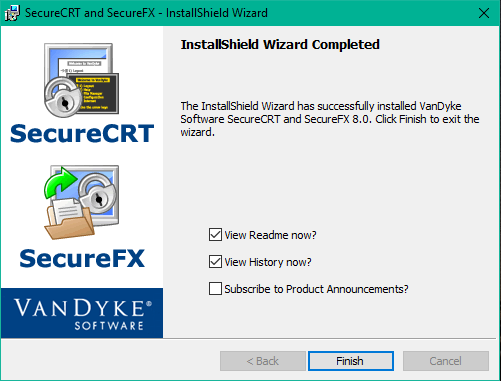
10. Click on Finish. |
|
|
|
|
|
|
|
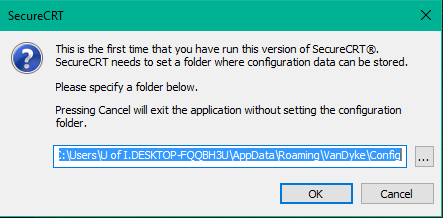
11. The first time your run SecureCRT you will need to specify a folder where configurable data can be stored. Select the location you wish to use and click on OK. |
|
|
|
|
|
|
|
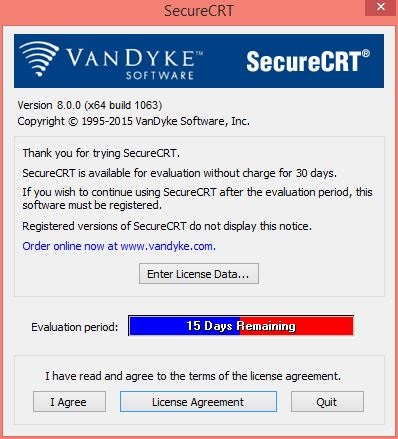
12. Click on Enter License Data. |
|
|
|
|
|
|
|
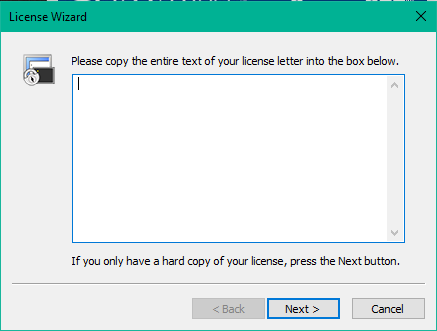
13. Copy and paste the entire licensing information from your Order History in the box below and click on Next. You can retrieve this information by logging into the Webstore and clicking on Order History. Find this offer on your list and click on the order number for this offer. The licensing information is on this page. |
|
|
|
|
|
|
|
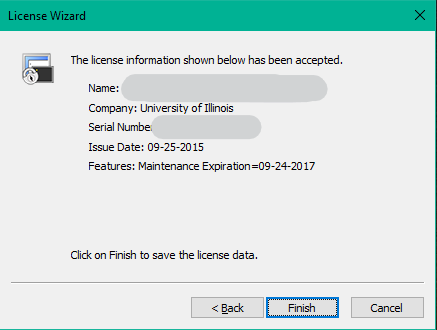
14. Click on Finish. |
|
|
|
|
|
|
|
15. Decide if you want to use a passphrase and click on OK. |
|
|
|
|
|
|
|
16. You are now ready to use SecureCRT for Windows. |
|
|
|
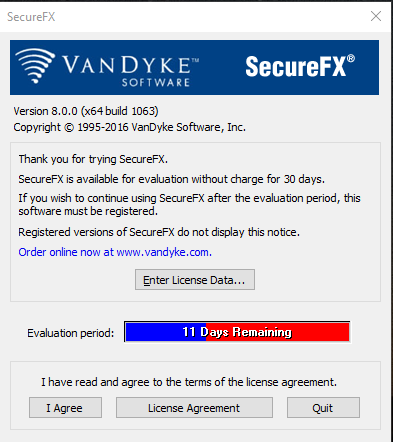
17. The first time you run SecureFX, a box will pop up. Click on Enter License Data. |
|
|
|
|
|
|
|
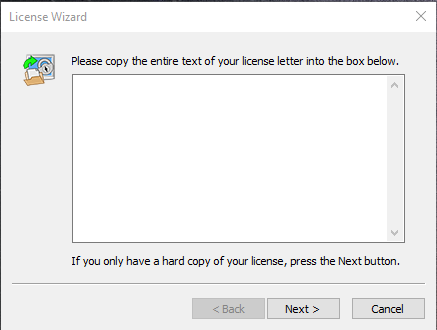
18. Copy and paste the entire licensing information from your Order History in the box below and click on Next. You can retrieve this information by logging into the Webstore and clicking on Order History. Find this offer on your list and click on the order number for this offer. The licensing information is on this page. |
|
|
|
|
|
|
|
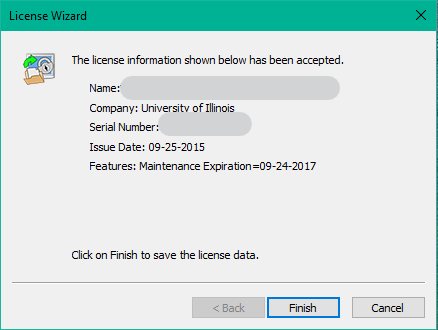
19. Click on Finish. |
|
|
|
|
|
|
|
20. Click on Finish. You are now ready to use SecureFx. |
|
|
|
|
|
|
|
|
|
|
|
|
|
|
|
|
|
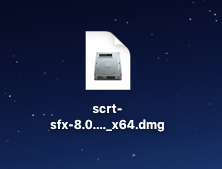
1. Double click on the .dmg file you downloaded from the WebStore. |
|
|
|
|
|
|
|
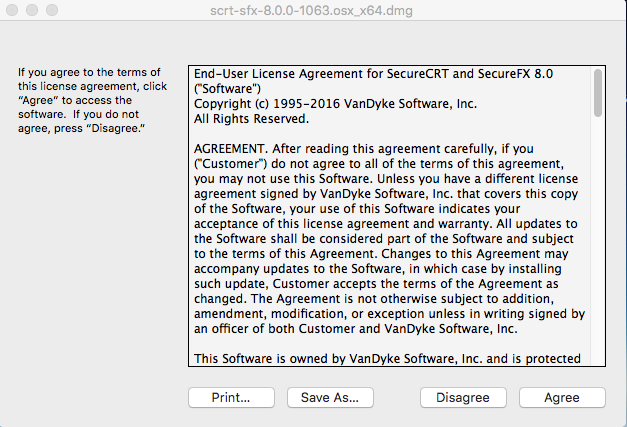
2. Agree to the License Agreement. |
|
|
|
|
|
|
|
3. The disk image will mount to your computer's desktop. |
|
|
|
|
|
|
|
|
|
|
|
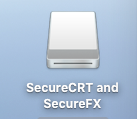
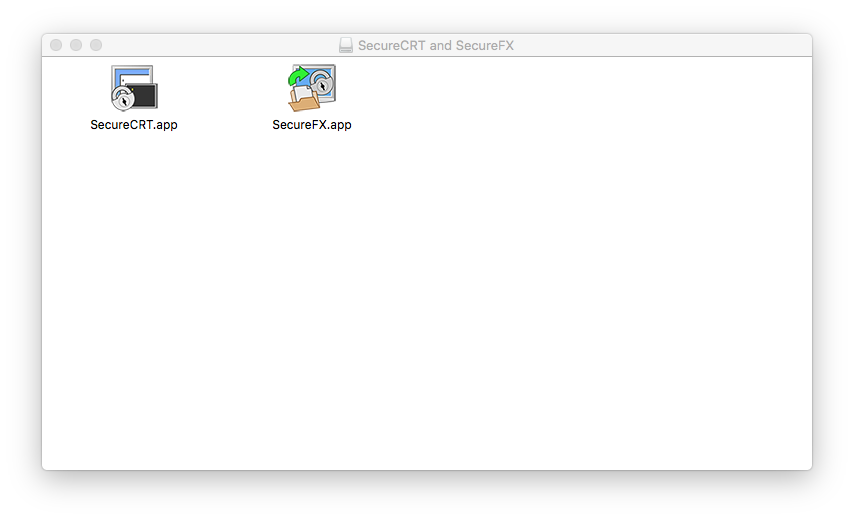
4. The below window should automatically open. If it does not double click on the disk image that was mounted in step 3. |
|
|
|
|
|
|
|
5. Copy the SecureCRT.app and SecureFX.app file to your applications folder. Double click on the SecureCRT.app file. Click on Enter License Data. |
|
|
|
|
|
|
|
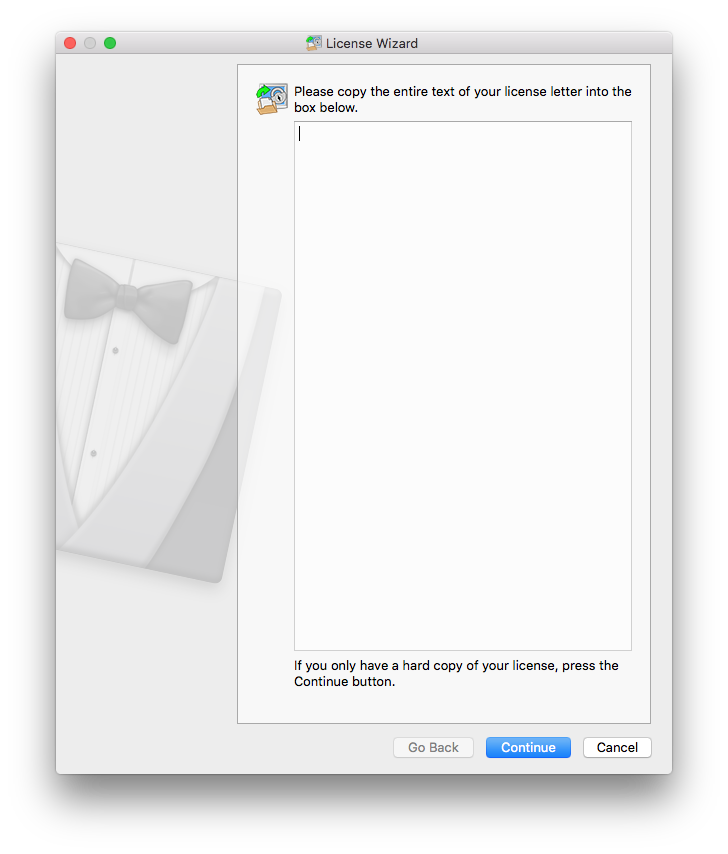
6. Copy and paste the entire licensing information from your Order History in the box below and click on Continue. You can retrieve this information by logging into the Webstore and clicking on Order History. Find this offer on your list and click on the order number for this offer. The licensing information is on this page. |
|
|
|
|
|
|
|
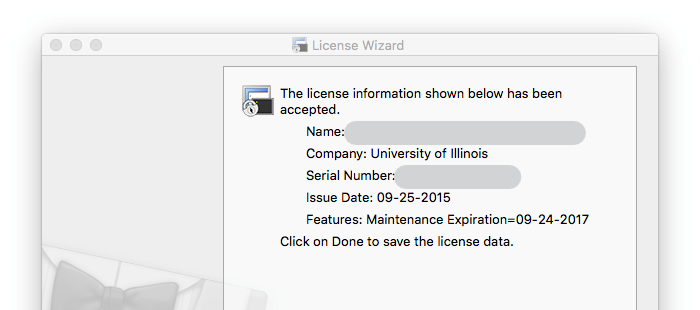
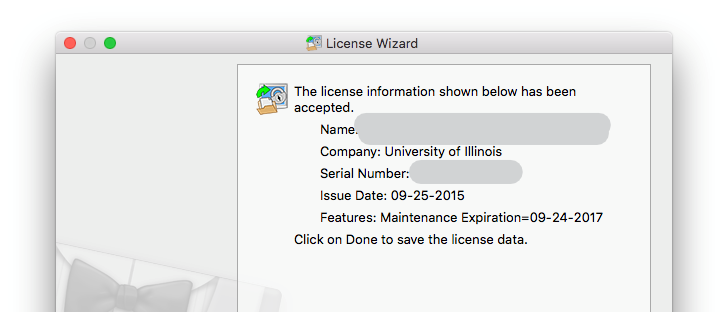
7. Click on Done. |
|
|
|
|
|
|
|
8. Decide if you want to use SecureCRT as your default Telnet application. |
|
|
|
|
|
|
|
9. You are now ready to use SecureCRT for the Mac. |
|
|
|
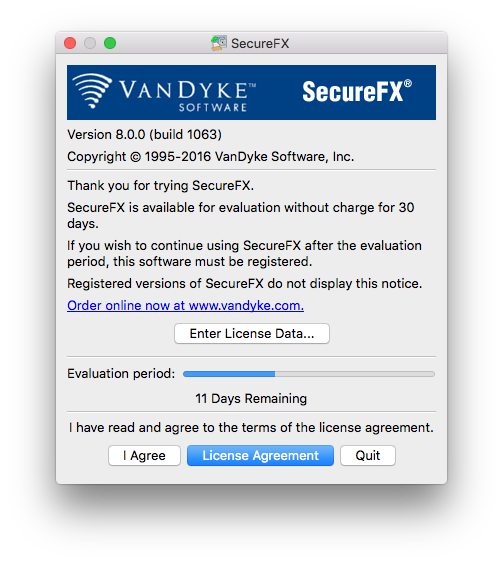
10. Double click the SecureFX.app file in your applications folder. A box will pop up. Click on Enter License Data. |
|
|
|
|
|
|
|
|
|
11. Click on Go Back. Copy and paste the entire licensing information from your Order History in the box below and click on Continue. You can retrieve this information by logging into the Webstore and clicking on Order History. Find this offer on your list and click on the order number for this offer. The licensing information is on this page. |
|
|
|
|
|
|
|
12. Click on Done. |
|
|
|
|
|
|
|
13. You are now ready to use SecureFX for the Mac. |
|
|
|
|
|
|
|
|
|
|
|
|