|
Remote Desktop Manager Installation Instructions |
|
|
|
|
|
|
|
|
|
1. Double click the .exe file that you downloaded from the Webstore. |
|
|
|
|
|
|
|
2. The installation will begin. Click Next. |
|
|
|
|
|
|
|
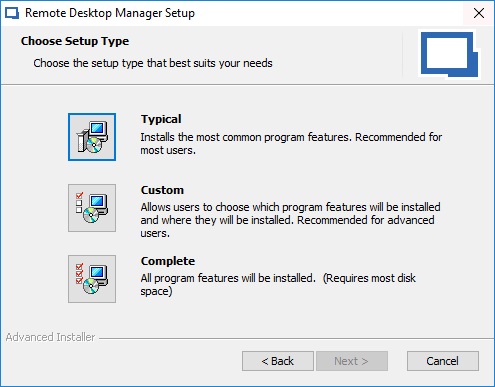
3. Click on the setup type that you would like to use. If you aren’t sure which one to use, select Typical and click Next. |
|
|
|
|
|
|
|
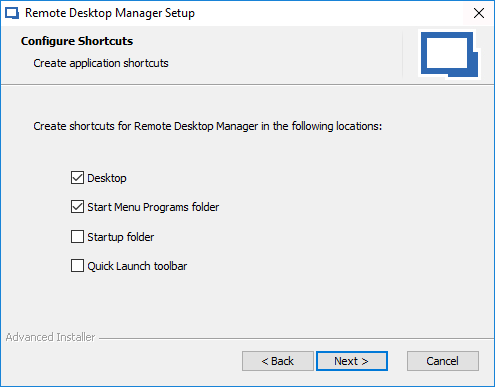
4. Select which shortcuts you would like to create and click Next. |
|
|
|
|
|
|
|
5. Select file extensions you would like associated with RDM and click Next. |
|
|
|
|
|
|
|
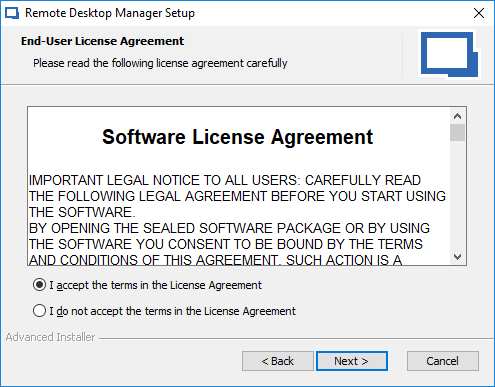
6. Accept the agreement and click Next. |
|
|
|
|
|
|
|
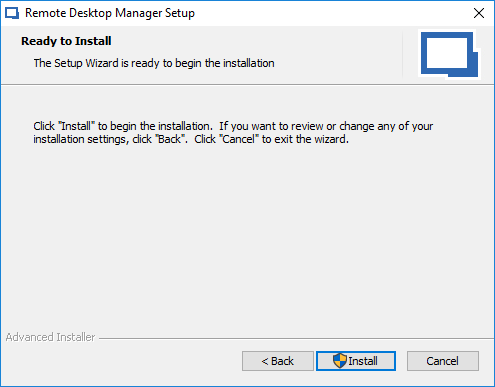
7. Click Install. |
|
|
|
|
|
|
|
8. The installation will begin and may take a few minutes. |
|
|
|
|
|
|
|
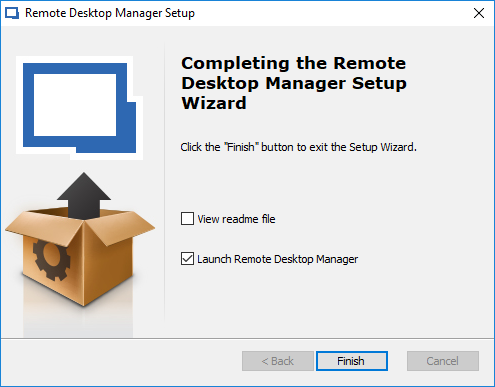
9. Click Finish. Remote Desktop Manager will automatically launch. If it didn’t, open it now. |
|
|
|
|
|
|
|
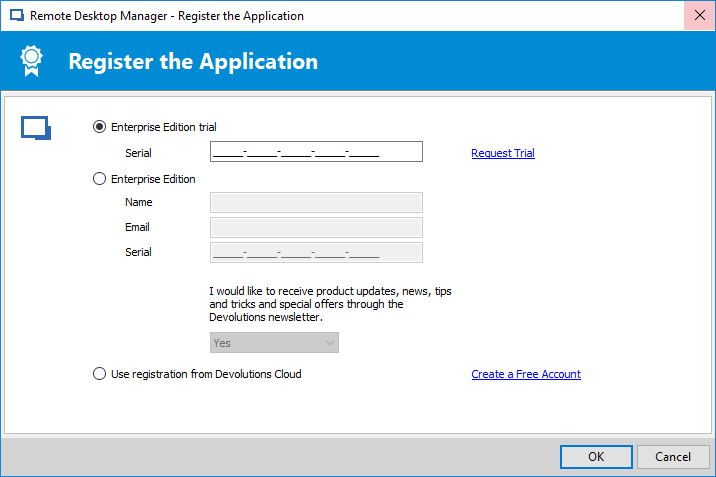
10. Upon first launch of the application, you will be presented with the following screen. MAKE SURE TO CLICK ENTERPRISE EDITION. Enter your name, email, and the serial number found in your Webstore order history and click OK. |
|
|
|
|
|
|
|
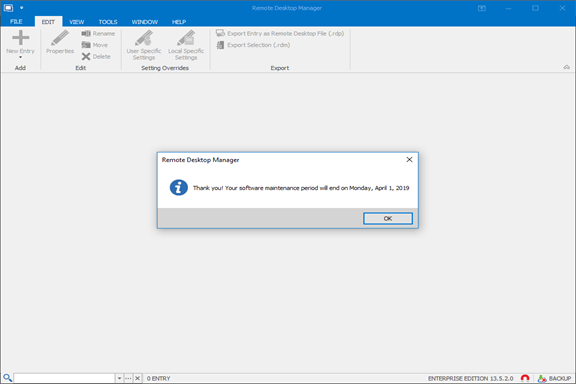
11. If the serial number was entered correctly, the following screen will pop up. Click OK. |
|
|
|
|
|
|
|
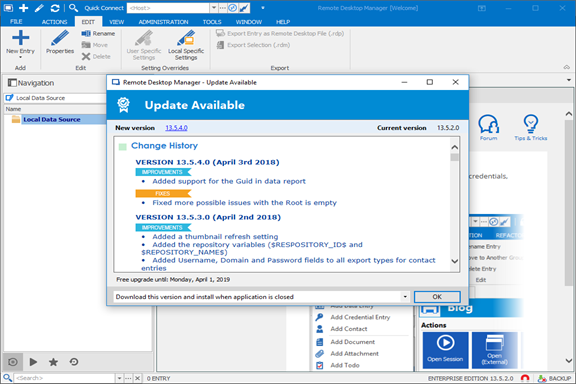
12. You may be presented with an update screen. You can update to the latest version if you want to, but it isn’t necessary. |
|
|
|
|
|
|
|
You are now ready to use Remote Desktop Manager. |
|
|
|
|
|
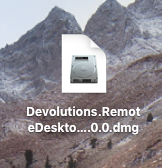
1. Double click the DMG file you downloaded from the WebStore. |
|
|
|
|
|
|
|
2. The file will open and place a disk image on your desktop. Double click it to begin. |
|
|
|
|
|
|
|
You are now ready to use Remote Desktop Manager for Mac. |