|
Adobe
Presenter 11 |
|
|
|
|
|
|
|
|
|
1.
You will need to download the .zip file. Extract the
files from the .zip file. This can be done with WinZip or by right clicking and
choose extract from the menu if available in your version of Windows. |
|
|
|
|
|
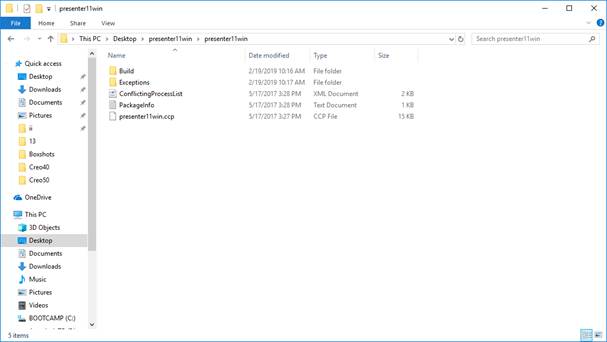
2. Open
the folder where you extracted the file and double click on Build. |
|
|
|
|
|
|
|
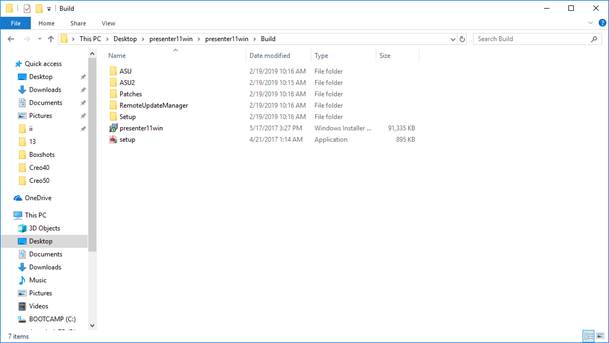
3. Double
click on setup.exe. |
|
|
|
|
|
|
|
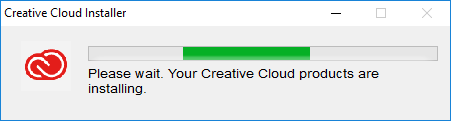
4. The
installation will begin. |
|
|
|
|
|
|
|
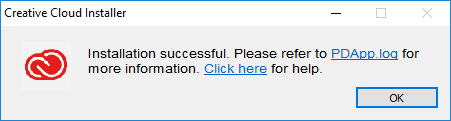
5. When
the installation completes, click OK.
Then open Adobe Presenter 11. |
|
|
|
|
|
|
|
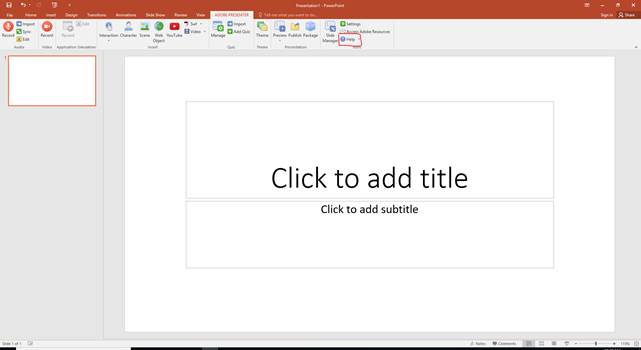
6. Powerpoint
will open up. Click on the dropdown arrow next to Help, then click Sign In. |
|
|
|
|
|
|
|
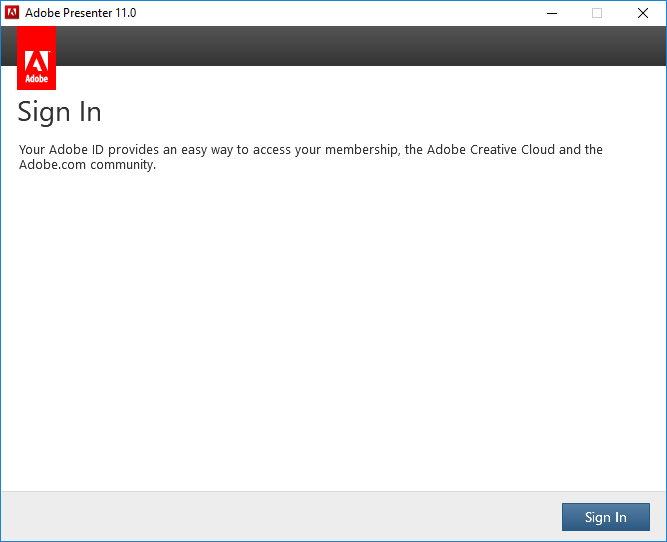
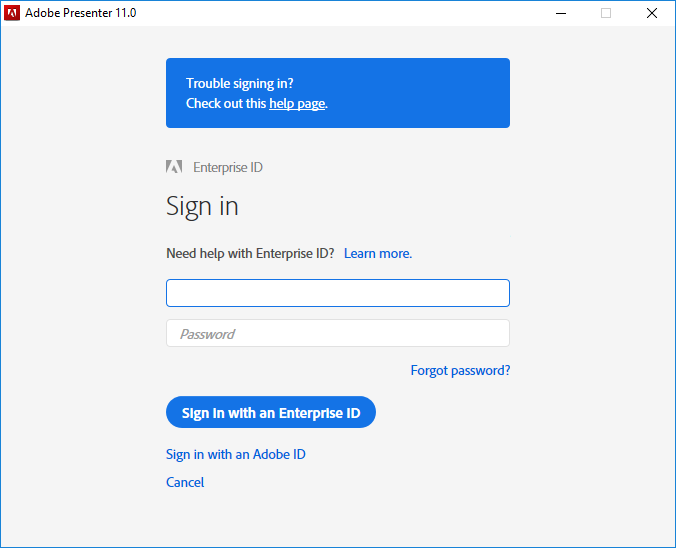
7. The
following screen will open. Click Sign
In. |
|
|
|
|
|
|
|
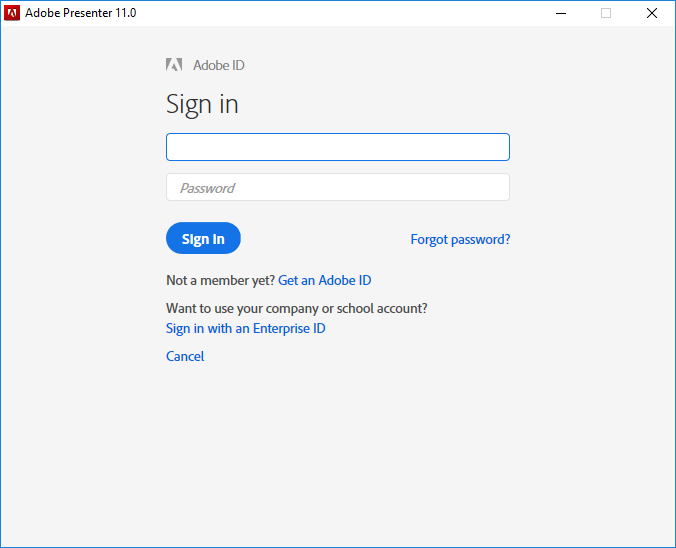
8. Click
Sign in with an Enterprise ID. |
|
|
|
|
|
|
|
9. Enter
your University email. You will be redirected to Shibboleth. Sign in with
your NetID and password. |
|
|
|
|
|
|
|
The installation is complete. You can now use Adobe
Presenter 11.0 for Windows. |
|
|
|
Mac |
|
|
|
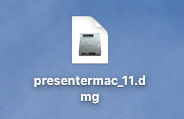
1.
Download the .dmg file for Presenter from your WebStore
order history. Double click on the file. |
|
|
|
|
|
|
|
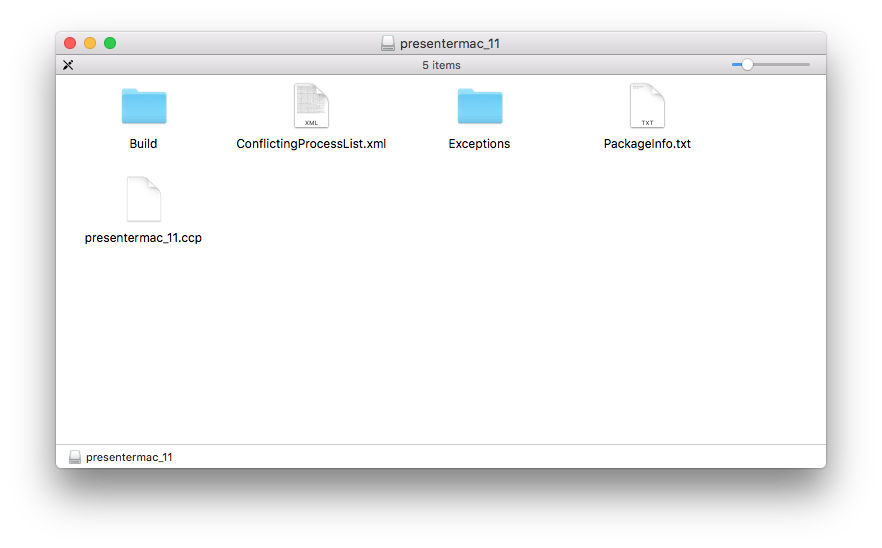
2.
The file will extract and open a window. Double click on Build. |
|
|
|
|
|
|
|
3.
Double click on presentermac_11_Install. |
|
|
|
|
|
|
|
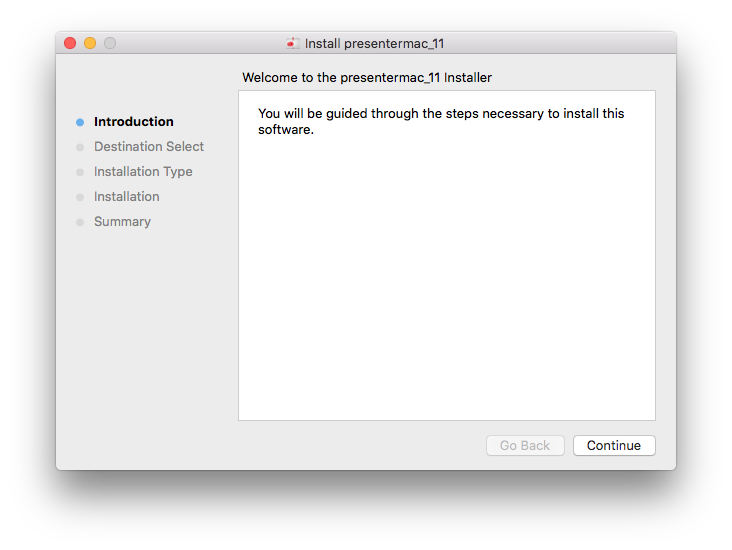
4.
The installer will open. Click Continue. |
|
|
|
|
|
|
|
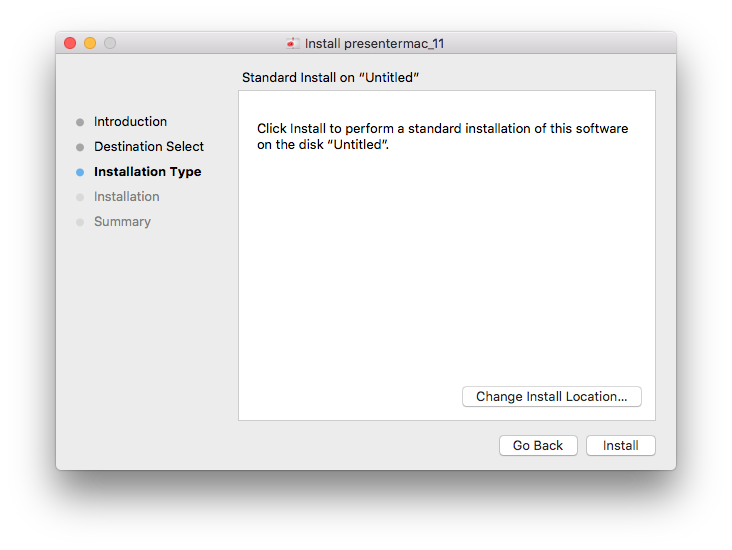
5.
Click on Install. |
|
|
|
|
|
|
|
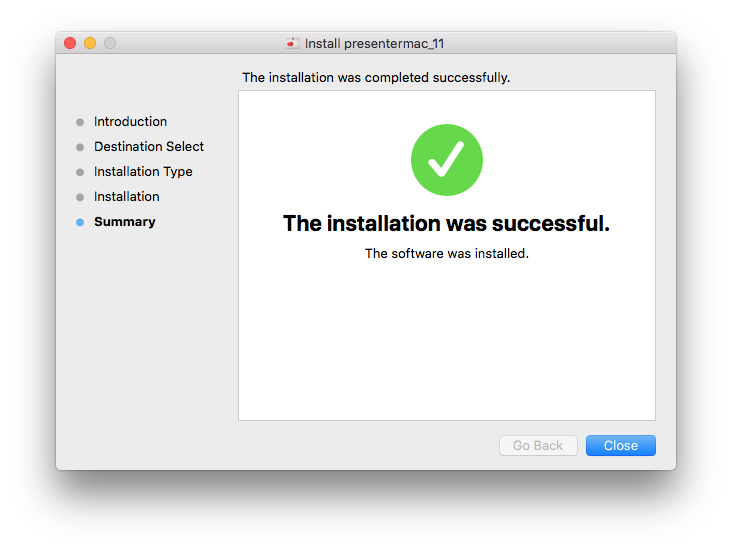
6.
The installation will begin. Once it completes, click Close and open Adobe Presenter Video
Express. |
|
|
|
|
|
|
|
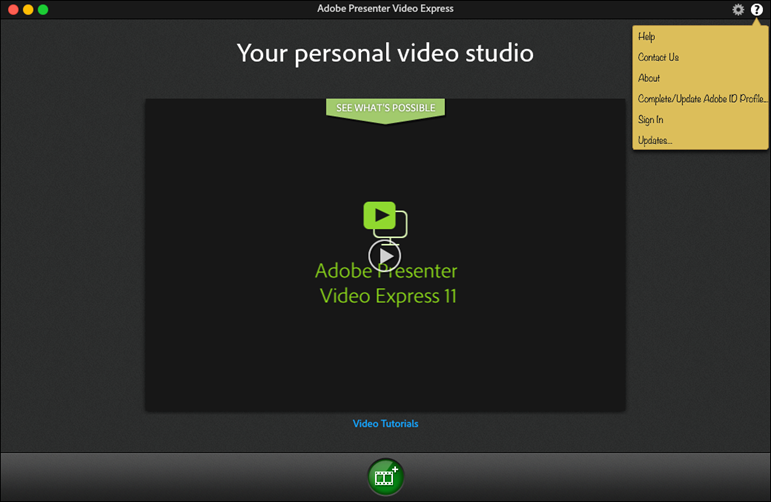
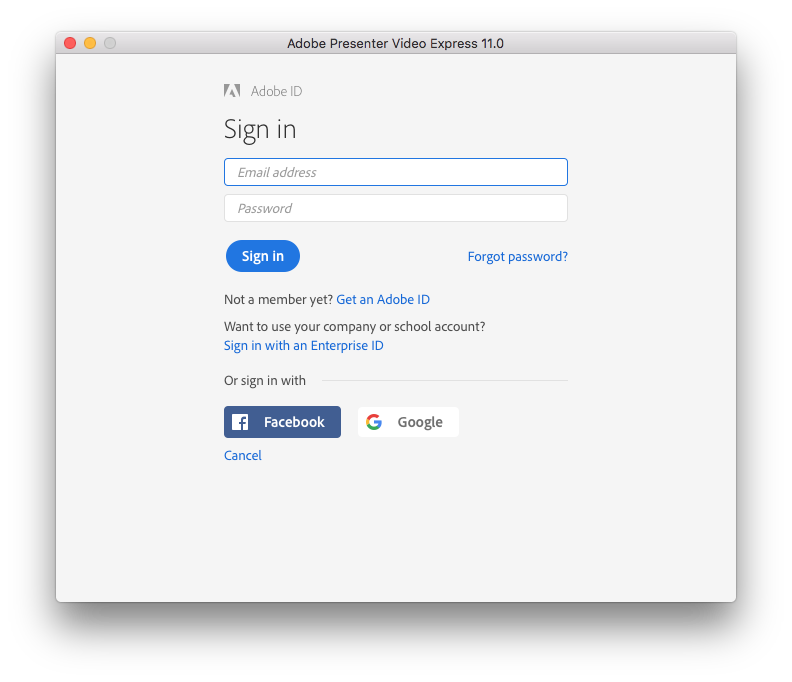
7.
Click the question mark in the top right and click Sign In. |
|
|
|
|
|
|
|
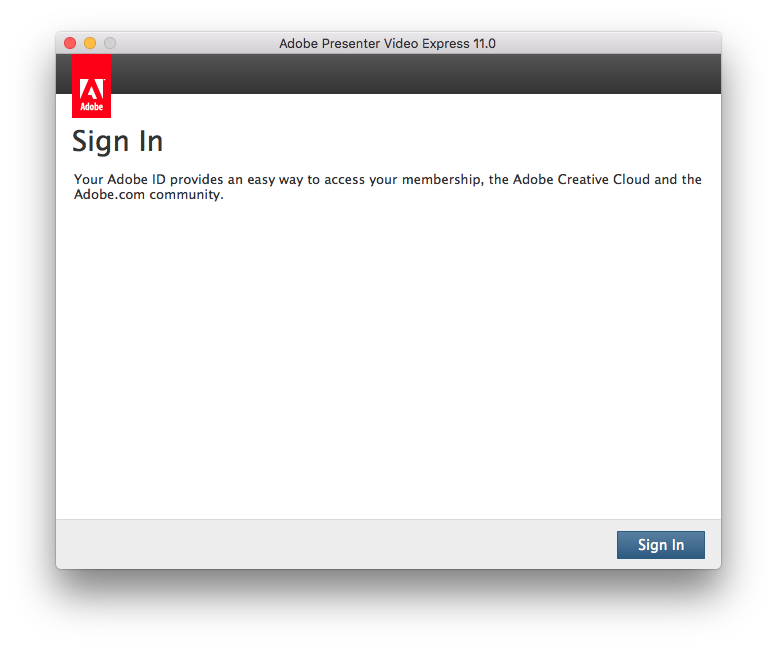
8.
Click Sign In. |
|
|
|
|
|
|
|
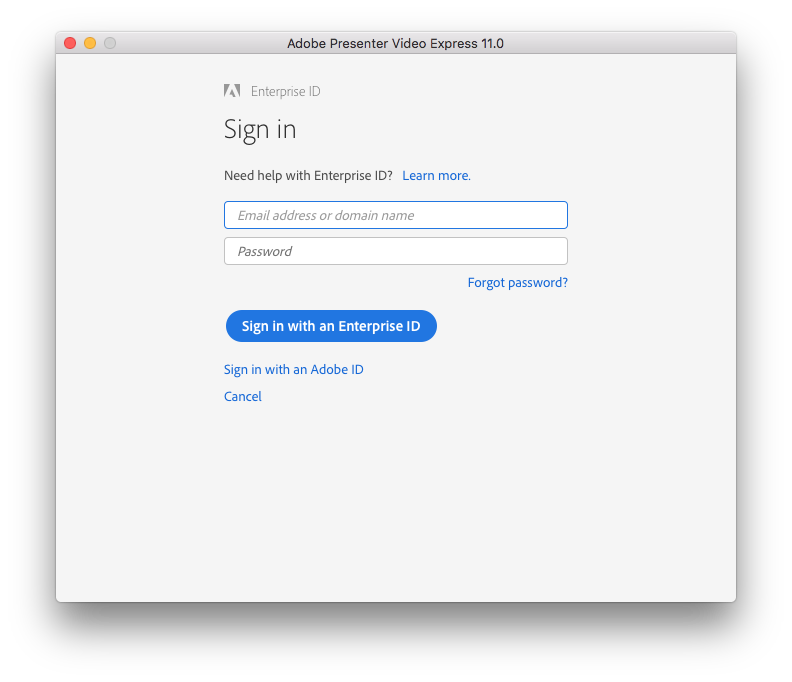
9.
Click Sign in with
an Enterprise ID. |
|
|
|
|
|
|
|
10.
Enter your Illinois email. You will be redirected to
Shibboleth, where you can sign in with your NetID
and password. |
|
|
|
|
|
|
|
You are
now ready to use Presenter 11.0 for Mac. |