
Office 365 Installation Instructions
Windows
Mac
 Windows
- Uninstall any previous versions of Office that you may
have installed on your computer. Reboot your computer.
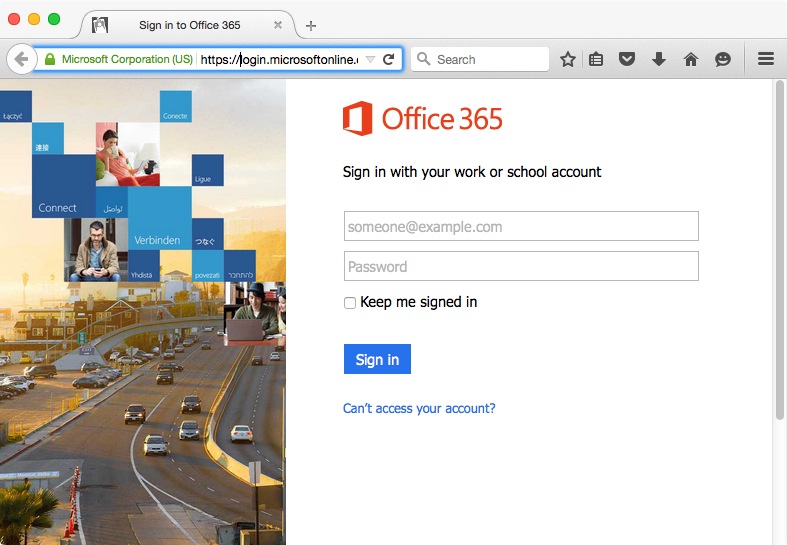
- Browse to https://portal.office.com and enter
networkid@illinois.edu.
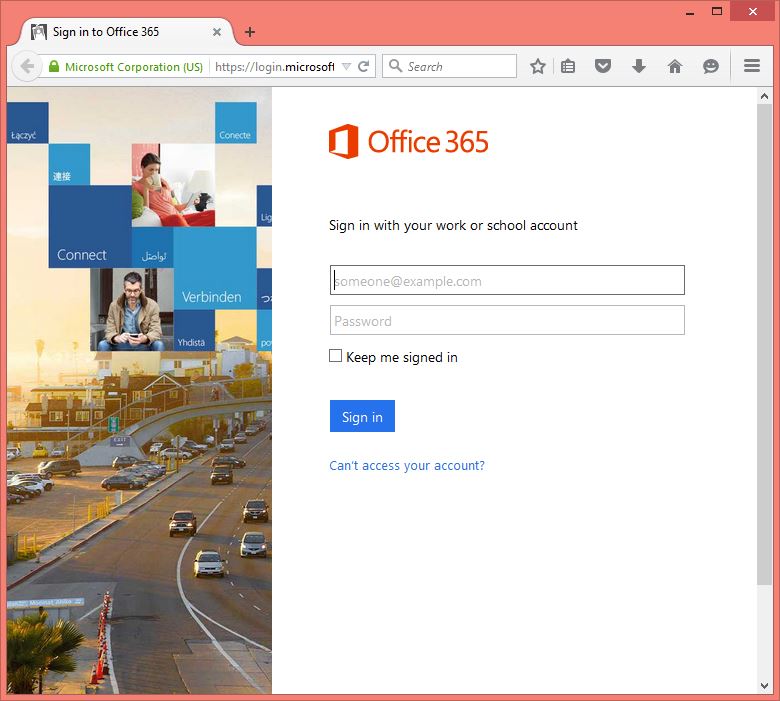
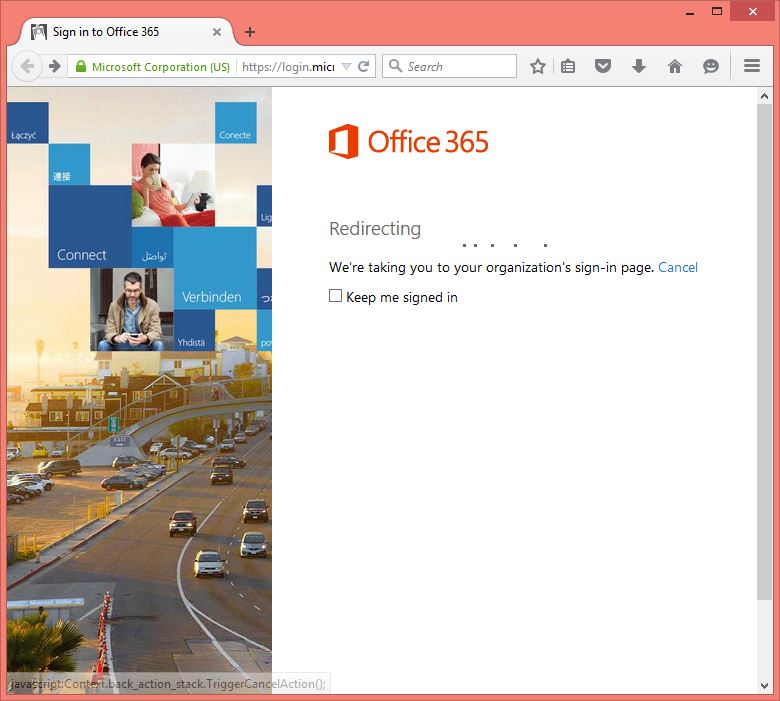
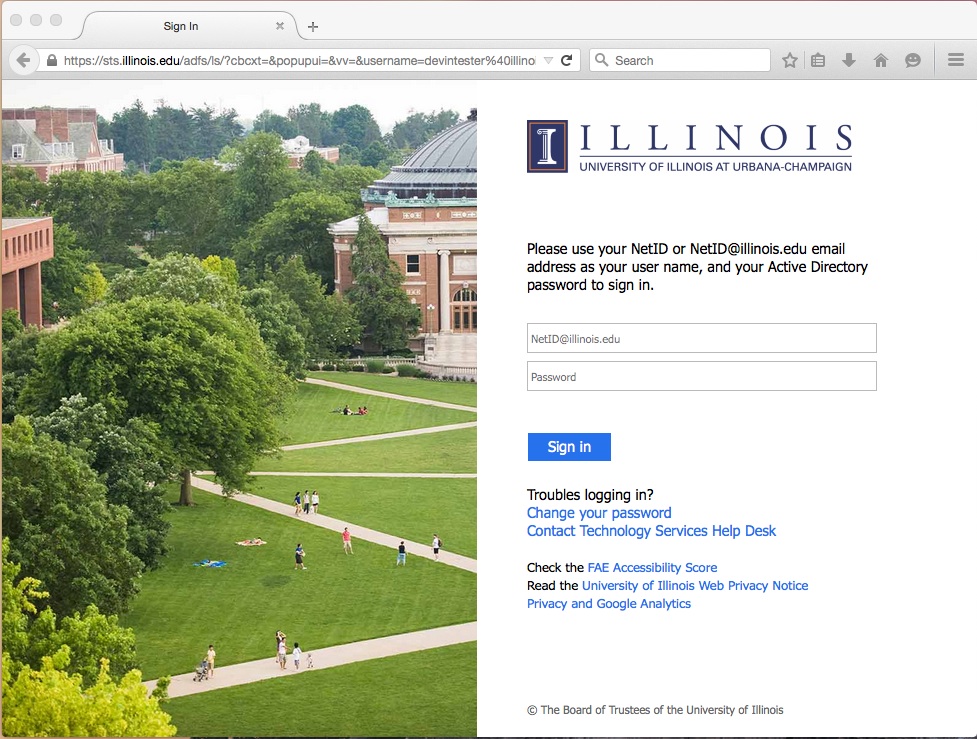
- You will be redirected to a University sign on page.
- Enter your networkid@illinois.edu and your network id
password.

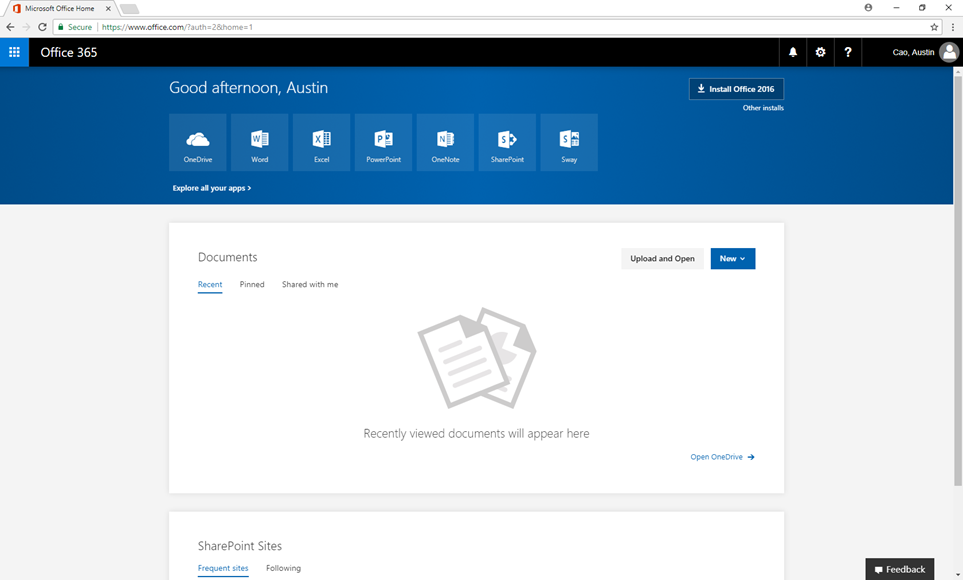
- Click on Install
Office 2016.
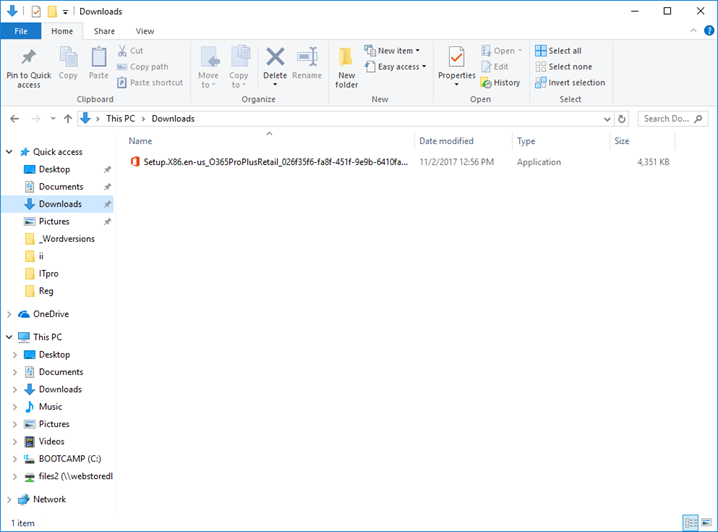
- Select a directory for your installation file and
click Save.

- Navigate to the directory that you saved the file in
the previous step to. Double click the .exe file.
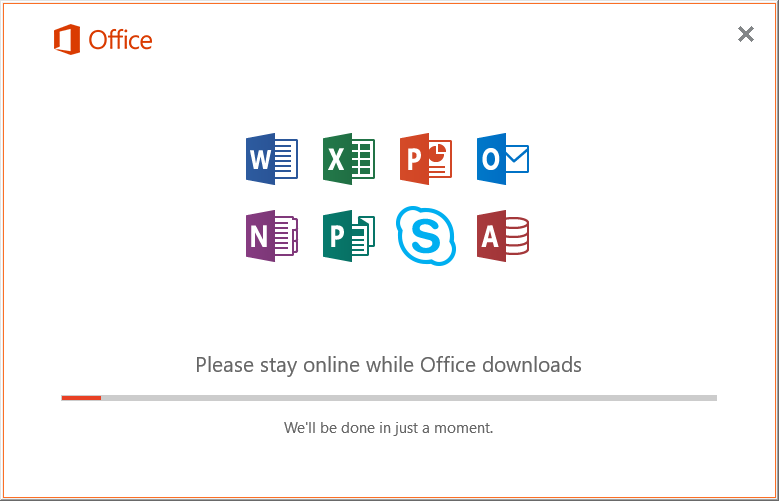
- You will see a setup window.

- The installation may take several minutes.
- Your setup is complete. Click Close.
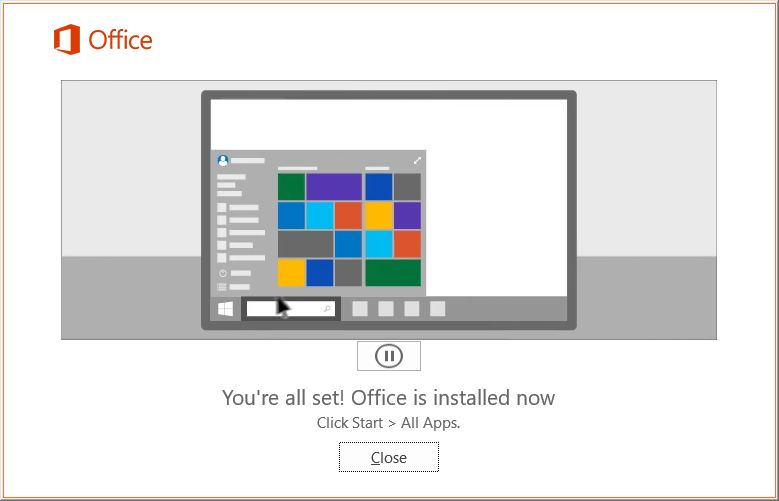
- You are now
ready to use Office 365.
 Mac
Mac
- Uninstall any previous version of Office that you may
have installed on your computer. Reboot your computer.
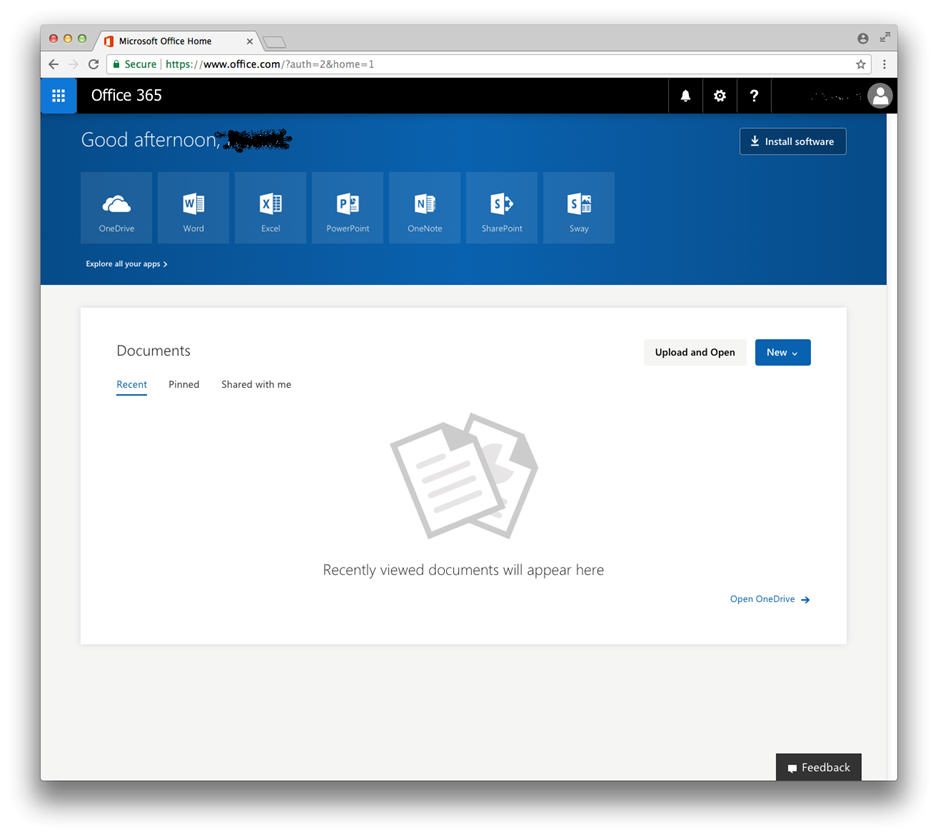
- Browse to https://portal.office.com and enter
networkid@illinois.edu.
- Enter your networkid@illinois.edu and your network id
password.
- Click on Install
Now.
- Click Save File. The file will be saved to the default
location set in your browser, if you have not changed the location it will
download to your Downloads folder.
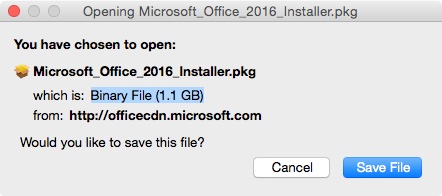
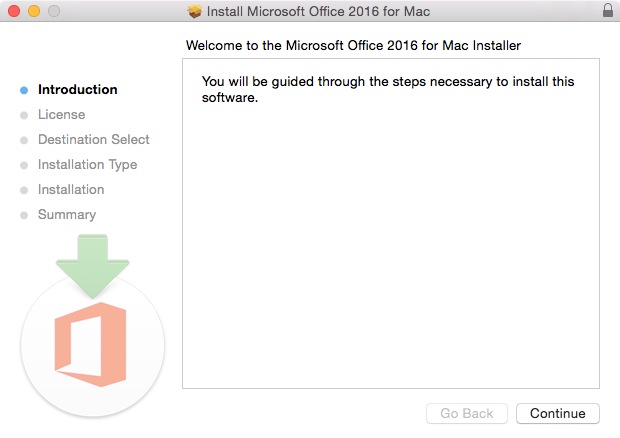
- Double click the .pkg file you downloaded. The below
window will open.

- Click on Continue.
- Click on Continue.
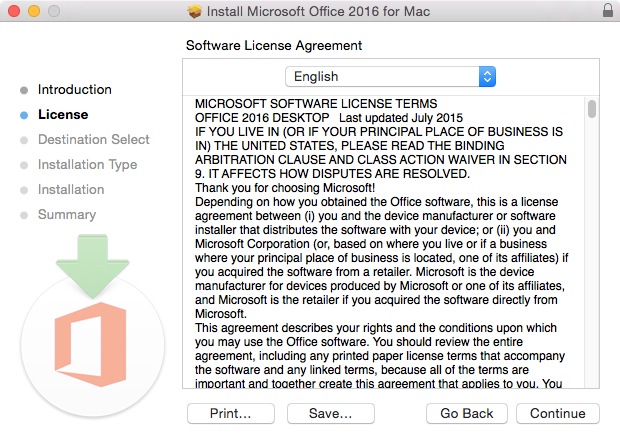
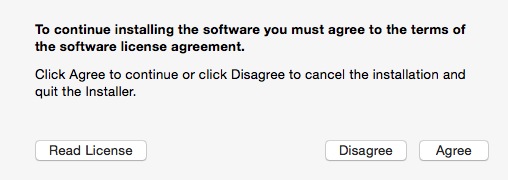
- Click on Agree.
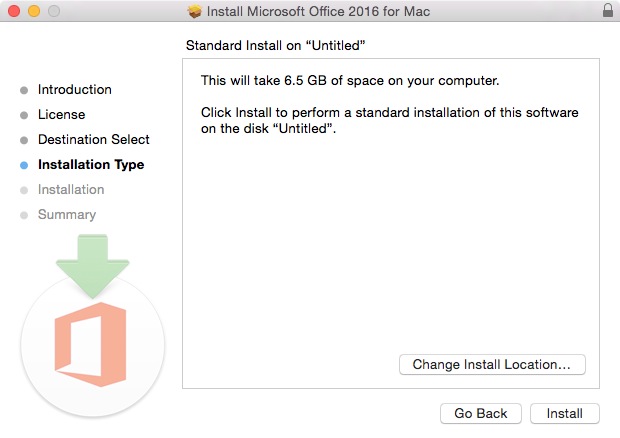
- Click on Install.
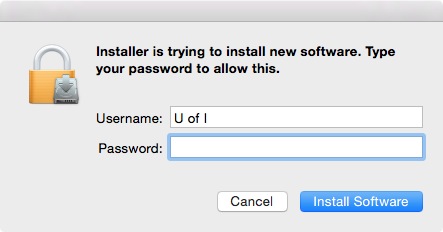
- Enter the Name and Password of an account with
administrative access and click on Install
Software.
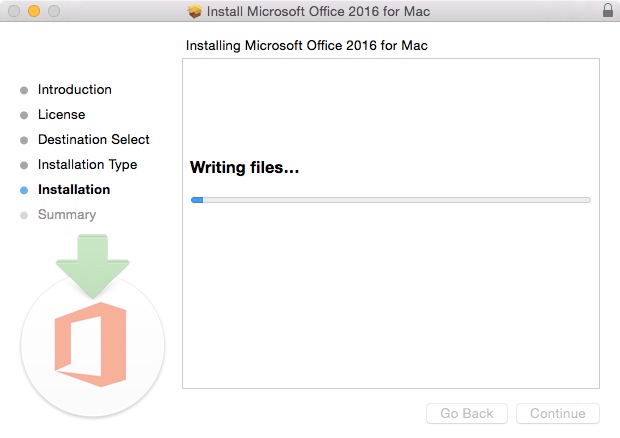
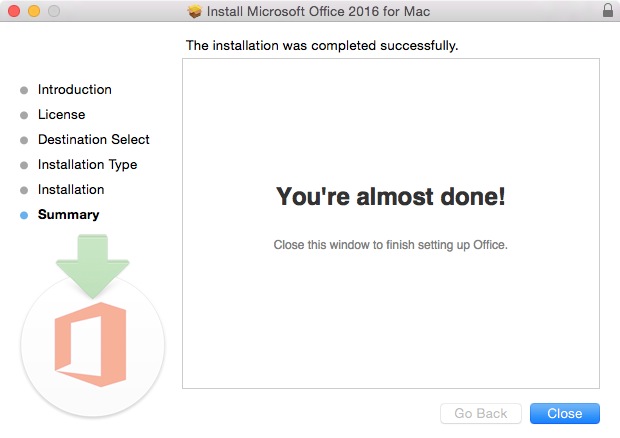
- The installation will begin and take several minutes.
- Click on Close
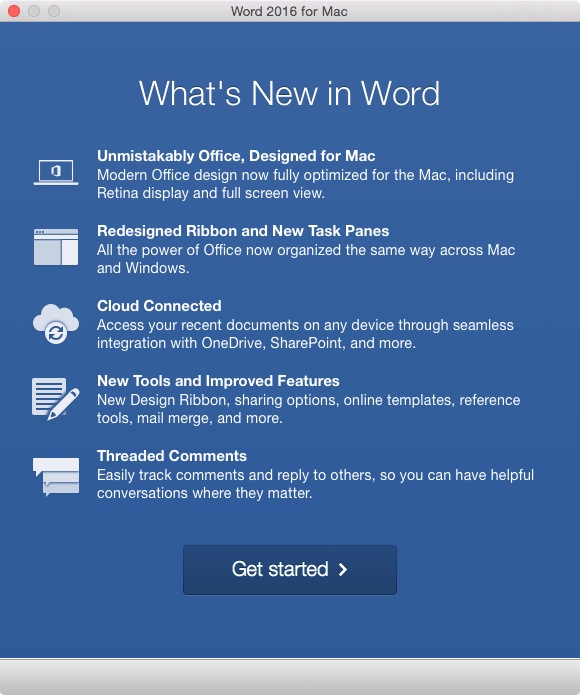
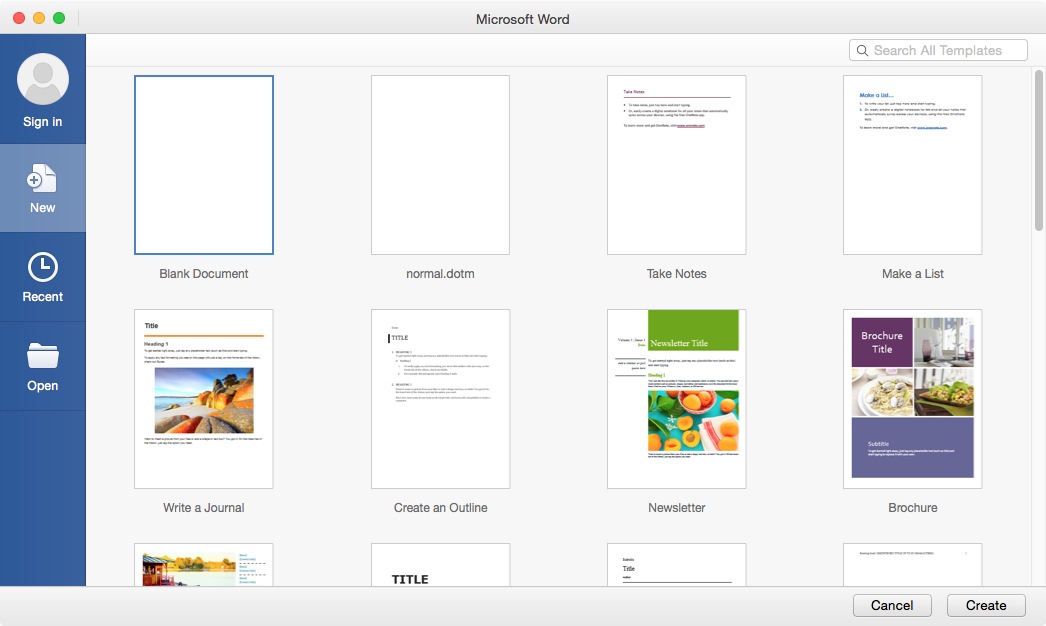
- Start one of the Office applications. In our example
we started Word. Click on Get
started.
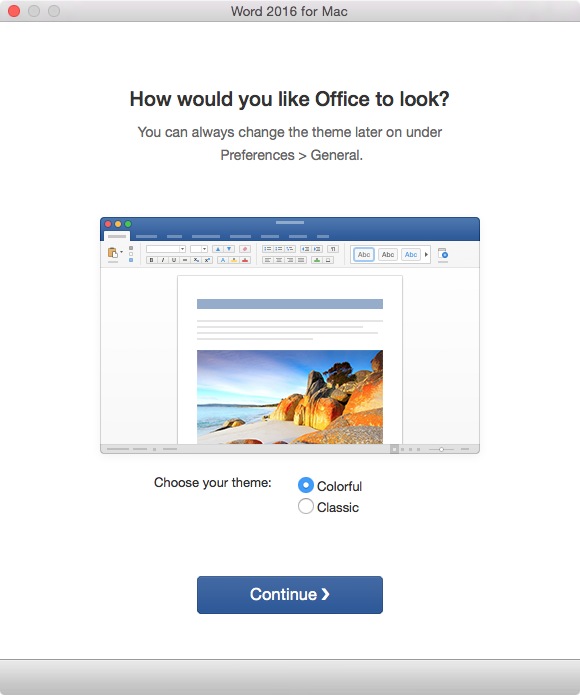
- Click on Continue.
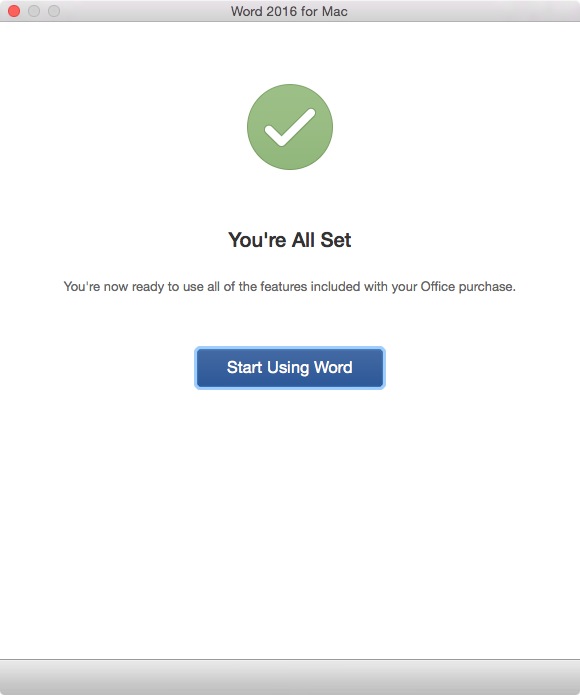
- Click on Start
Using Word.
- Click on Sign
in.
- Enter networkid@illinois.edu and click on Next.
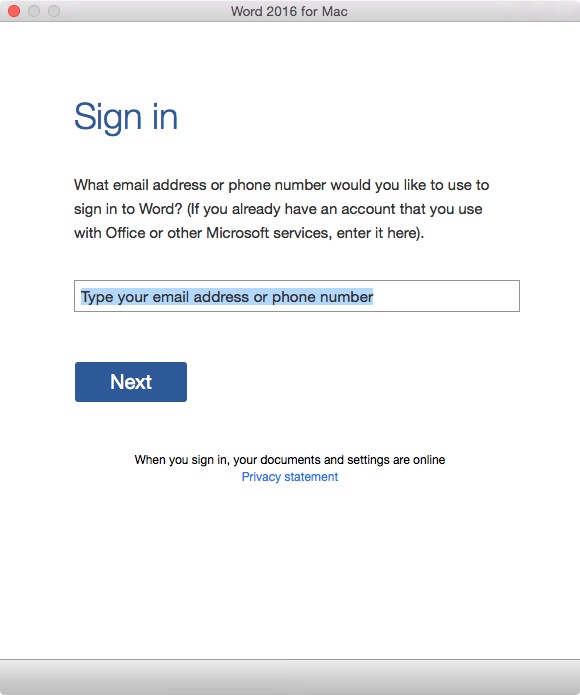
- If not already filled in enter your
networkid@illinois.edu and your network id password and click on Sign in.

- You are now signed in.
- You are now
ready to use Office 365.