|
|
|
|
NVivo 12 Installation Instructions |
|
|
|
|
|
|
|
|
|
|
|
|
|
1. Double click on the .exe file that you have downloaded from your Webstore order history. |
|
|
|
|
|
|
|
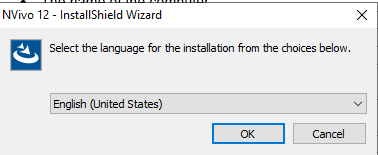
2. Select the desired installation language and click OK. |
|
|
|
|
|
|
|
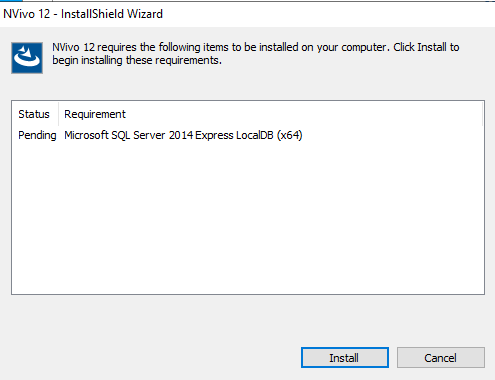
3. The installation may have some prerequisite software that it needs. Click Install. |
|
|
|
|
|
|
|
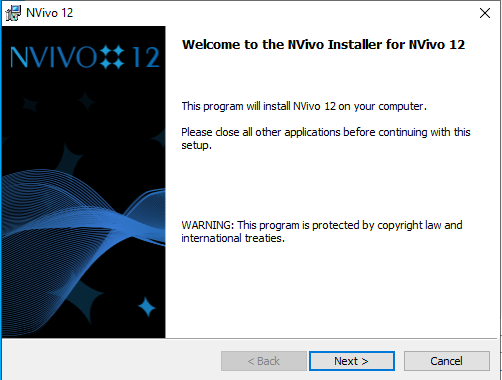
4. The installer will open. Click Next. |
|
|
|
|
|
|
|
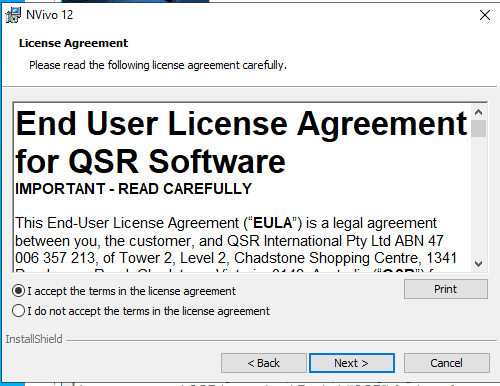
5. Accept the license agreement and click Next. |
|
|
|
|
|
|
|
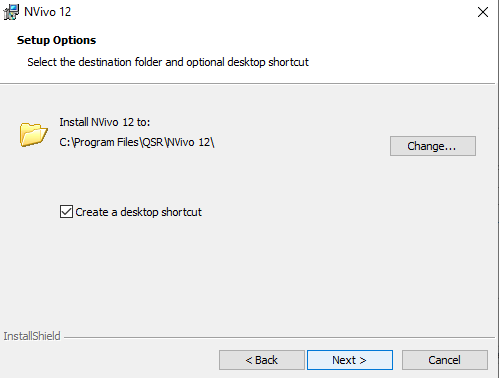
6. Select the installation destination folder and click Next. |
|
|
|
|
|
|
|
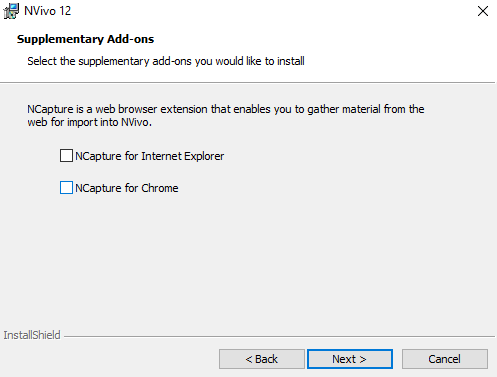
7. Select add-ons and click Next. |
|
|
|
|
|
|
|
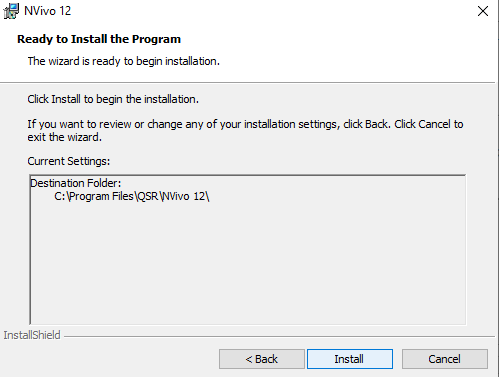
8. Click Install. |
|
|
|
|
|
|
|
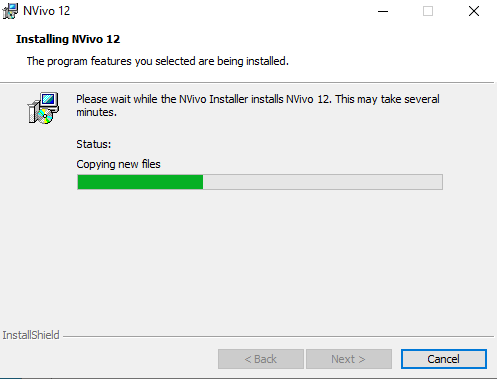
9. The installation will begin and may take several minutes. |
|
|
|
|
|
|
|
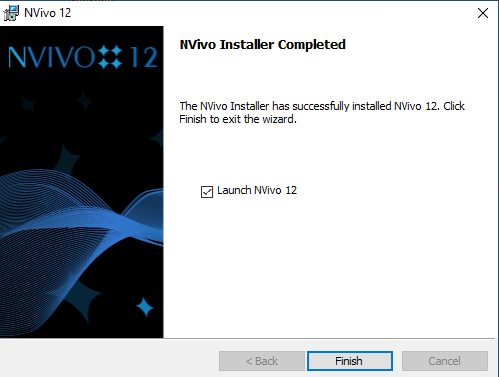
10. Click Finish and launch NVivo. You will now need to activate your software. |
|
|
|
|
|
|
|
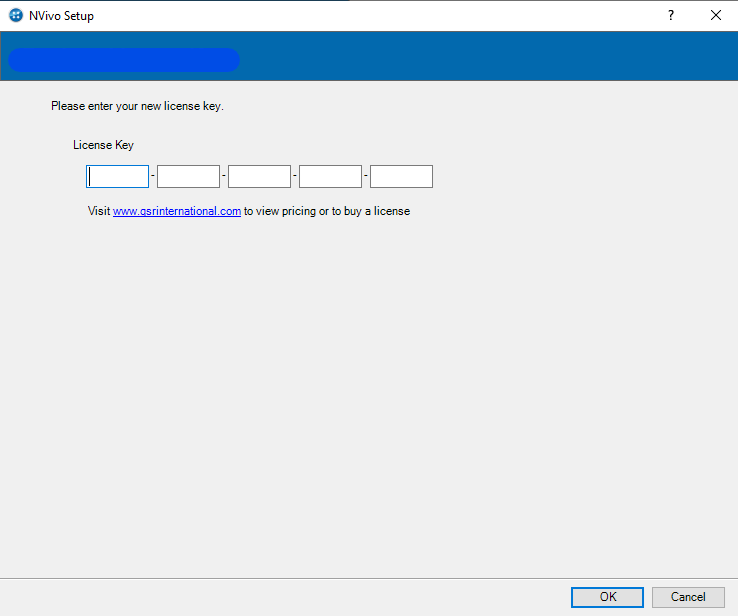
11. Enter the license key that you received in the reply email and click Next. |
|
|
|
|
|
|
|
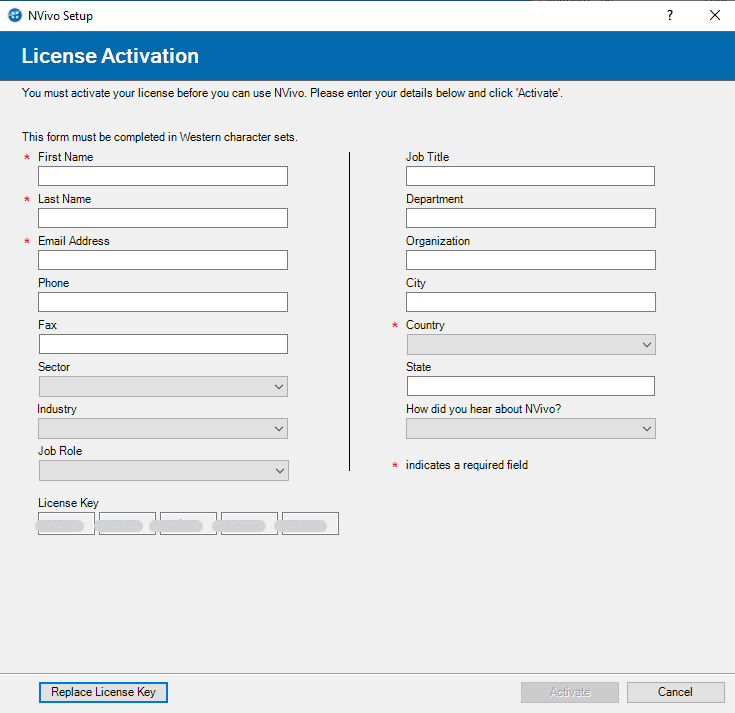
12. Enter your details and click Next. |
|
|
|
|
|
|
|
13. Click OK. |
|
|
|
|
|
|
|
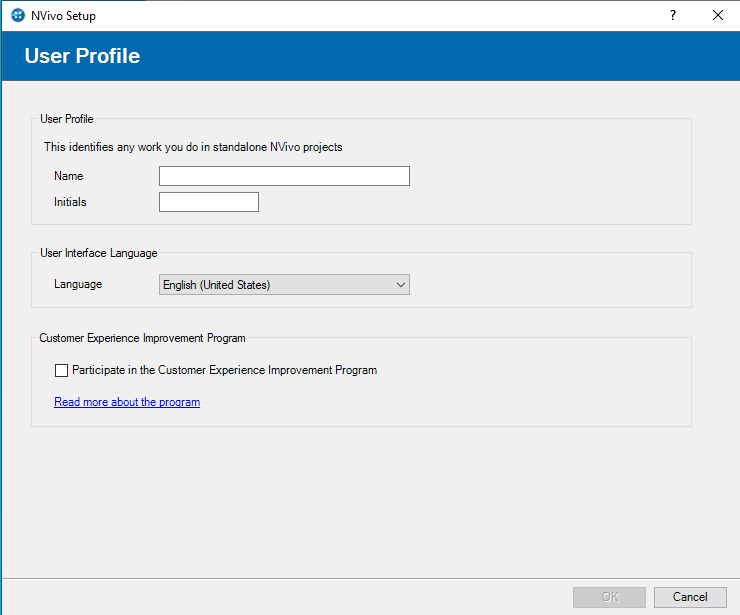
14. Complete your profile and click OK. |
|
|
|
|
|
|
|
You are now ready to use NVivo 12. |
|
|
|
|
|
|
|
|
|
|
|
|
The process for the installing NVivo 12 for Mac should be similar as for NVivo 11. Please proceed to follow the instructions for installing NVivo 11 for both versions. |
|
|
|
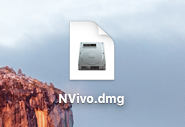
1. Double click on the .dmg file that you downloaded from your Webstore order history. |
|
|
|
|
|
|
|
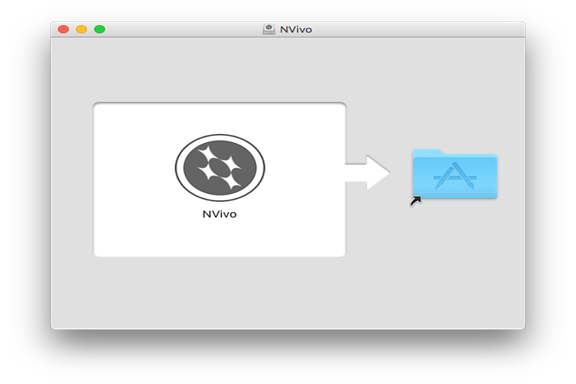
2. The file will mount and open the window shown below. Drag the NVivo application into the folder! Do not double click on the application. |
|
|
|
|
|
|
|
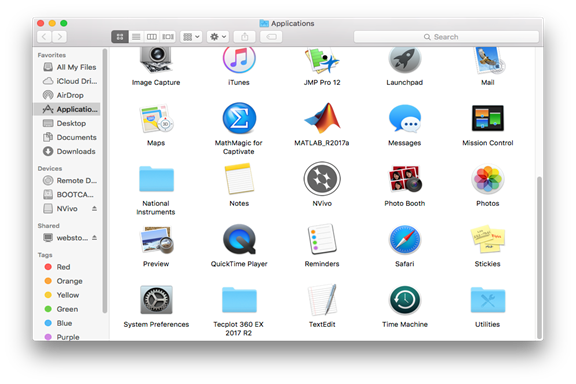
3. The applications folder will open. If it does not open automatically, navigate to it manually. Double click on the NVivo application. |
|
|
|
|
|
|
|
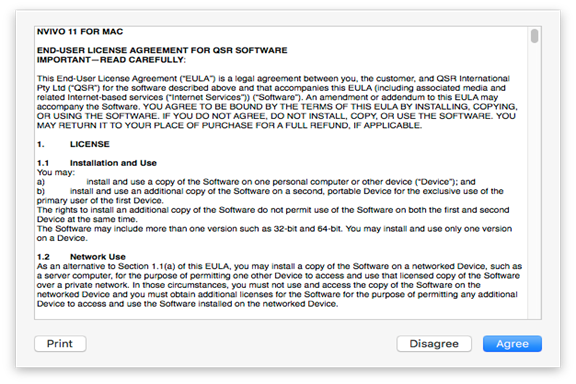
4. Click Agree. |
|
|
|
|
|
|
|
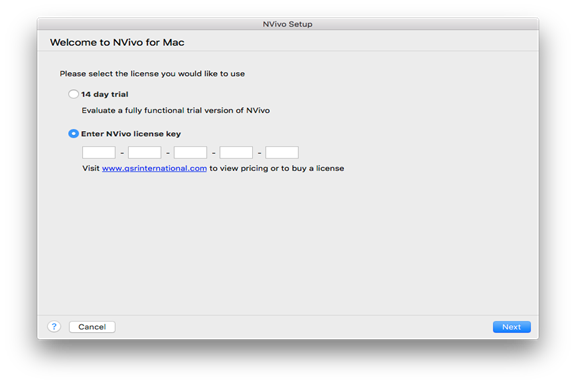
5. Enter the license key that you received in the reply email and click Next. |
|
|
|
|
|
|
|
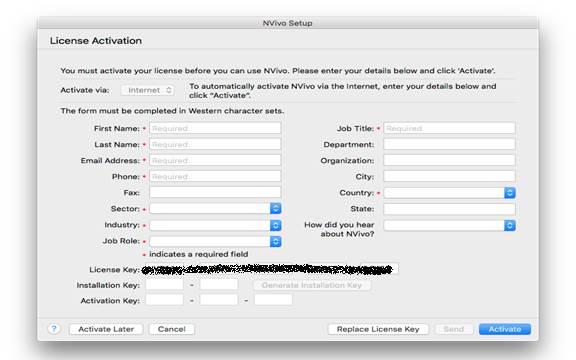
6. Enter your details and click Activate. |
|
|
|
|
|
|
|
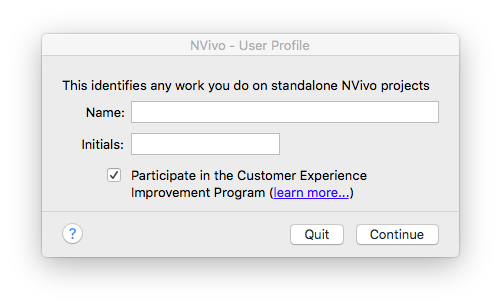
7. Complete your profile and click Continue. |
|
|
|
|
|
|
|
You are now ready to use NVivo 11. Make sure that you are connected to the VPN service if attempting to use this software from off-campus. |

 Windows