![]()
|
LabVIEW Spring 2019 Research Installation
Instructions |
|
|
|
|
|
|
|
|
|
|
|
|
|
1.
Double click the .exe file that you downloaded from the
Webstore. |
|
|
|
|
|
|
|
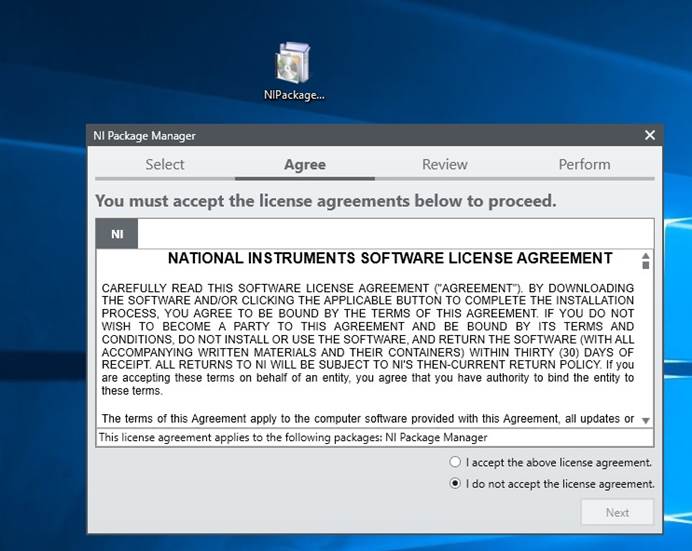
2.
Accept the NI license agreement and click next. |
|
|
|
|
|
|
|
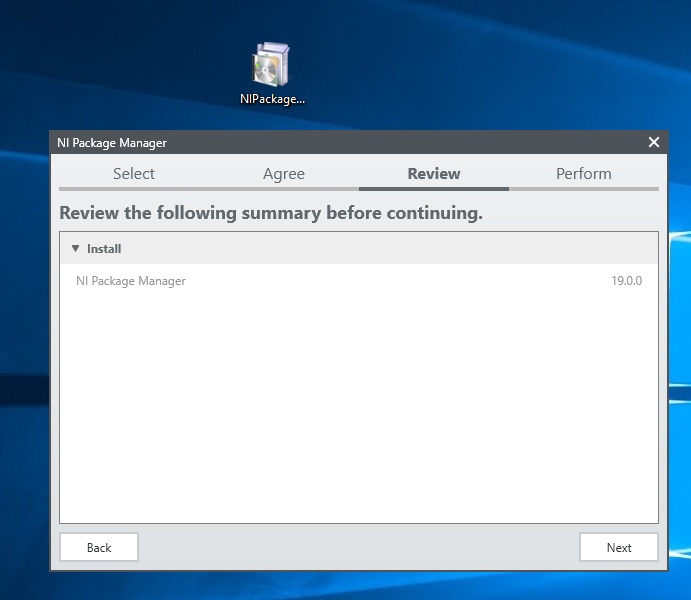
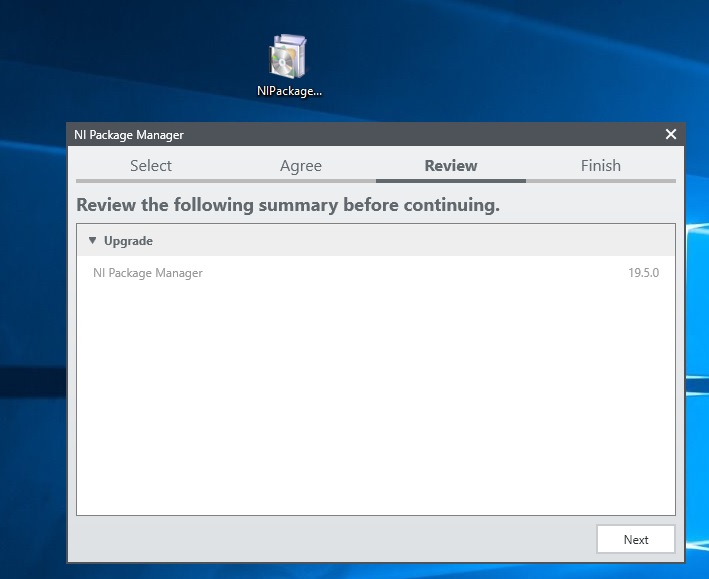
3.
NI Package Manager will now install. |
|
|
|
|
|
|
|
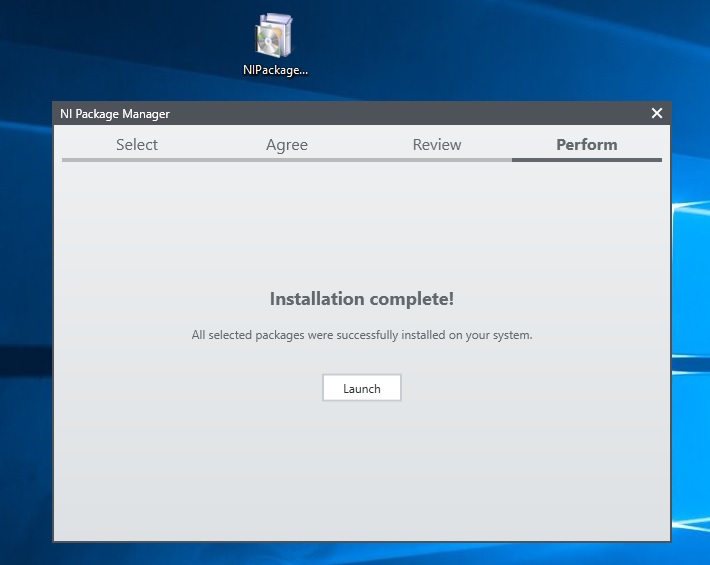
4. Launch the Package
Manger. |
|
|
|
|
|
|
|
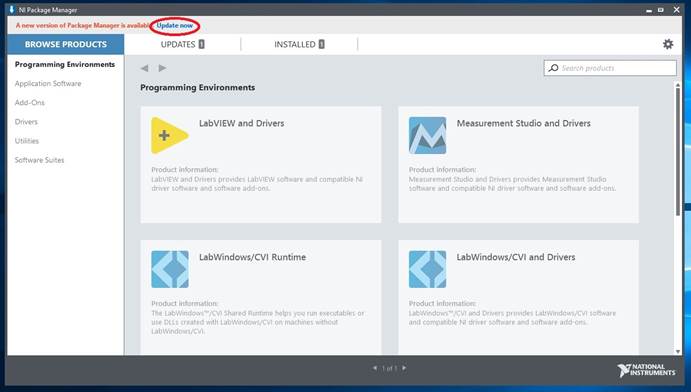
5.
You will need to update the manager before proceeding. |
|
|
|
|
|
|
|
6.
Click Next |
|
|
|
|
|
|
|
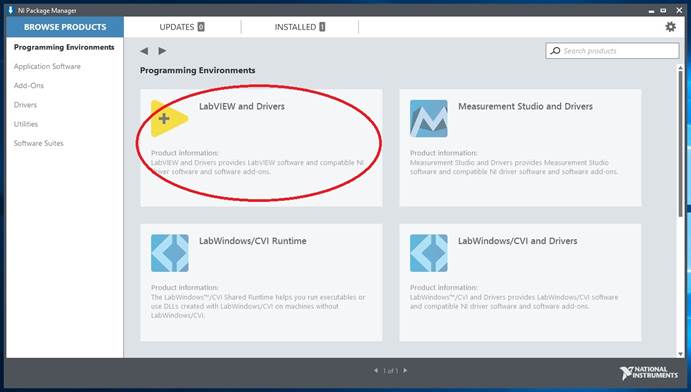
7.
Click LabVIEW and Drives. |
|
|
|
|
|
|
|
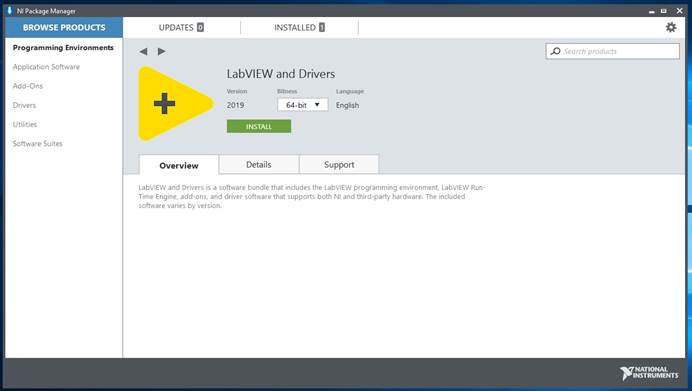
8.
Choose the Bitness (32 or 64)
desired. Click install. |
|
|
|
|
|
|
|
9.
Choose the Environment and any add-ons you whish to
install. Each install will increase
the total install time. Click next. |
|
|
|
|
|
|
|
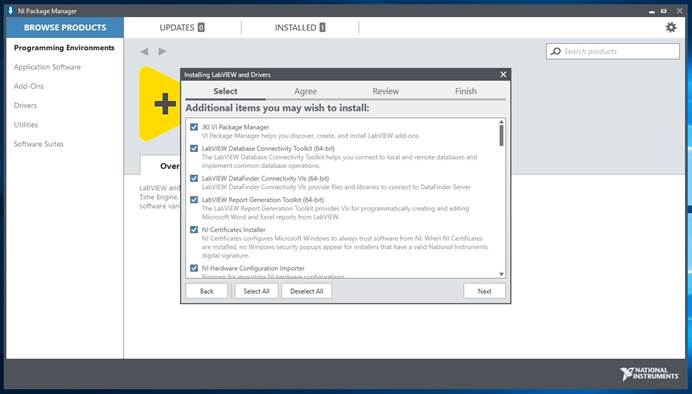
10. Select any Additional
items. The items already checked are needed to support the choices you’ve
already made. DO NOT REMOVE ANY OF THE CHECKED ITEMS.
Click Next |
|
|
|
|
|
|
|
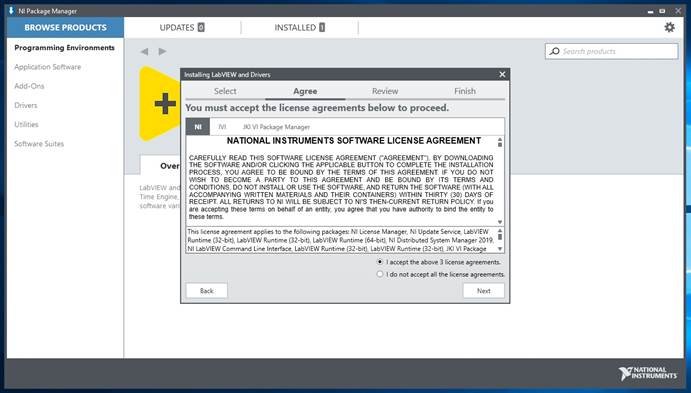
11.
Agree to the EULA.
Click next. |
|
|
|
|
|
|
|
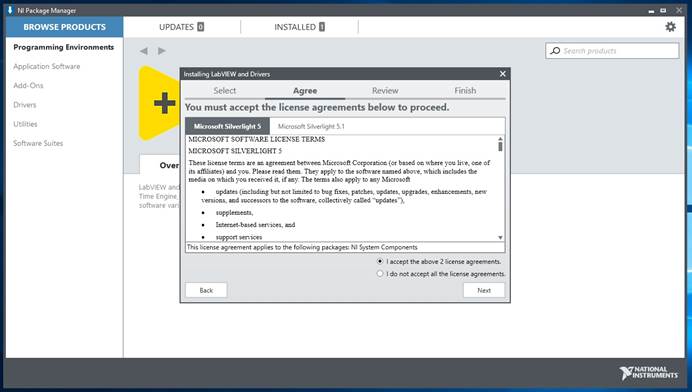
12. If
Silverlight is needed, LabVIEW will install it. You will also need to accept the Microsoft
EULAs. Click Next. |
|
|
|
|
|
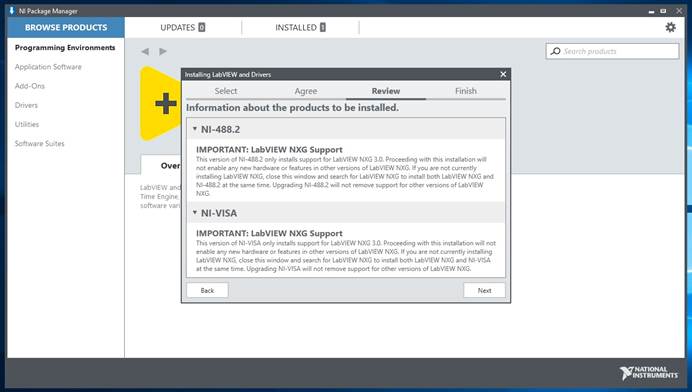
13.
Read through the information on the products you have
selected. When ready click Next. |
|
|
|
|
|
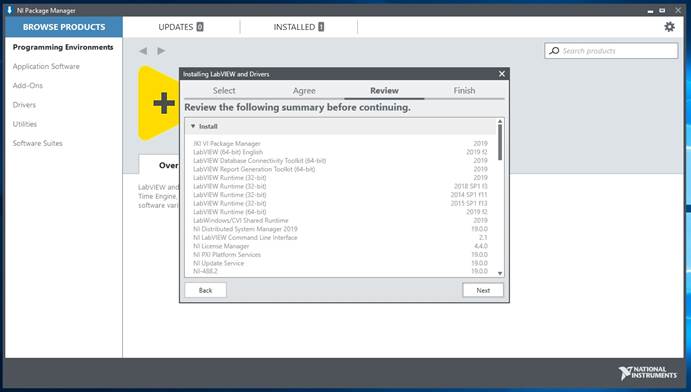
14.
This gives you one last chance to review your total
install and make any corrections.
Click Back to correct, Click Next to continue. |
|
|
|
|
|
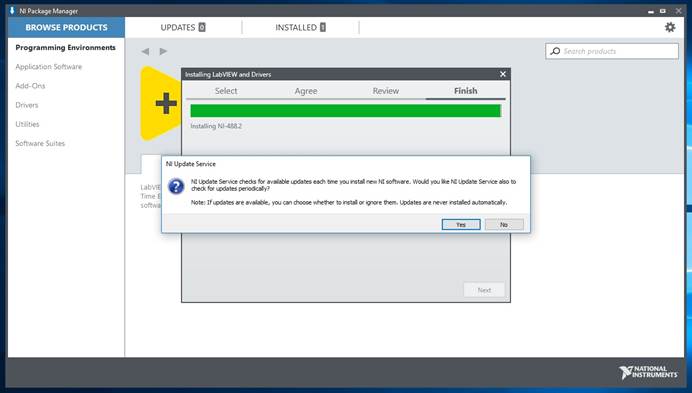
15.
Click Yes |
|
|
|
|
|
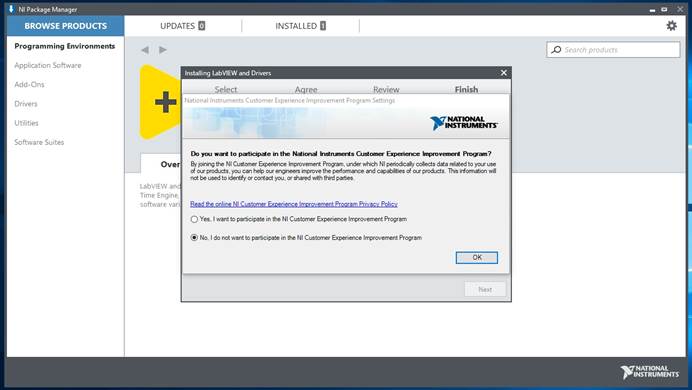
16.
Choose whether to
participate in the customer experience or not. Click OK. |
|
|
|
|
|
|
|
|
|
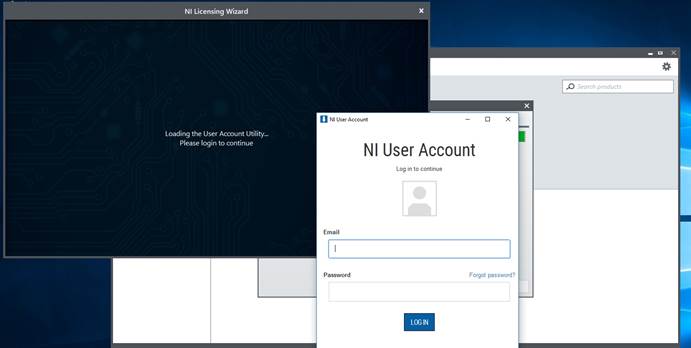
17.
Do not log in. Do not create an account. Close the login window. |
|
|
|
|
|
|
|
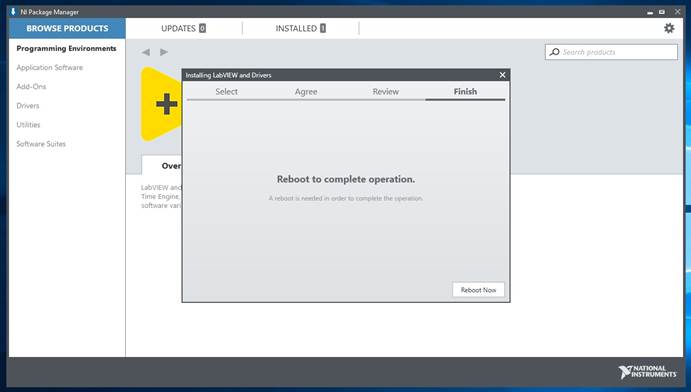
18.
Click Reboot now. |
|
|
|
|
|
|
|
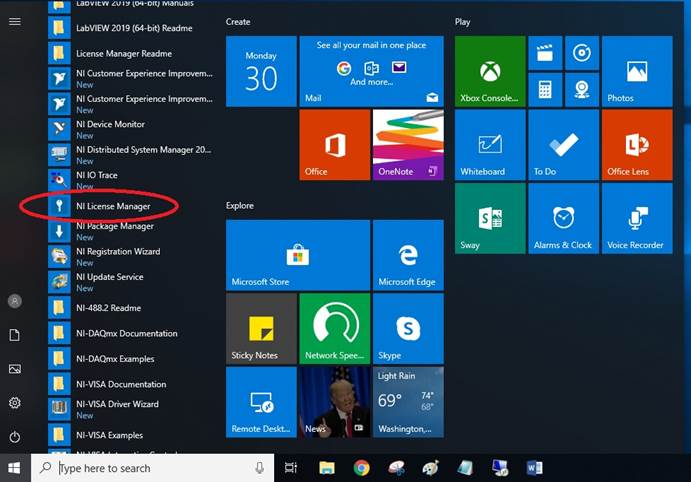
19.
Open the start
menu, click National Instruments to expand the selection. Find and open the license manager. |
|
|
|
|
|
|
|
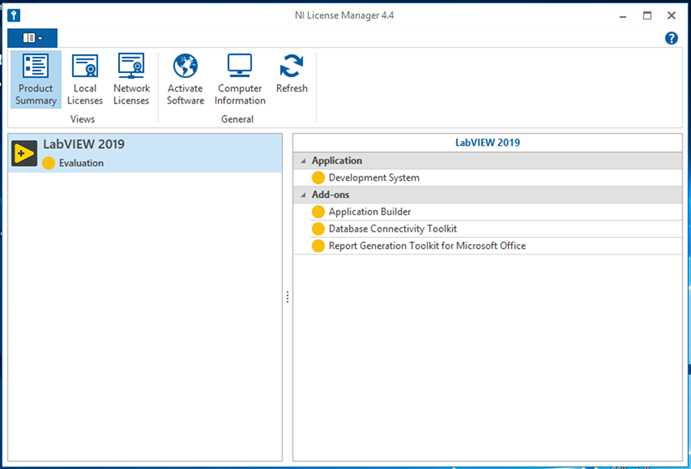
20. Click on Computer Information. |
|
|
|
|
|
|
|
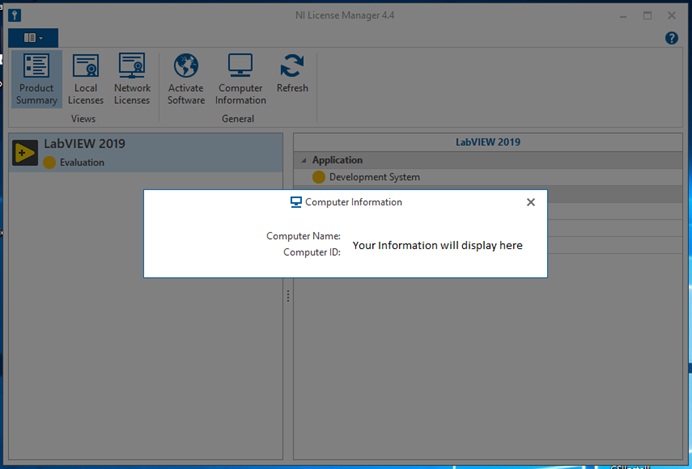
21. Your computer information
will be displayed. This information must be submitted on the form linked in
your WebStore order history in order to obtain the license file. Click the X to close this window. |
|
|
|
|
|
|
|
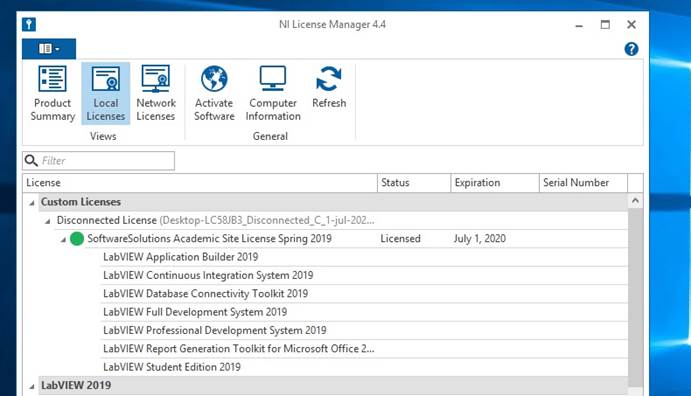
22.
Once you have
received your license file you need to add it. Click the drop-down menu in
the left upper corner and choose, Install License File from the menu. |
|
|
|
|
|
|
|
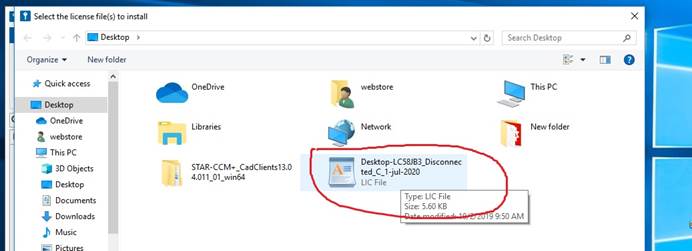
23.
Browse to where you placed you saved the license file you
received from WebStore. Select it and click open. |
|
|
|
|
|
|
|
24. Congratulations,
you’ve just installed and activated LabVIEW. |
|
|
|
|
|
|
|
|
|
|
|
|
|
You are
now ready to use LabVIEW Spring 2019 Instructional for Windows. |
|
|
|
|
|
|
|
|
|
|
|
|
|
|
|
|
|
|
|
|
|
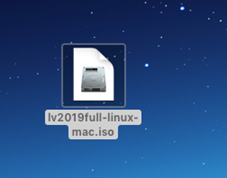
1. Double
click the DMG file you downloaded from the WebStore. |
|
|
|
|
|
|
|
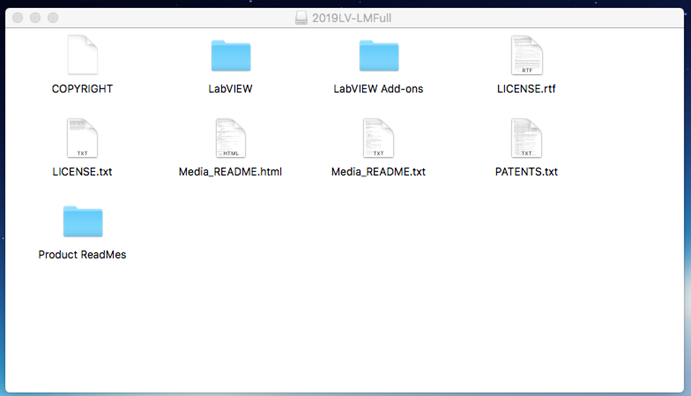
2. The
file will open and place a disk image called LabVIEW 2019 Pro on your
desktop. Double click LabVIEW to
begin. |
|
|
|
|
|
|
|
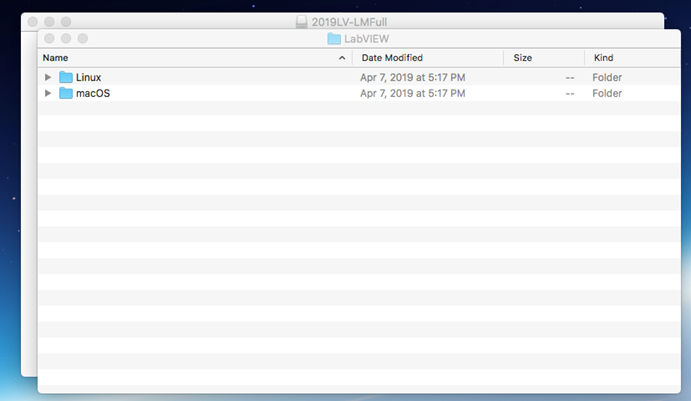
3.
Open the folder for your OS. |
|
|
|
|
|
|
|
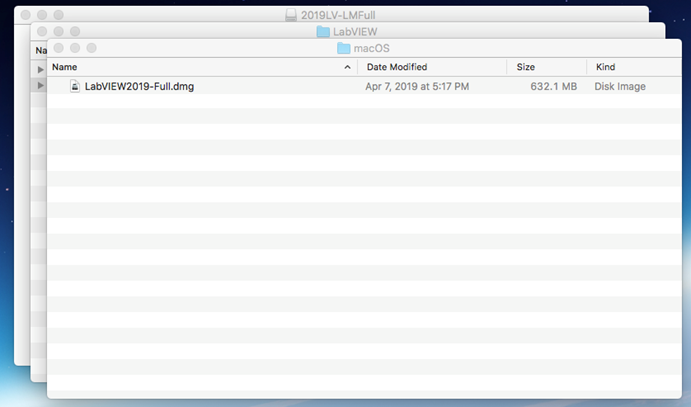
4.
Double click the .dmg |
|
|
|
|
|
|
|
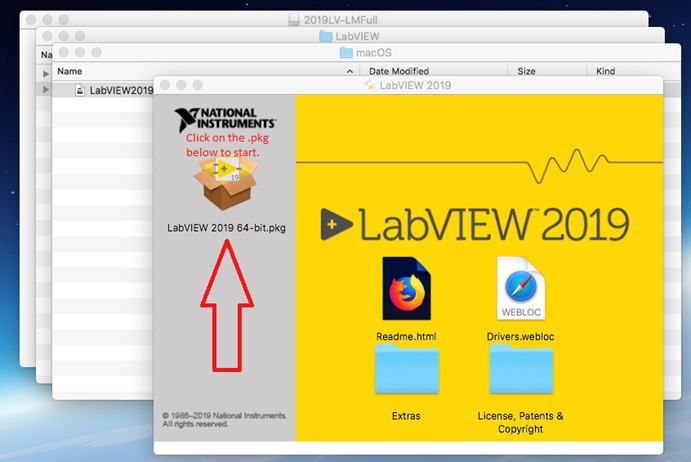
5. Click on the .pkg icon to start. |
|
|
|
|
|
|
|
6. Click
on Continue. |
|
|
|
|
|
|
|
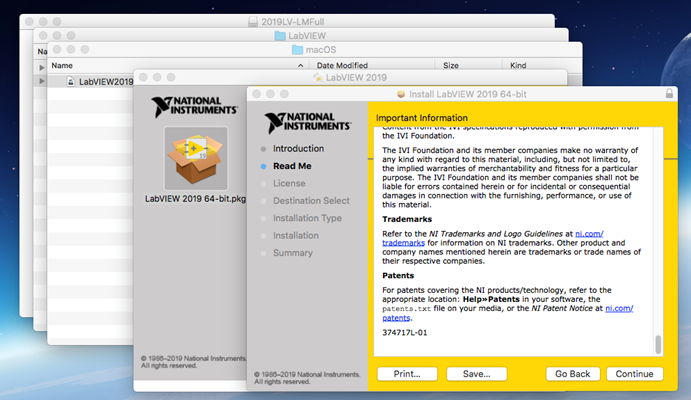
7. Read
through the information and click continue. |
|
|
|
|
|
|
|
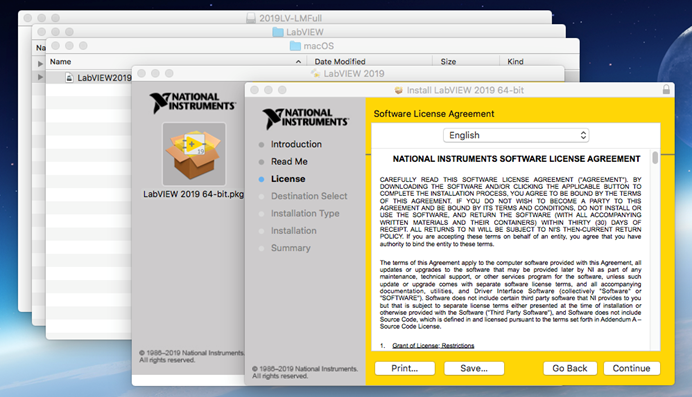
8.
Clicking continue here agrees to the EULA, please read. |
|
|
|
|
|
|
|
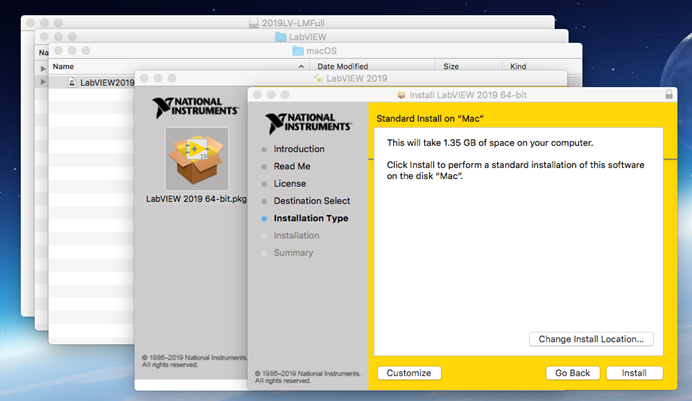
9. Click
install |
|
|
|
|
|
|
|
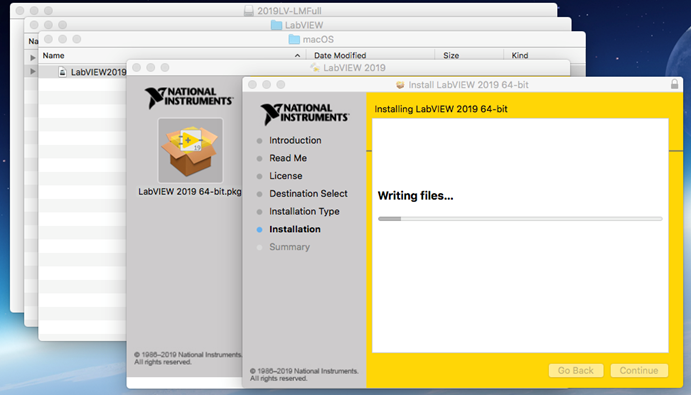
10. This can take a while, be patient while the
software installs. |
|
|
|
|
|
|
|
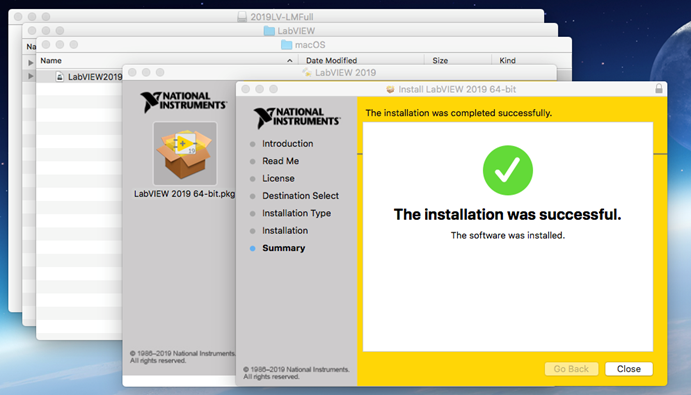
11.
Click close and you are ready to use LabVIEW 2019. |
|
|
|
|
|
|
|
|
|
|
|
|


.