
JMP Geonomics 13.2.1 with SAS 9.4 Installation Instruction
 Windows
- You will need
to download 3 .iso files and two license files. You can retrieve this file
by logging into the WebStore and clicking on Order History.


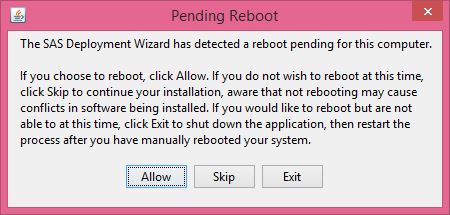
- In order to prevent wasting time, make sure you reboot
your computer before starting this installation. Otherwise, you may spend
an hour going through the installation process only to see the below
screen later in that process.
- Double click each one of the ISO files to mount them using Windows 10. Make a note of which drive they are mapped to as you will need this information later when the installer asks you to insert Disk 2 and 3.

- Click Disk 1 to open the ISO file and click setup.exe to start the installation.

- The SAS Deployment Wizard will open. It will run for
several minutes.

- Choose a language and click on OK.

- The SAS Deployment Wizard will appear again.
- Select Install
SAS Software and click on Next.
DO NOT select Create or Add to a SAS Depot.

- Select a destination location for the installation and
click on Next.

- Select Install
Foundation and Related Software and click on Next or press Enter
if you do not see a button.

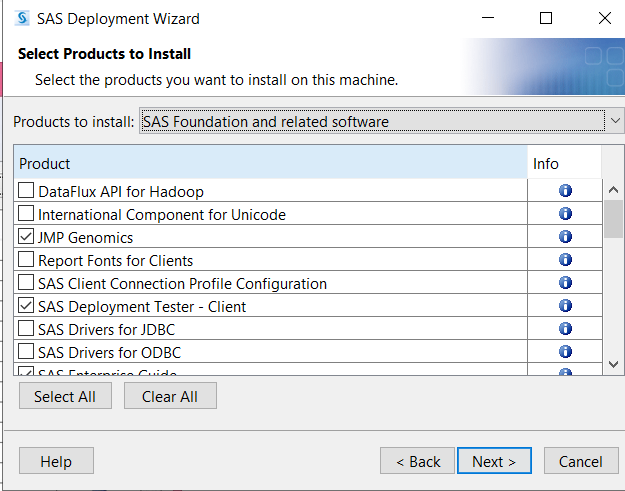
- Select Products to install and click on Next. If you are not
sure, accept the default Selections.
- Select the 64-bit Enterprise Guide Mode and click on Next.

- Select the foundation software you wish to install and
click on Next.
Select the products you wish to install and click on Next. In our
example we are installing the default selection.

- Select a SAS sid file. Click on Browse. Select
the file that matches the example file format and click on Next. The sid file is
one of the license files that you downloaded in Step 1.

- You will repeat this process for the
other license file.

- Select the support languages you wish to install and
click on Next.
English is set by default. You can click on Clear All and only install the English
language support.

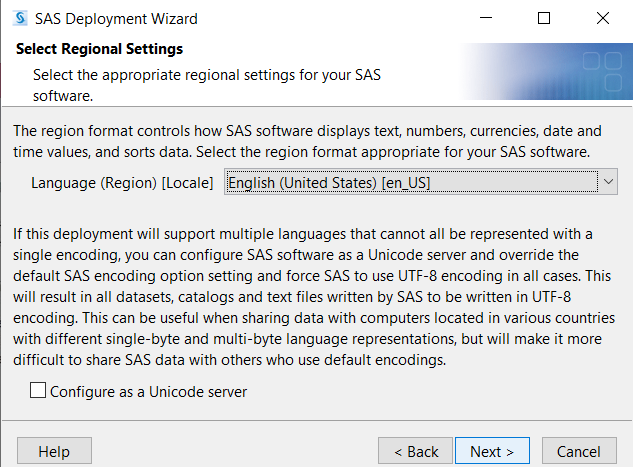
- Select the regional settings and click on Next.
- Select the default product for SAS file types and
click on Next.

- The install packages will load.

- Your system will be checked. Click on Next when that process
has completed.

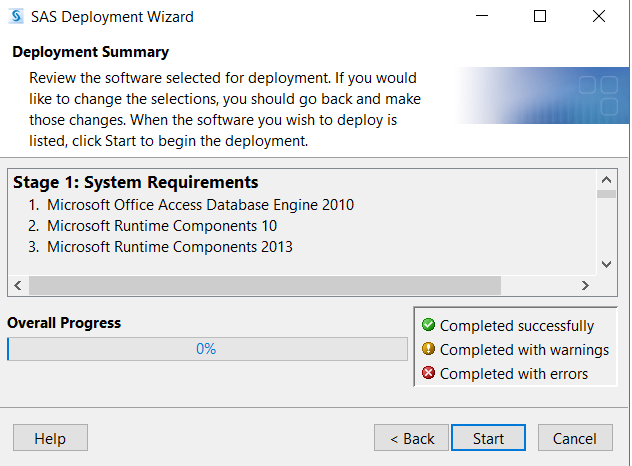
- Review the Deployment Summary and click on Start.
- The installation will begin and will take several
hours.

- At some point during the installation, you will be
prompted to browse to another disk. Browse to disk 2 and click on OK. The installation
will continue. During the installation process you will be asked to switch
disk back and forth multiple times. There are 3 disks in this set.


- When the installation is complete click on Next

- Select Do Not Send and click on Next.

- Click on Finish.

- The first time you run JMP Genomics you will see the
below windows. Registration is not required. Click on Wait to Register.

- You are now ready to use JMP Genomics 13.2.1 with SAS 9.4.