|
|
|
|
JMP Pro 17 Installation Instructions |
|
|
|
|
|
|
|
|
|
|
|
|
|
1. Download the JMP Pro 17 .exe file along with the license file for version 17 from your WebStore Order. |
|
|
|
|
|
|
|
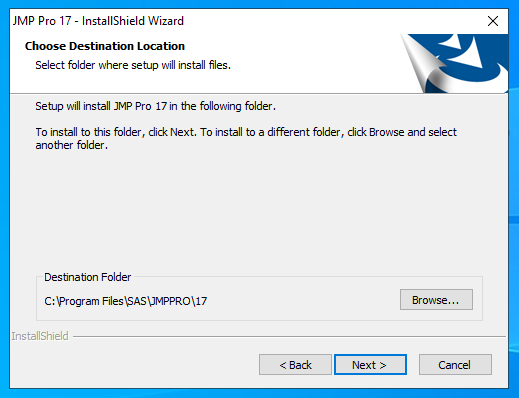
2. Double click setup.exe. The installer will take you through the setup process. Choose your destination location. Accept the default location unless you know what you are doing. |
|
|
|
|
|
|
|
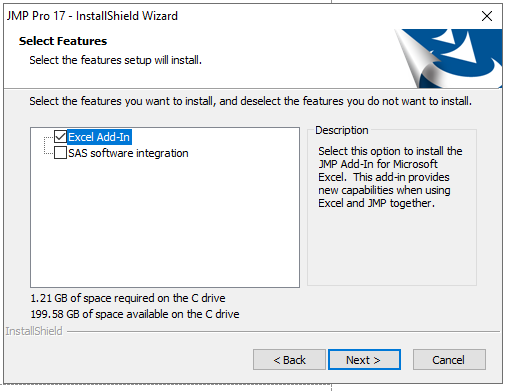
3. Select the features you would like to install and click on Next. |
|
|
|
|
|
|
|
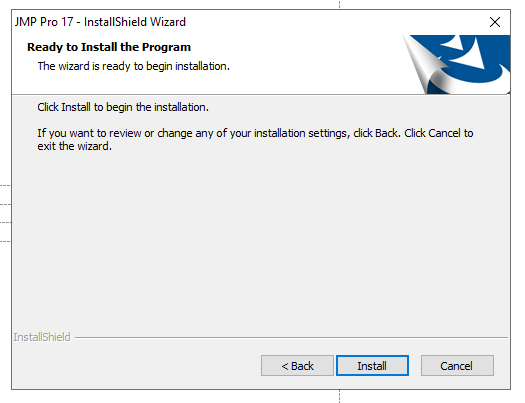
4. Click on Install. |
|
|
|
|
|
|
|
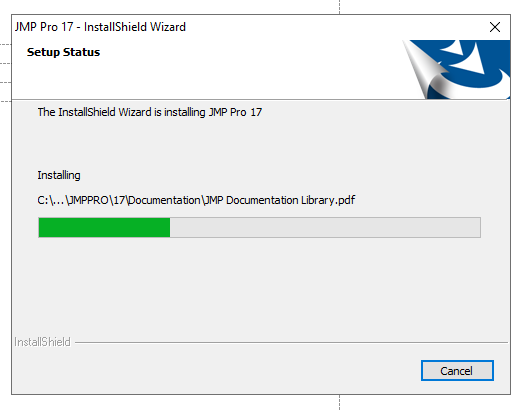
5. The installation will begin and may take a few minutes. |
|
|
|
|
|
|
|
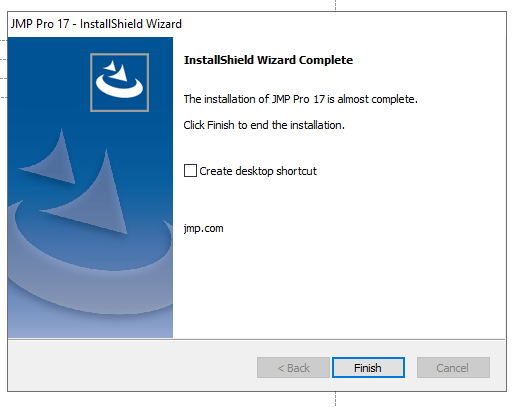
6. Click on Finish and open JMP Pro. |
|
|
|
|
|
|
|
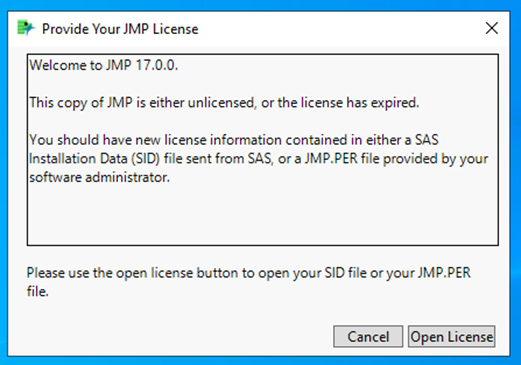
7. The first time you open JMP Pro, you will see the following screen. Select Open License and navigate to the license file you downloaded. |
|
|
|
|
|
|
|
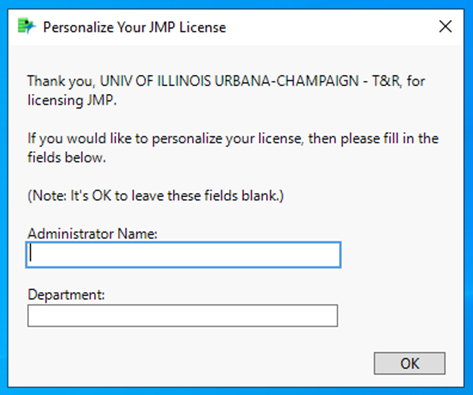
8. Do not fill anything on this page. Click on OK. |
|
|
|
|
|
|
|
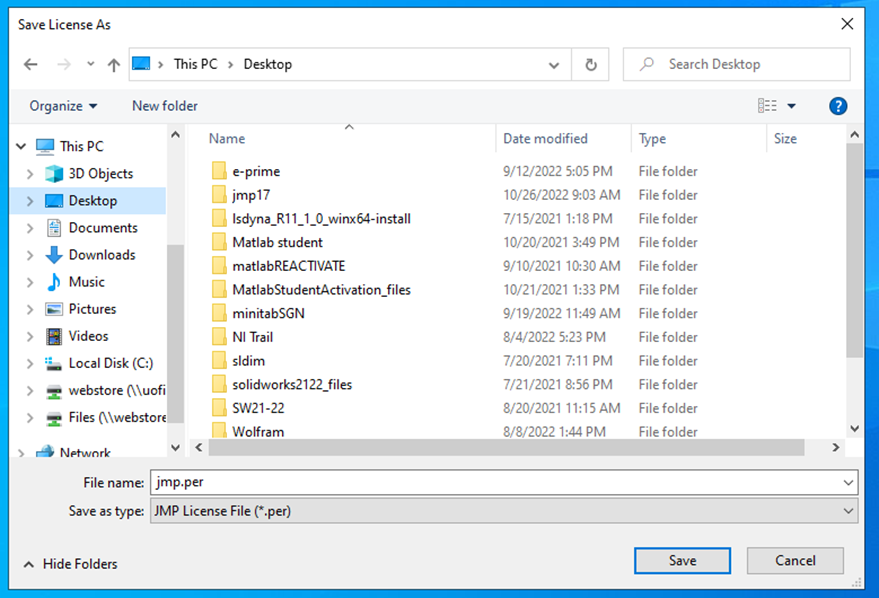
9. JMP Pro will prompt you to save a JMP.per file. Select an installation location and click on Save. |
|
|
|
|
|
|
|
10. Click on OK. |
|
|
|
|
|
|
|
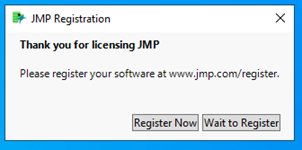
11. Click on Wait to Register. You will not need to register this software. |
|
|
|
|
|
|
|
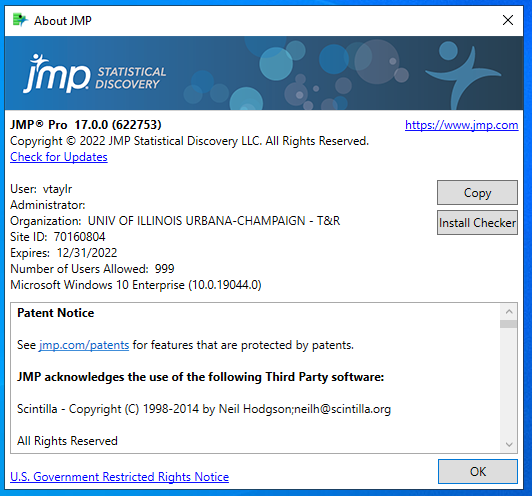
12. You are now ready to use JMP Pro for Windows. |
|
|
|
|
|
|
|
|
|
|
|
|
|
|
|
|
|
|
|
|
|
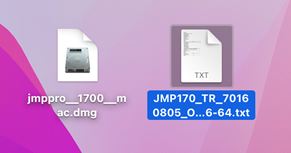
1. This offer is distributed via .dmg file. Besides this, you will also need the license file. Double click the .dmg file to open it. |
|
|
|
|
|
|
|
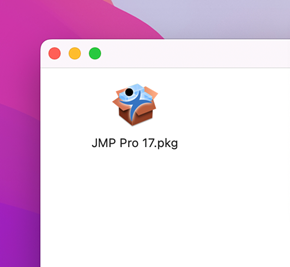
2. A window will automatically open. Double click on JMP Pro XX.pkg. |
|
|
|
|
|
|
|
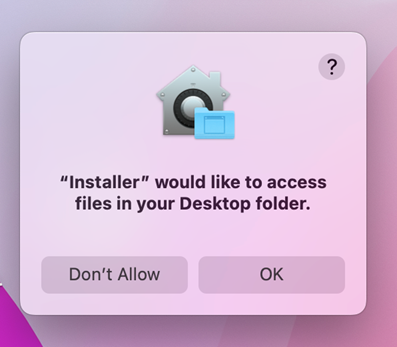
3. Click OK to give the Installer access to your files. |
|
|
|
|
|
|
|
4. The installer will pop up. Click on Continue. |
|
|
|
|
|
|
|
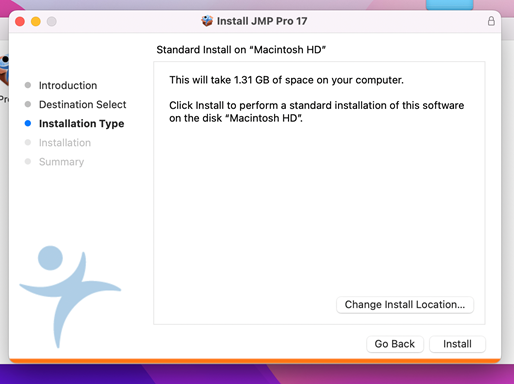
5. Click on Continue to allow the Installation Type. |
|
|
|
|
|
|
|
|
|
6. Select your installation location and click on Install. |
|
|
|
|
|
|
|
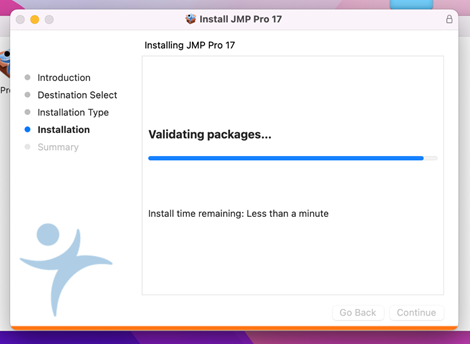
7. The installation will begin. |
|
|
|
|
|
|
|
|
|
8. You will get a confirmation of successful installation. Click on Close and open JMP. |
|
|
|
|
|
|
|
9. When you first open JMP, you will see the following screen. Click on Open License. |
|
|
|
|
|
|
|
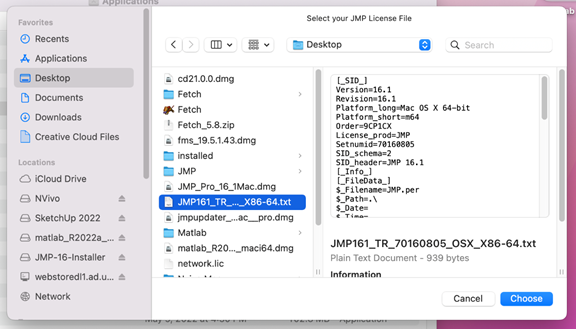
10. Navigate to your license file and click on Choose. |
|
|
|
|
|
|
|
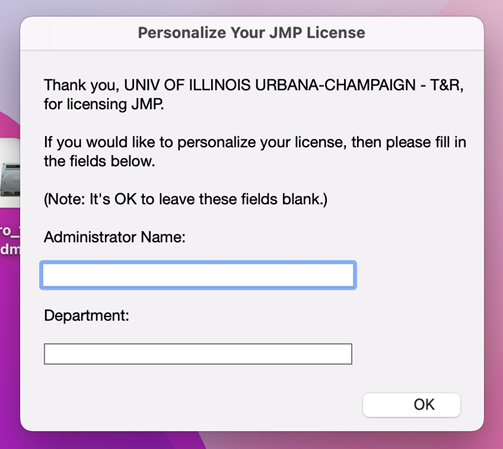
11. Do not enter anything on this screen. Click on OK. |
|
|
|
|
|
|
|
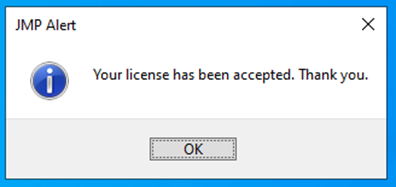
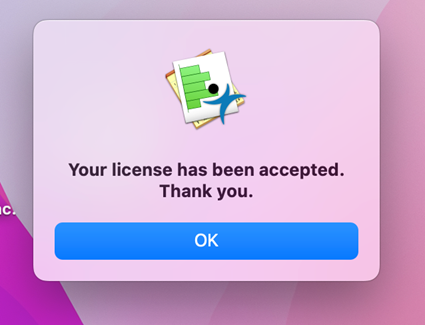
12. You will get a confirmation that your license is accepted. |
|
|
|
|
|
|
|
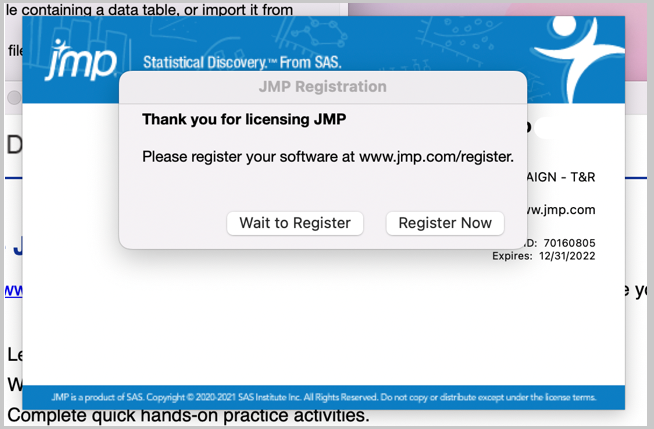
13. You are not required to register for JMP. You can select the option to wait. |
|
|
|
|
|
|
|
|
|
You are now ready to use JMP for Mac. |
|
|
|
|
|
|
|
|
|
|
|
|
|
|
|
|
|
|