|
|
|
|
ArcGIS Desktop 10.8.1 Installation Instructions |
|
|
|
|
|
|
|
|
|
|
|
|
|
|
|
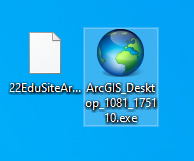
1. You will need to download two files for this installation: The installer and the license file. Double click the .exe file you downloaded from the WebStore. |
|
|
|
|
|
|
|
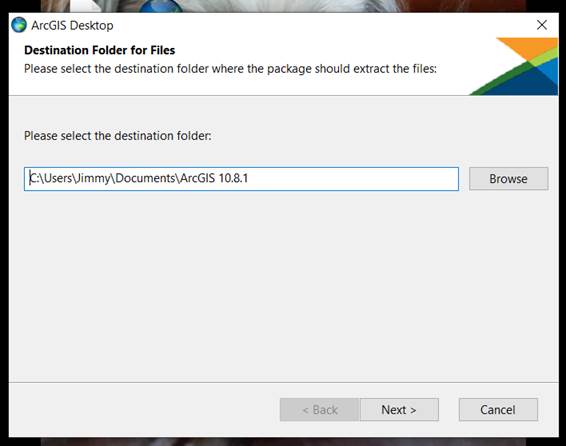
2. Choose a Destination Folder where the files will be extracted and click on Next. |
|
|
|
|
|
|
|
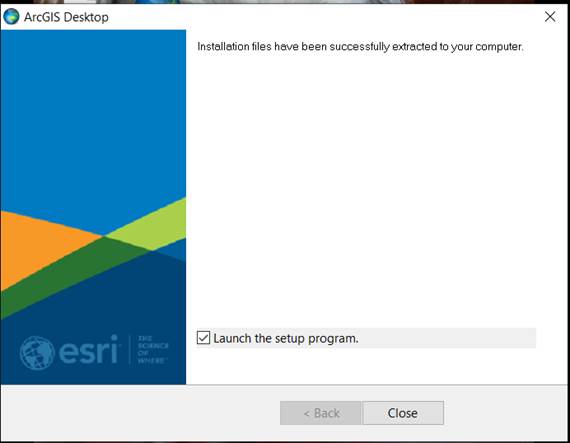
3. The files will be extracted. You will see setup window. Click on Close. |
|
|
|
|
|
|
|
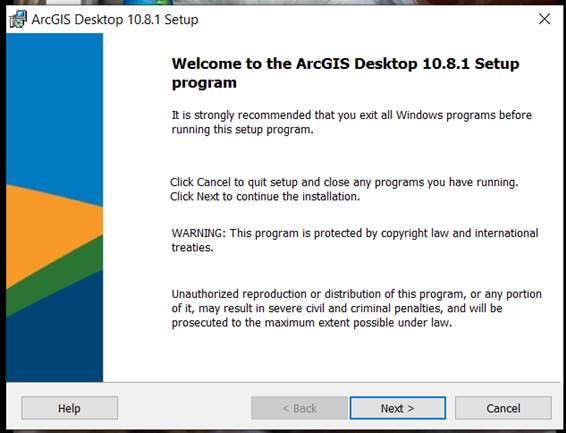
4. A welcome screen will appear as space requirements are computed. Click on Next. |
|
|
|
|
|
|
|
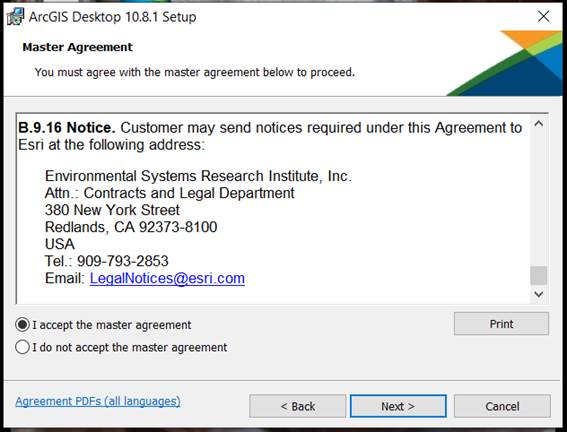
5. Accept the license agreement and click on Next. |
|
|
|
|
|
|
|
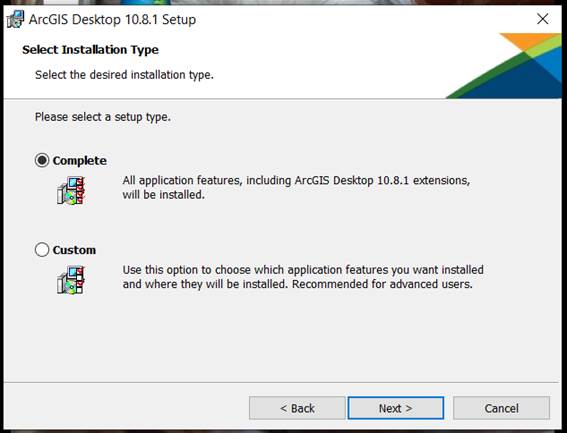
6. Select the type of installation you desire and click on Next. Remember, to get all the ArcGIS Desktop Extensions you need to do a complete installation. |
|
|
|
|
|
|
|
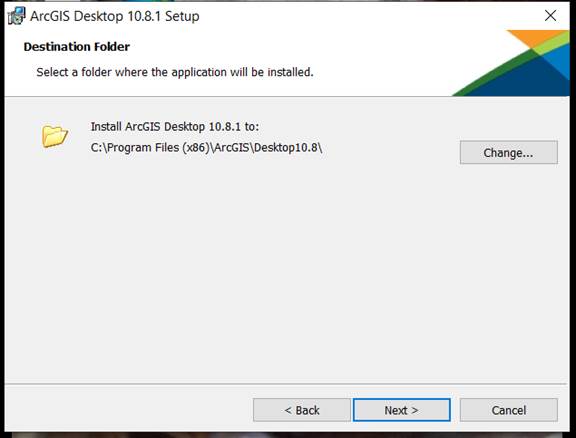
7. Choose a Destination Folder and click on Next. |
|
|
|
|
|
|
|
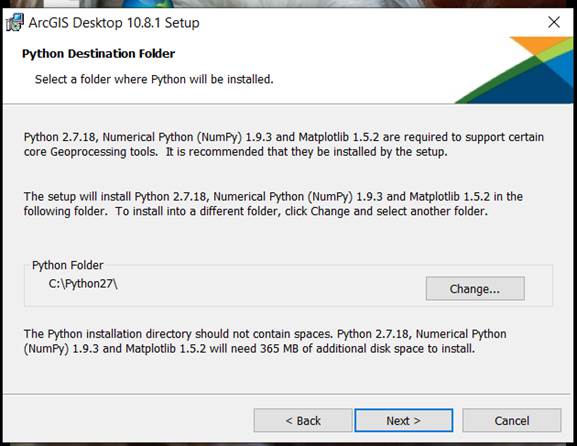
8. Choose a Destination Folder for Python and click on Next. |
|
|
|
|
|
|
|
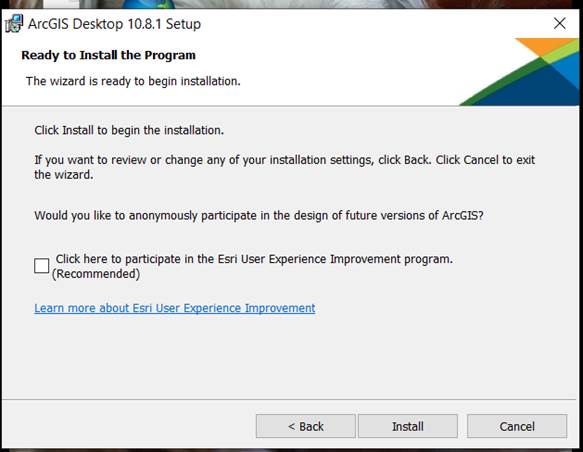
9. Click Install to begin the installation. |
|
|
|
|
|
|
|
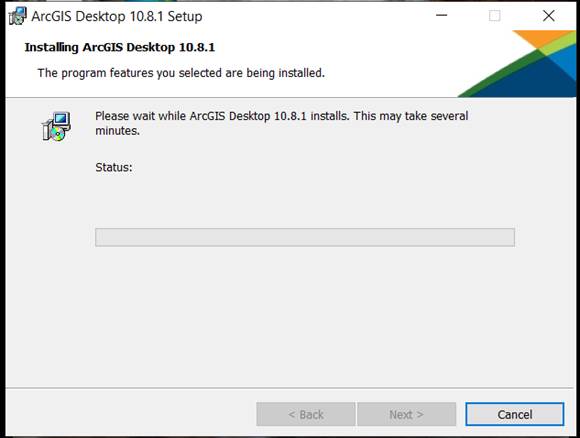
10. You will see a progress window. The installation may take several minutes. |
|
|
|
|
|
|
|
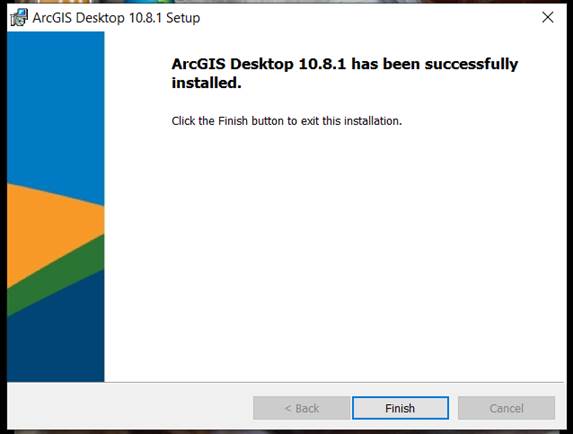
11. Your installation is now complete. Click on Finish. |
|
|
|
|
|
|
|
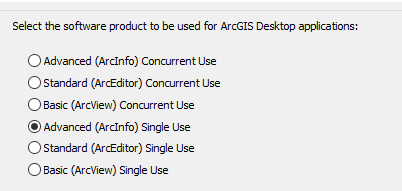
12. The ArcGIS Administrator Wizard will open. !! IMPORTANT Close the wizard and DOUBLE CLICK the license file you downloaded in step 1. By doubleclicking the file, the Wizard will reopen and automatically select the right software product for your license. If you are still unsure, or for some reason you still need to select a product, choose “Advanced (ArcInfo) Single Use”
|
|
|
|
|
|
|
|
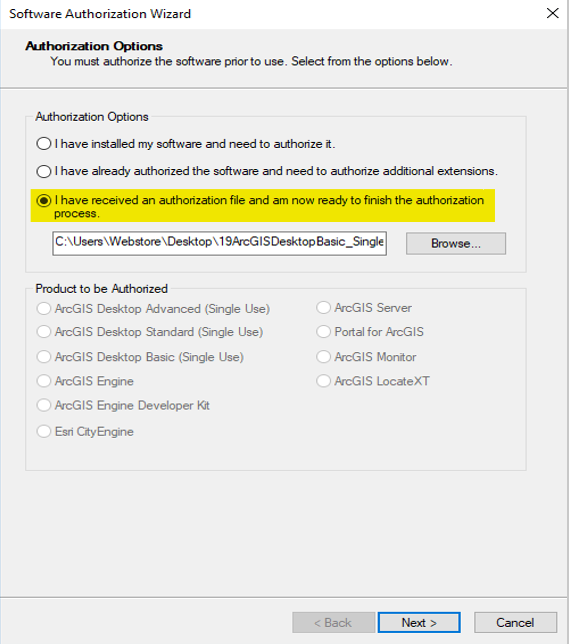
13. Select the option: “I have received an authorization file from Esri and am now ready to finish the installation” Check that the path to the license file is correct. Click on Next. |
|
|
|
|
|
|
|
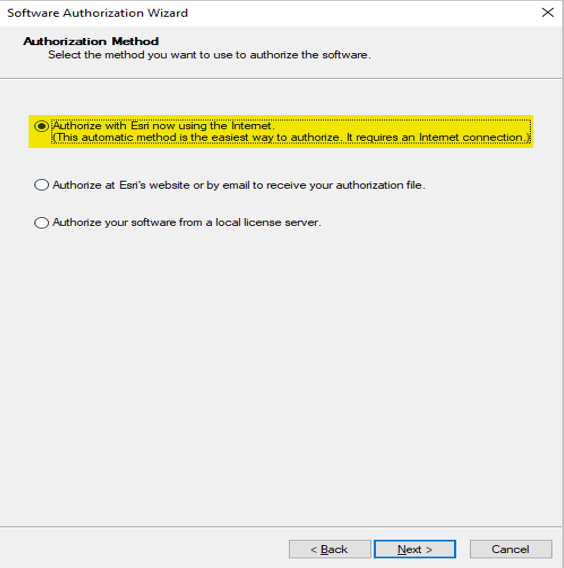
14. Select Authorize with ESRI now using the Internet and click on Next. |
|
|
|
|
|
|
|
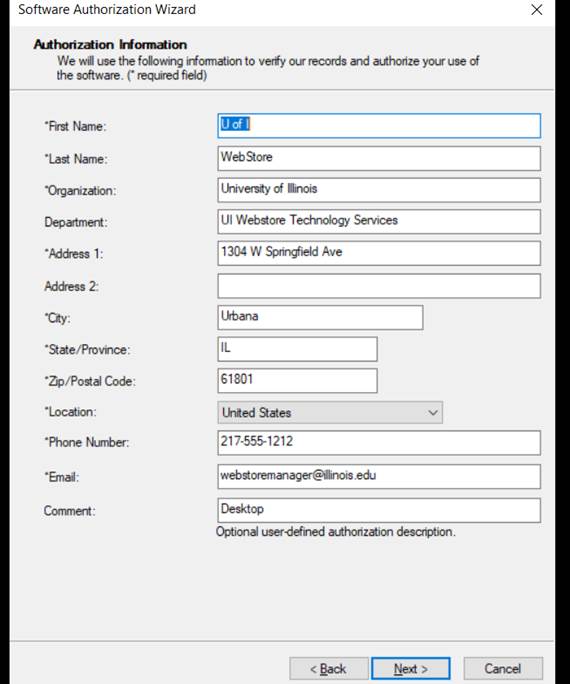
15. This information will be pre-filled, but you can enter your personal information if you would wish. Click on Next. |
|
|
|
|
|
|
|
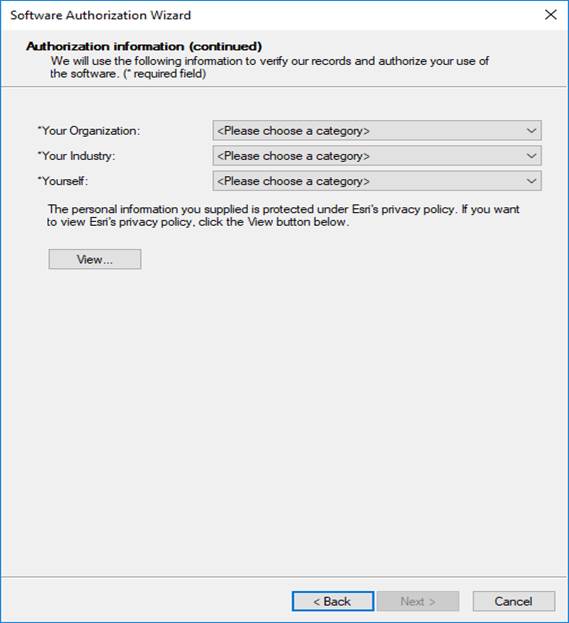
16. Enter the required information and click on Next. |
|
|
|
|
|
|
|
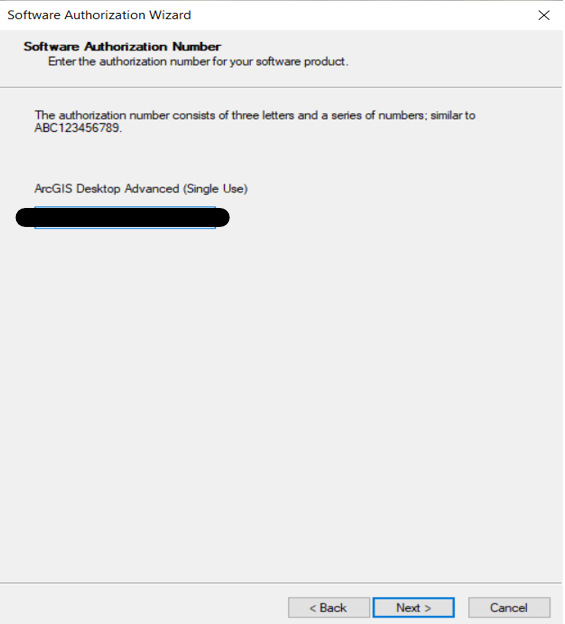
17. Click on Next. The authorization number will already be filled in. |
|
|
|
|
|
|
|
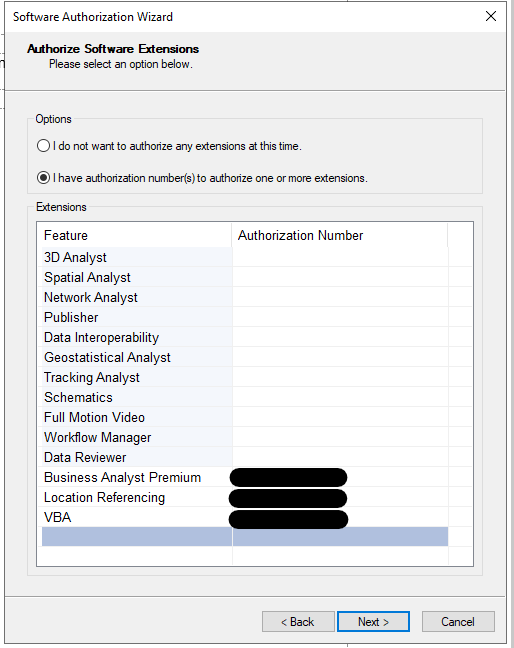
18. Select I have authorization numbers to authorize one or more extensions, if you intend on using extensions. You may only see several numbers listed. All others are already bundled into the license file. Click on Next. |
|
|
|
|
|
|
|
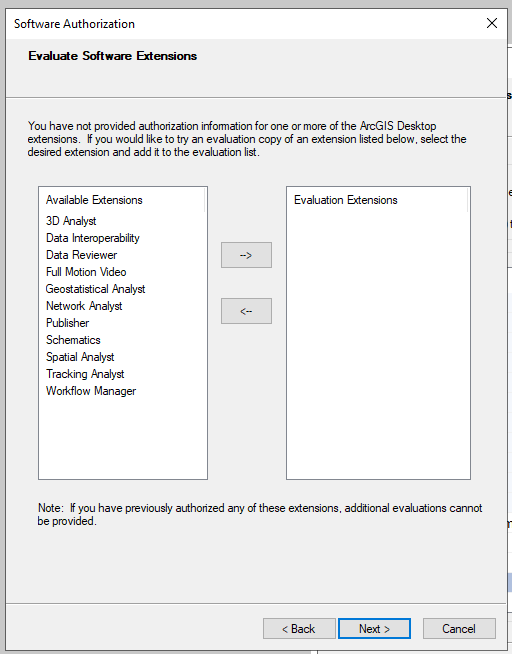
19. You do not need to make any changes in this window simply click Next |
|
|
|
|
|
|
|
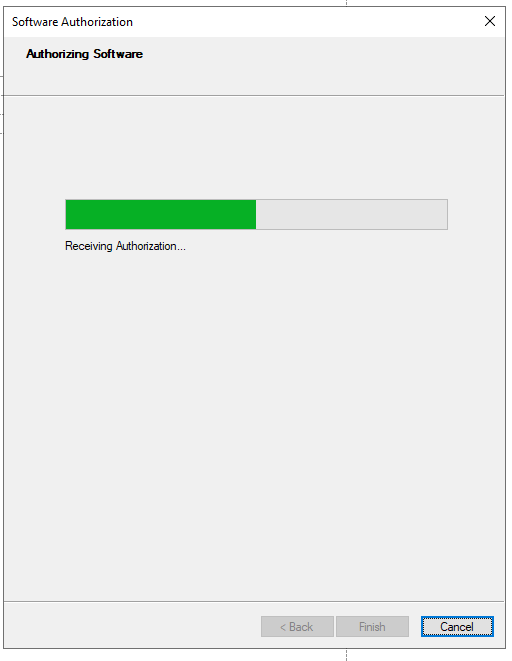
20. The authorization process will begin. This step requires an internet connection. |
|
|
|
|
|
|
|
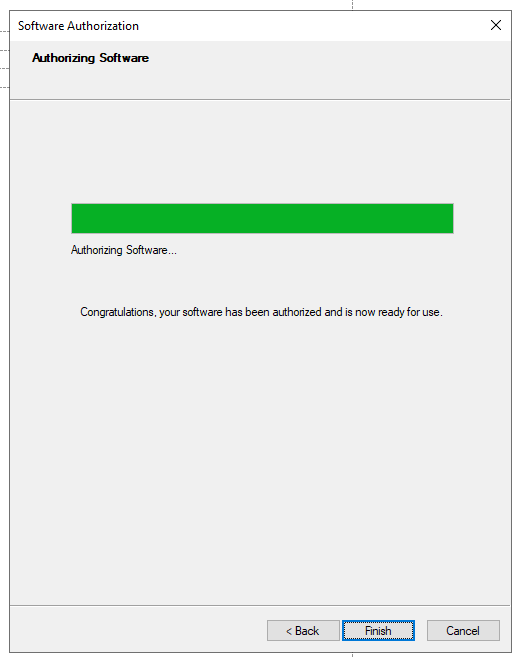
21. The authorization process is complete. Click on Finish. |
|
|
|
|
|
|
|
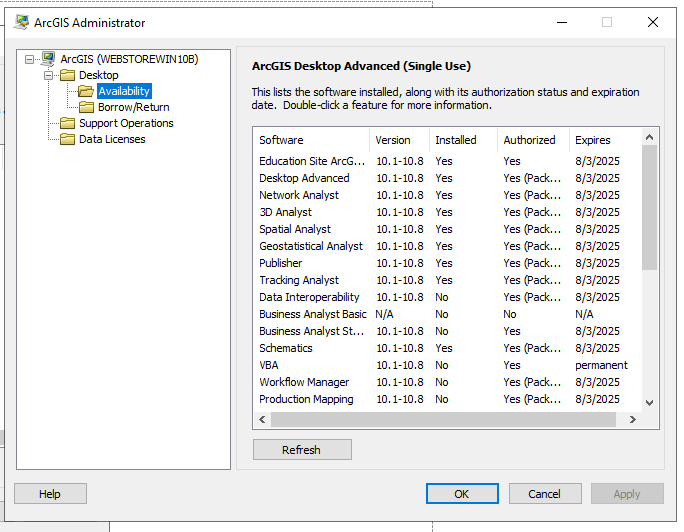
22. You can check the expiration date and software that was authorized by clicking on Availability. Close the ArcGIS Administrator when you are finished. |
|
|
|
|
|
|
|
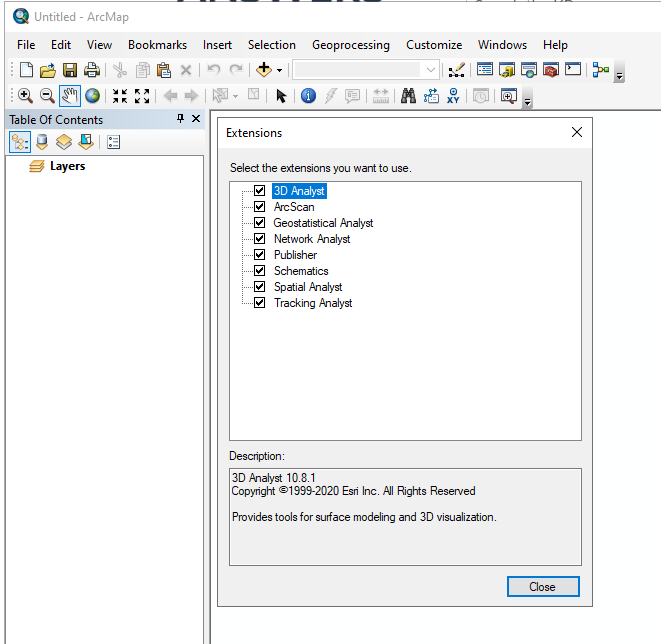
23. If you you see that the installed Extensions are NOT authorized or available to use, you need to also enable any extensions you want to use via the Customize > Extensions menu in side of the ArcMap program. See the following KB to enable ESRI ArcGIS extension within ArcMap KB |
|
|
|
|
|
|
|
You are now ready to use ArcGIS 10.8.1. |
|
|
|
|