![]()
|
ArcGIS 10.7 for
Students Installation Instructions |
|
|
|
1.
Before you install ArcGIS
for Desktop you will need to activate your authorization code before you will
be able to use it to install the software. Your authorization code can be
found by logging into the WebStore and clicking on order history. Click on
the order number. The code is on this page under the words Digital Asset. To
activate it, visit ArcGIS
for Education. Log in using your ESRI Global Account, or
create a new account, if necessary. Finally enter the authorization code and
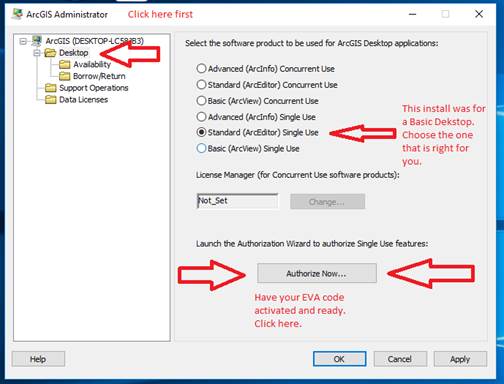
click submit. We recommend downloading the installer from the WebStore and NOT from ESRI. The ESRI file is going
to be a zip file and will be VERY
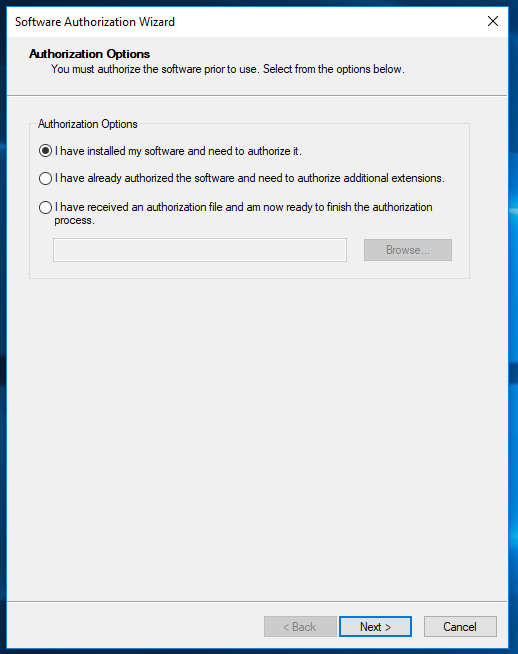
large. |
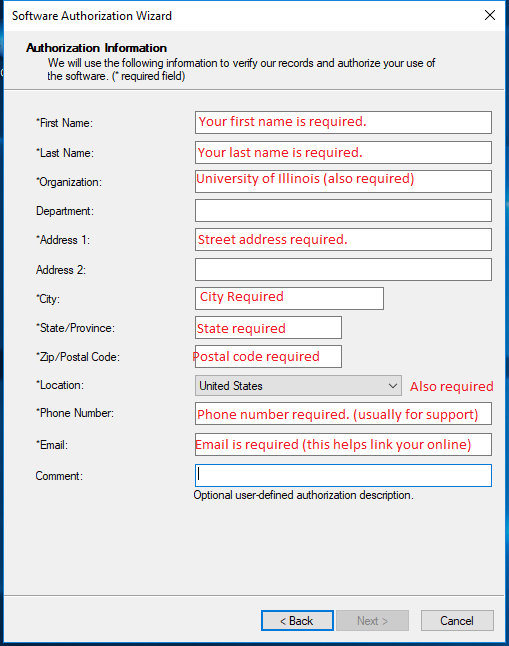
|
|
|
2.
Uninstall any previous version of ArcGIS that you may
have on your computer. |
|
|
|
3.
If necessary, install the Microsoft .NET Framework (version 3.5 Service
Pack 1 or higher). |
|
|
|
4.
Double click on the file that you downloaded from the
Webstore. |
|
|
|
|
|
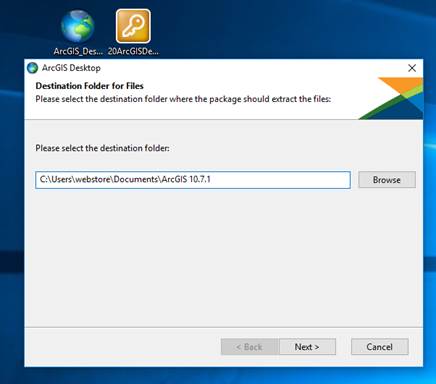
5.
Select a destination
location for where the install will be extracted. You can delete these files
after the installation is complete. |
|
|
|
|
|
|
|
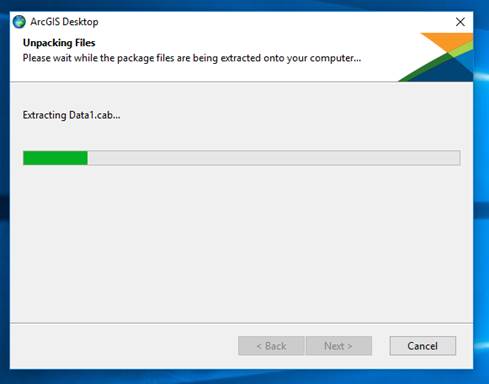
6.
The files will be extracted. |
|
|
|
|
|
|
|
7.
Make sure there is a check
in the box next to Launch the setup program and click on Close. |
|
|
|
|
|
|
|
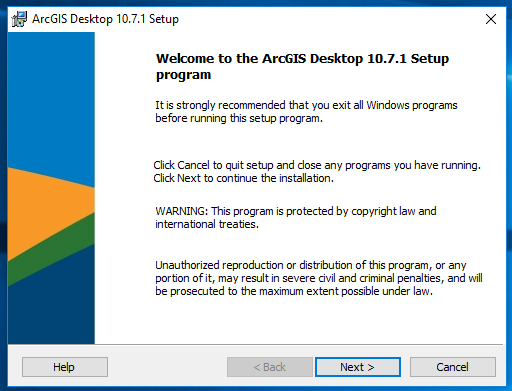
8.
A welcome screen will appear as space requirements are
computed. Click on Next. |
|
|
|
|
|
|
|
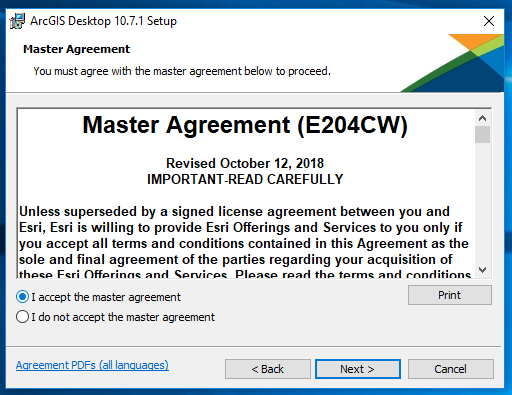
9.
Accept the license agreement
and click on Next. |
|
|
|
|
|
|
|
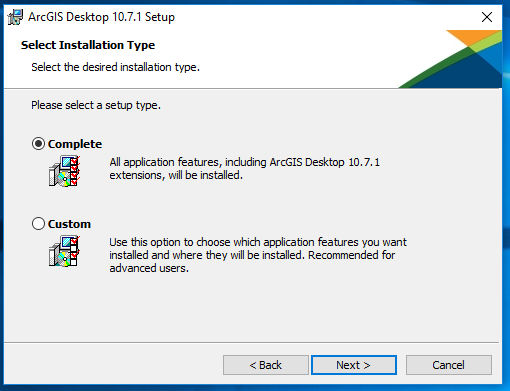
10.
Select the type of
installation you desire and click on Next. Remember, to get all
the ArcGIS Desktop Extensions you need to do a complete installation. |
|
|
|
|
|
|
|
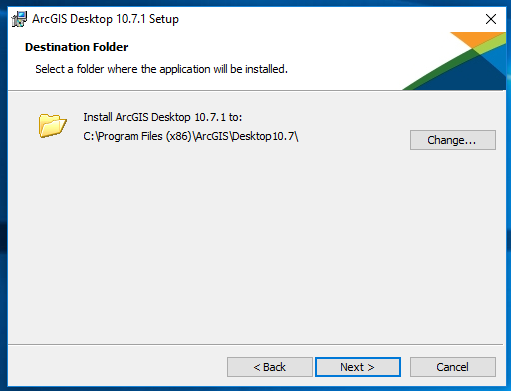
11. Choose a Destination Folder and click on Next. |
|
|
|
|
|
|
|
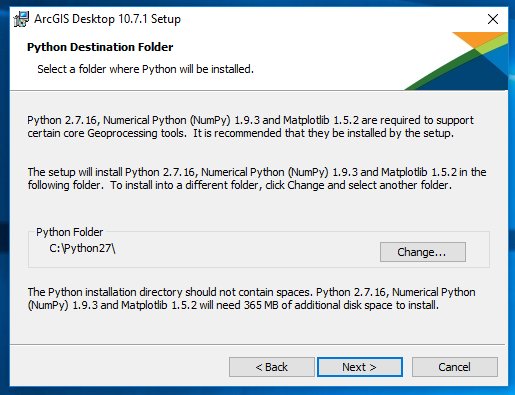
12.
Choose a Destination Folder for Pythion 2.7.10 and click
on Next. |
|
|
|
|
|
|
|
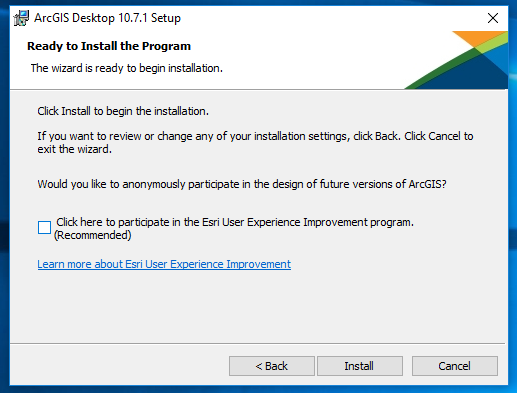
13.
Click Install to begin the installation. |
|
|
|
|
|
|
|
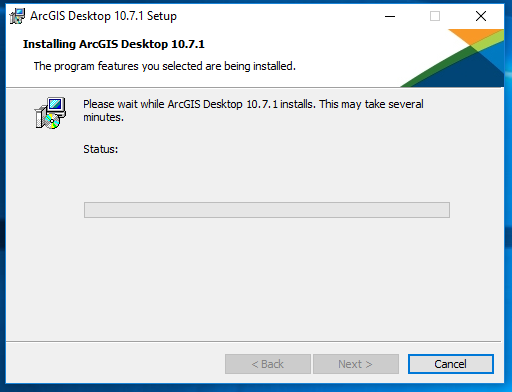
14.
You will see a progress window. The installation may take
several minutes. |
|
|
|
|
|
|
|
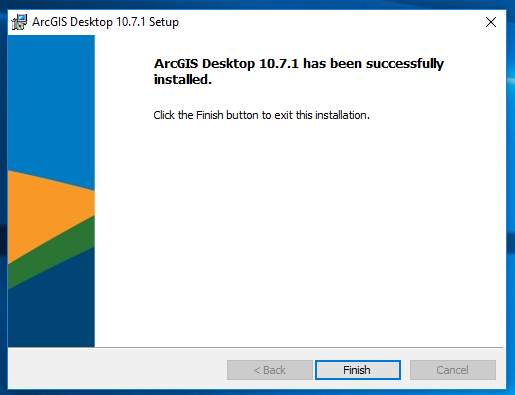
15.
Your installation is now complete. Click on Finish. |
|
|
|
|
|
|
|
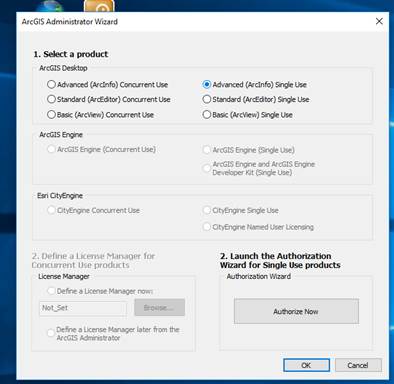
16.
The ArcGIS Administrator Wizard should automatically
open. If not, navigate to your applications and open the ArcGIS
Administrator. Click on Desktop, then select Advanced ArcInfo (Single Use) and click
on Authorize Now. The image will
look different form the one below if you have to open the ArcGIS
Administrator manually. |
|
|
|
|
|
|
|
17.
Select the Desktop folder.
Select the type of Desktop you are installing. Click Authorize now. If you have not activated your EVA code, pause
here and complete step 1. |
|
|
|
|
|
|
|
18.
Select Authorize with
ESRI now using the Internet and click on Next. |
|
|
|
|
|
|
|
19.
Enter the required information and click on Next. |
|
|
|
|
|
|
|
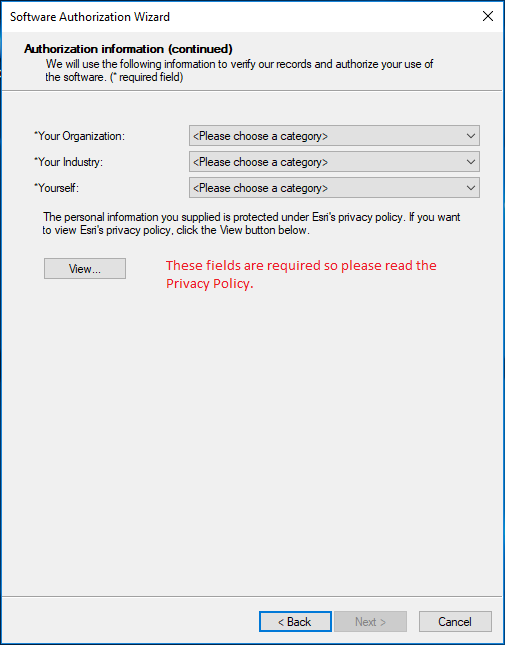
20.
Enter the required information and click on Next. |
|
|
|
|
|
|
|
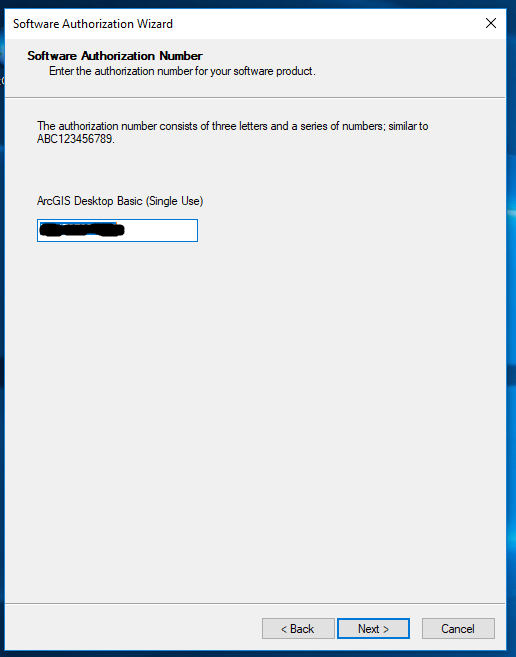
21.
Enter the authorization number provided with your order
and click on Next. To retrieve this
number login to the WebStore and click on Order History. Click on the order
number. The authorization code is on this page under Digital Assets. |
|
|
|
|
|
|
|
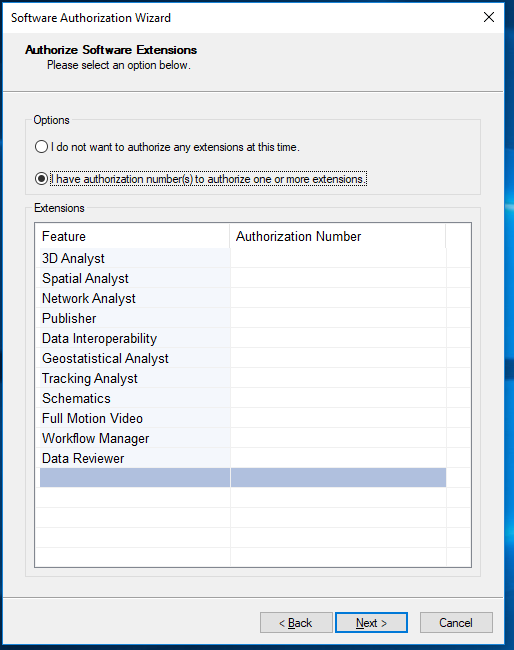
22.
Select I have authorization numbers(s) to authorize one
or more extensions. Enter the same authorization number you entered in step
21 next to any extensions you wish to use and Click on Next. |
|
|
|
|
|
|
|
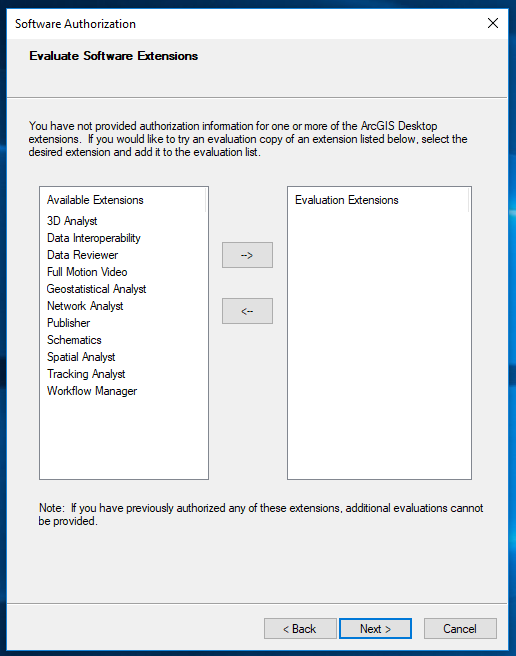
23.
A box will pop up asking if you want to try evaluation
copies if you did not enter authorization information for the extensions in
the previous step. Select what you want to try and click Next. |
|
|
|
|
|
|
|
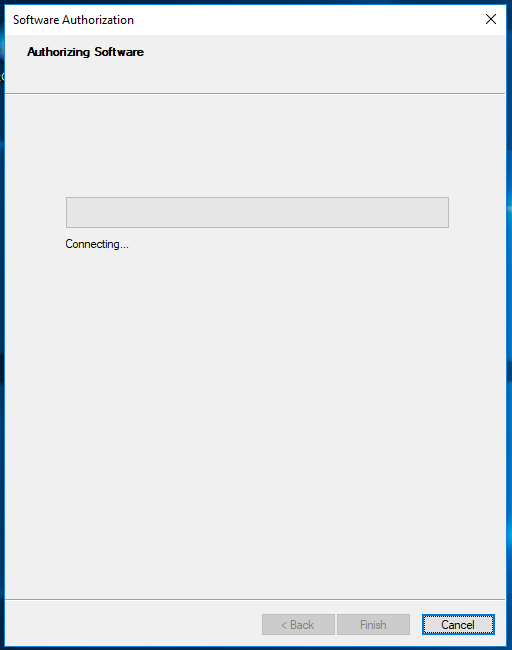
24. The authorization
process will begin. |
|
|
|
|
|
|
|
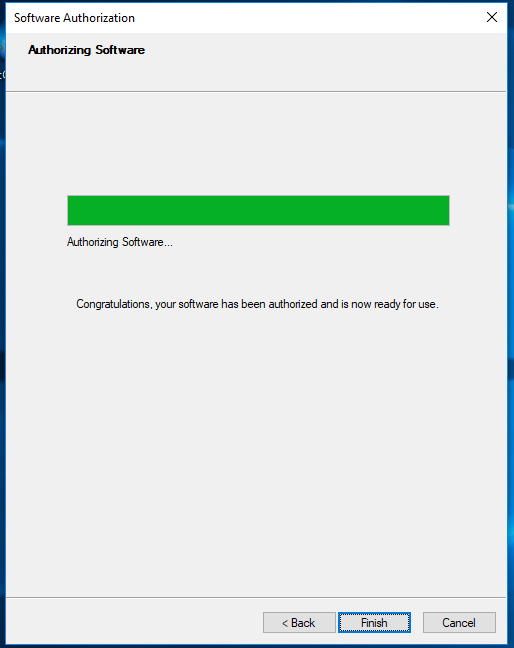
25.
The authorization process is complete. Click on Finish. |
|
|
|
|
|
|
|
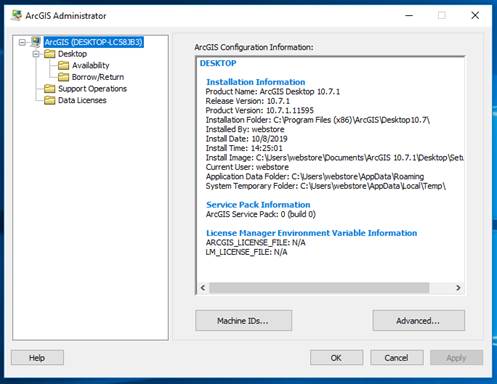
26.
Click on OK. |
|
|
|
|
|
|
|
27.
You are now ready to use ArcGIS 10.7. |
|
|