ArcGIS 10.3 Installation Instructions
- You will need to download 2 files for this installation. The installer and the license file. Double click the .exe file you downloaded from the WebStore.
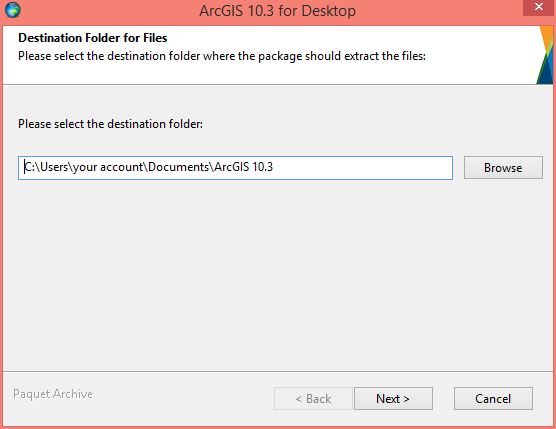
- Choose a Destination Folder where the files will be extracted and click on Next.
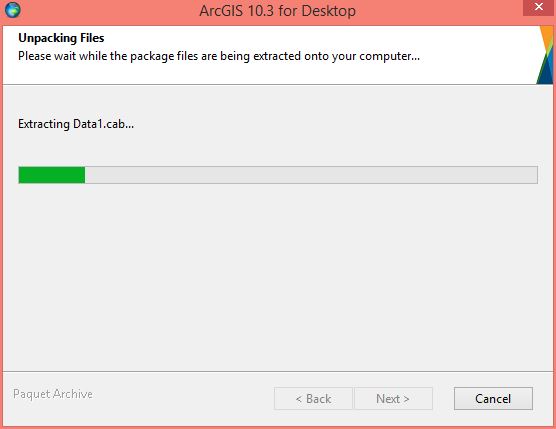
- The files will be extracted.
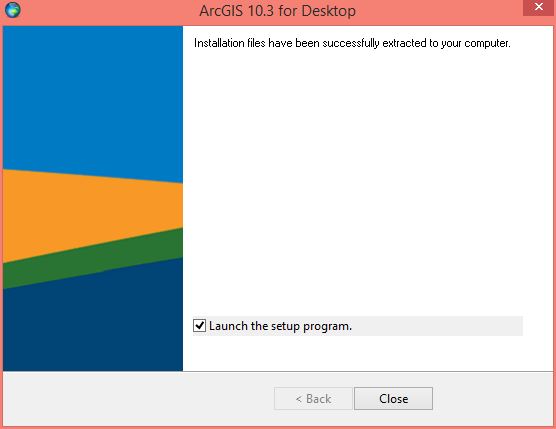
- You will see setup window. Click on Close.
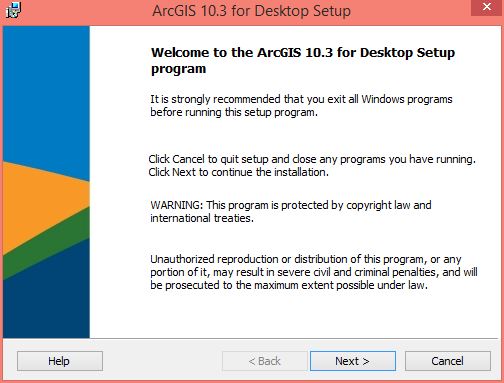
- A welcome screen will appear as space requirements are computed. Click on Next.
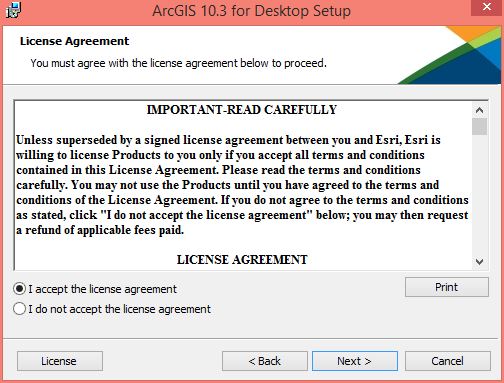
- Accept the license agreement and click on Next.
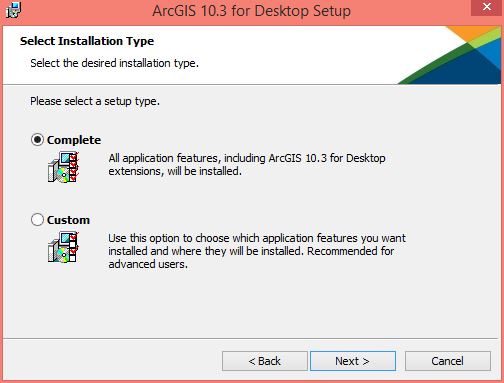
- Select the type of installation you desire and click on Next. Remember, to get all the ArcGIS Desktop Extensions you need to do a complete installation
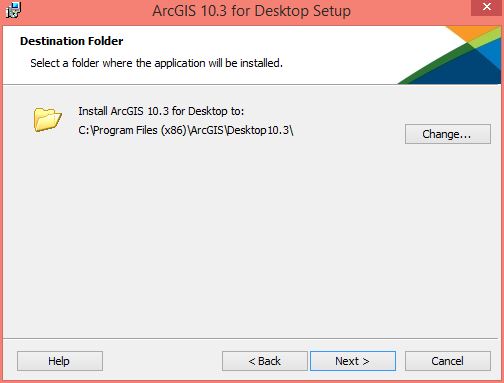
- Choose a Destination Folder and click on Next.
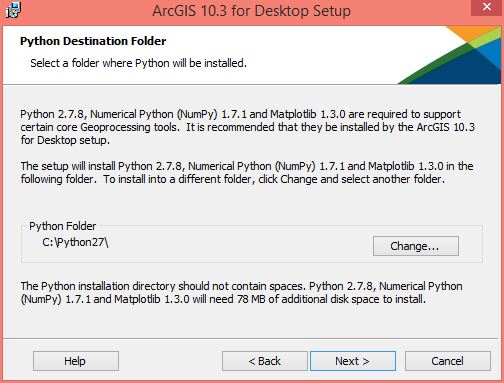
- Choose a Destination Folder for Pythion 2.7.8 and click on Next.
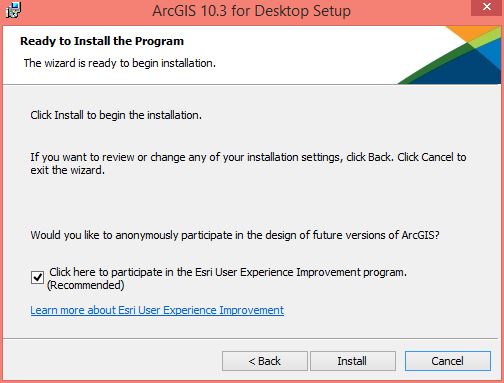
- Click Install to begin the installation.
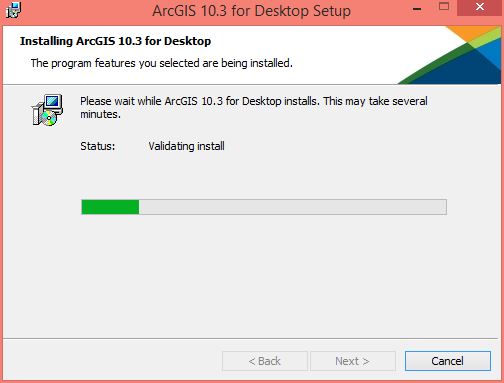
- You will see a progress window. The installation may take several minutes.
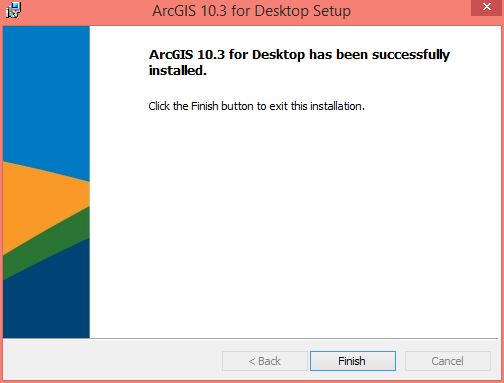
- Your installation is now complete. Click on Finish.
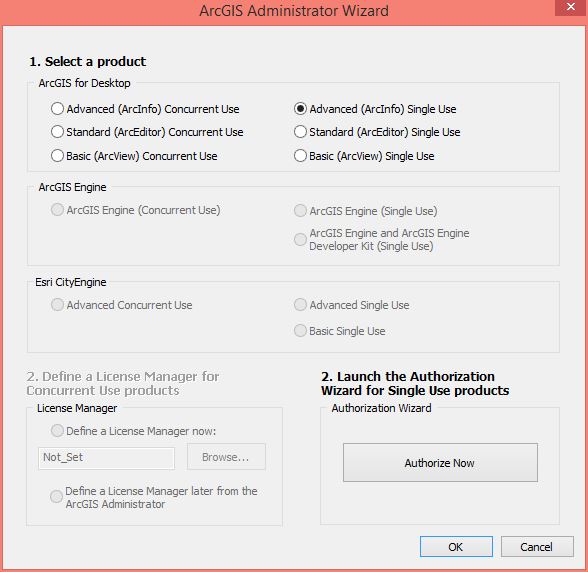
- Select Advanced (ArcInfo) Single Use and click on OK.
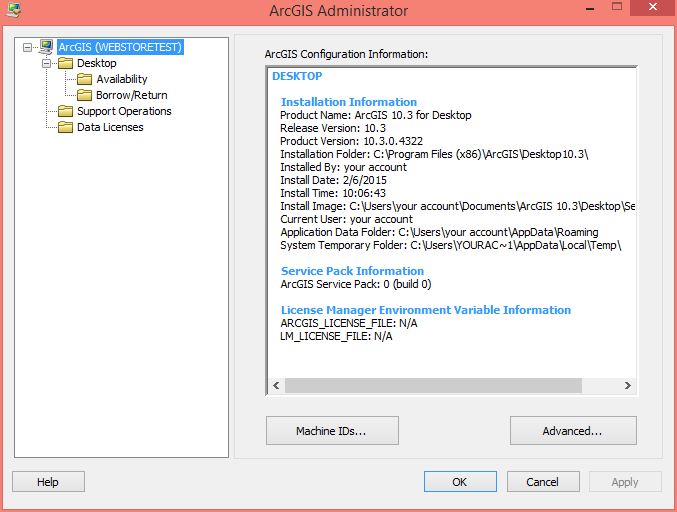
- Click on OK.
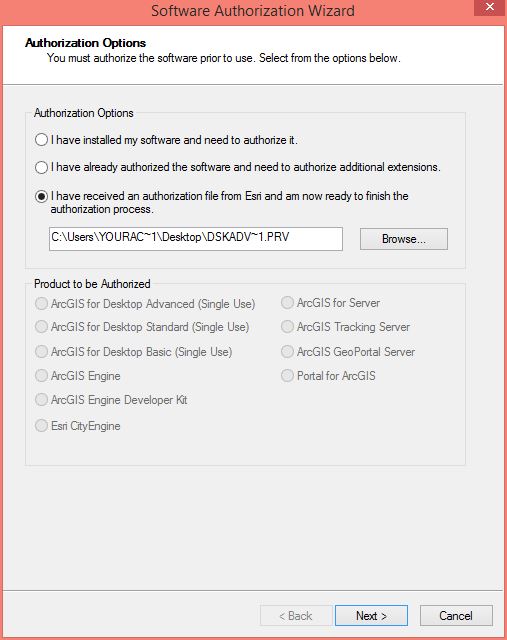
- Double click the license file you downloaded in step 1. Select Select I have received an authorization file from Esri and am now ready to finish the installation. Click on Next.
- Select Authorize with ESRI now using the Internet and click on Next.

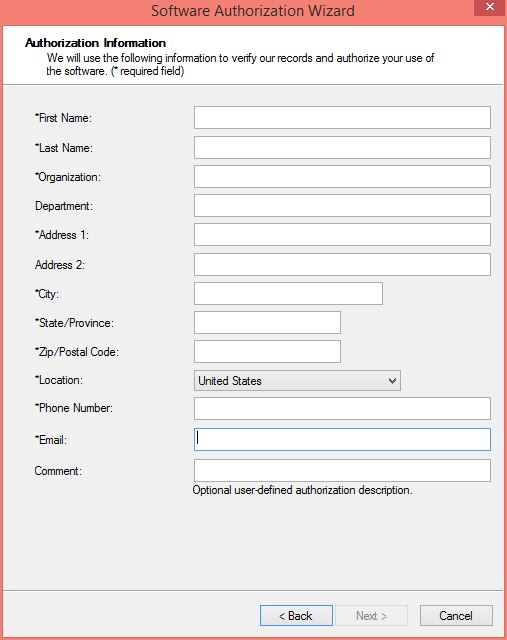
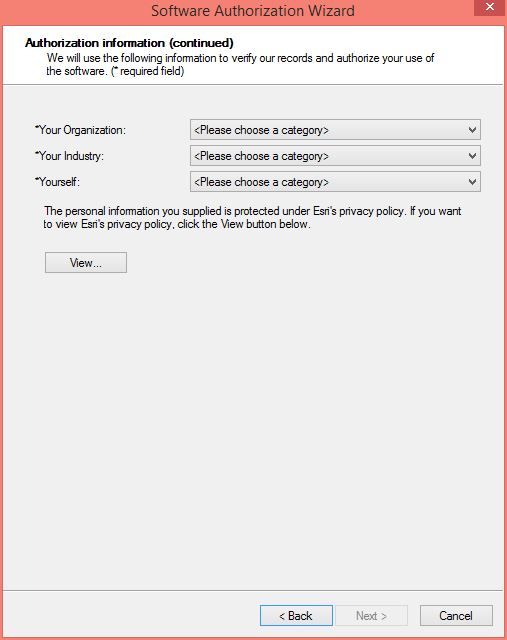
- Enter the required information. Click on Next.
- Enter the required information and click on Next.
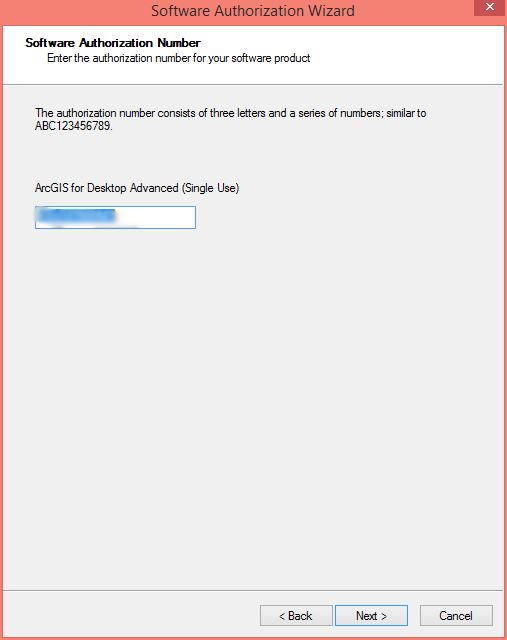
- Click on Next. The authorization number should already be filled in.
- Select if you wish to authorize any extensions. The authorization number should already be filled in. Click on Next.

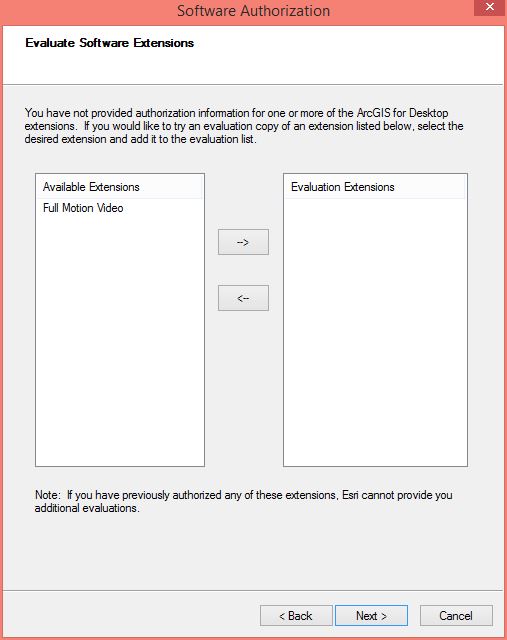
- Select if you want to evaluate the Full Motion Video extension and click on Next.
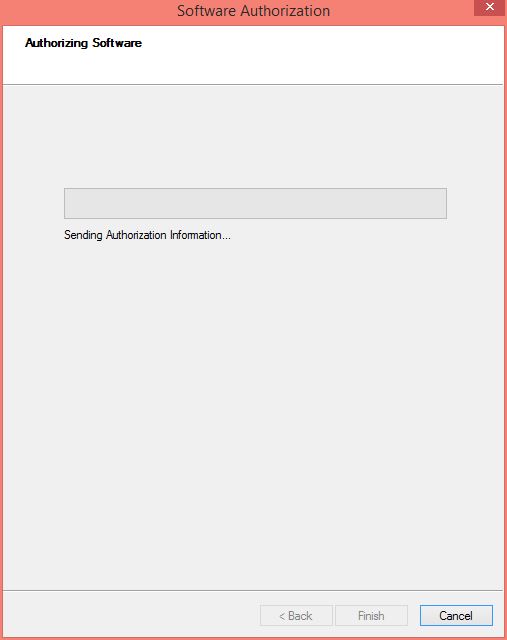
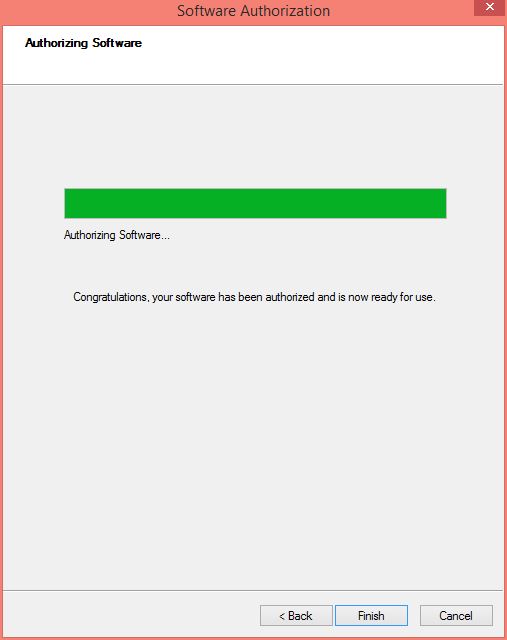
- The authorization process will begin.
- The authorization process is complete. Click on Finish.
- You are now ready to use ArcGIS 10.3. Remember that you need to also enable any extensions you want to use via the Customize > Extensions menu.