|
Endnote X8 Installation Instructions |
|
|
|
|
|
|
|
|
|
1.
Double click on the ENX8Inst.exe
file you downloaded from your Webstore order. |
|
|
|
|
|
|
|
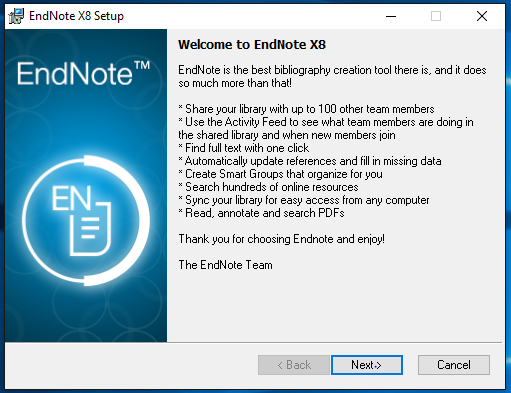
2. You will see a Setup
Window. Click on Next. |
|
|
|
|
|
|
|
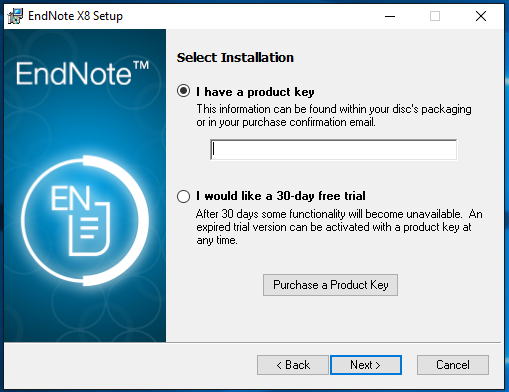
3. Select
I have a product key, enter the
product key and click on Next. The product key was
provided to you when you purchased the software. To retrieve this number, log
into the WebStore and click on Order History. Find
this offer on your list and click on the order number. The product key is on
this page under the words Digital Asset. |
|
|
|
|
|
|
|
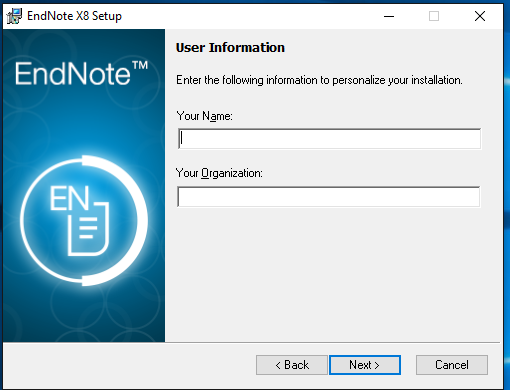
4. Enter
your name and organization. Then click on next. |
|
|
|
|
|
|
|
5. Read the Read Me
information and click on Next. |
|
|
|
|
|
|
|
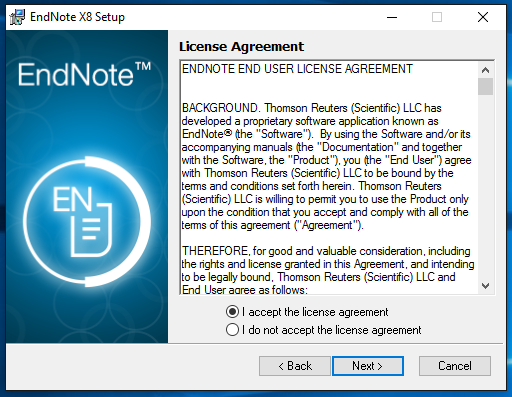
6. Accept the license
agreement and click on Next. |
|
|
|
|
|
|
|
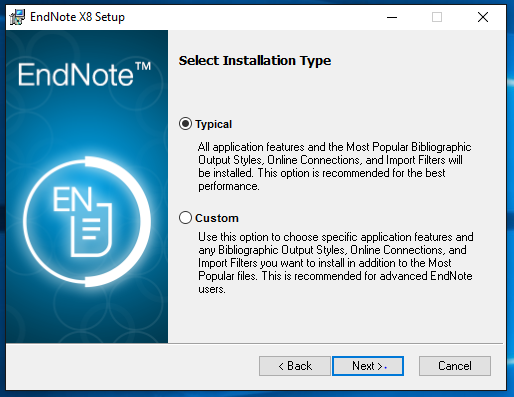
7. Select an
installation type and click on Next. |
|
|
|
|
|
|
|
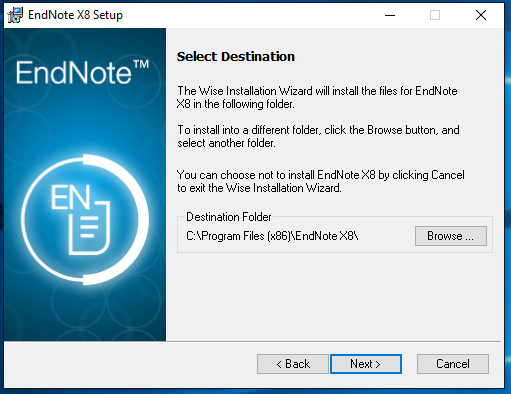
8. Select a destination
location and click on Next. |
|
|
|
|
|
|
|
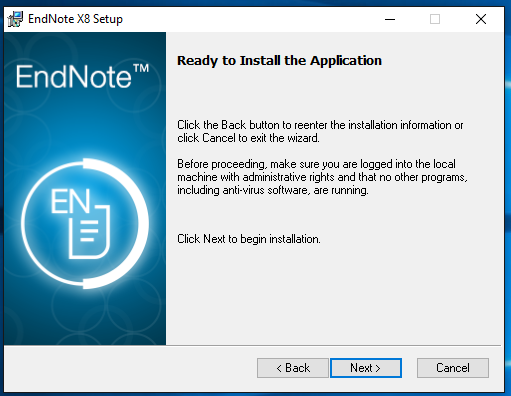
9. Click Next to begin the
installation. |
|
|
|
|
|
|
|
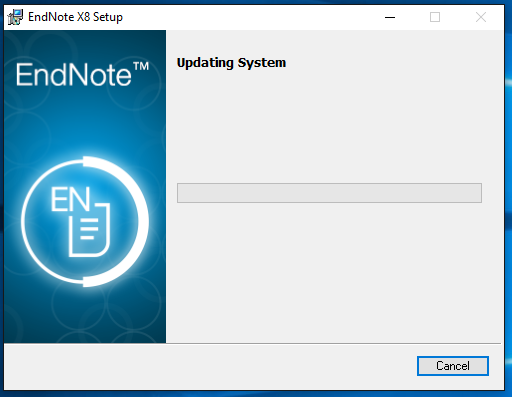
10. The installation will begin and take several
minutes. |
|
|
|
|
|
|
|
11.
Installation continues. |
|
|
|
|
|
|
|
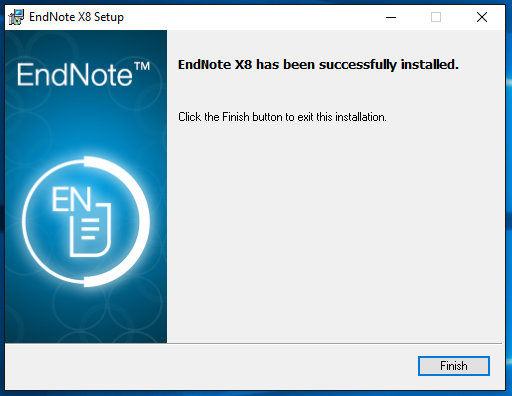
12. The
installation is complete. Click on Finish. |
|
|
|
|
|
|
|
13. You
are now ready to use Endnote X8 for Windows. |
|
|
|
|
|
1.
Double
click on the EndNoteX7Installer.dmg
file you downloaded from the WebStore. |
|
|
|
|
|
|
|
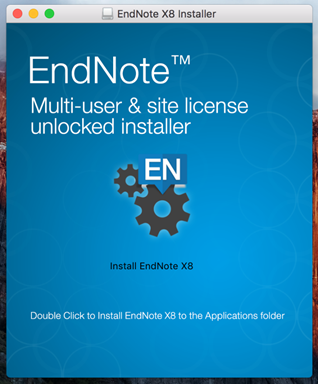
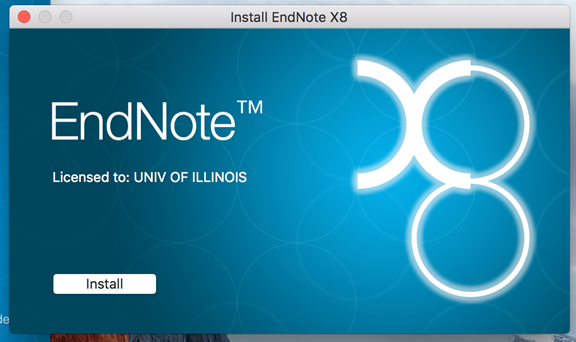
2. The
installation will begin. Click Install
EndNote X8. |
|
|
|
|
|
|
|
3. Click
Install. |
|
|
|
|
|
|
|
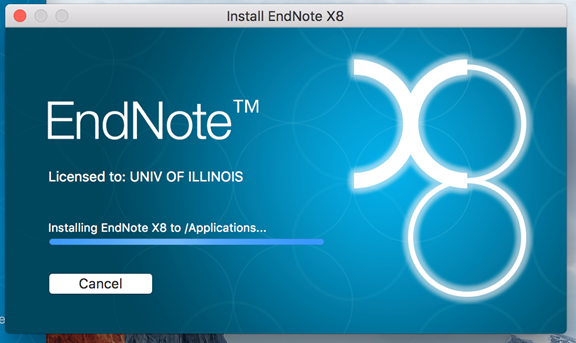
4. The
installaion will begin. |
|
|
|
|
|
|
|
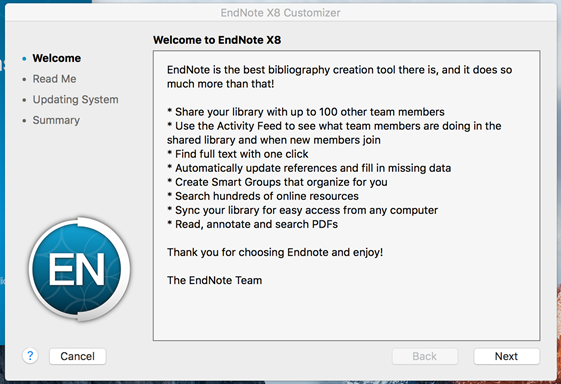
5. Read
the EndNote Welcome. Click Next. |
|
|
|
|
|
|
|
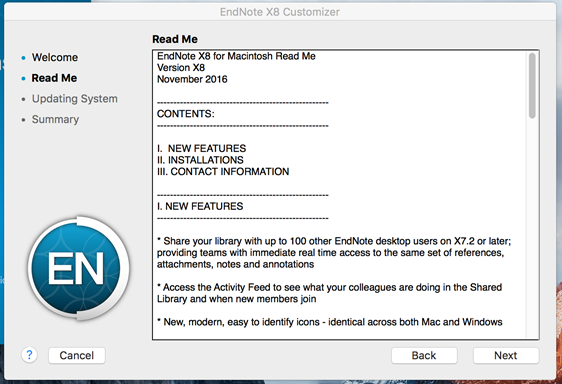
6. Review
the Read Me. Click Next. |
|
|
|
|
|
|
|
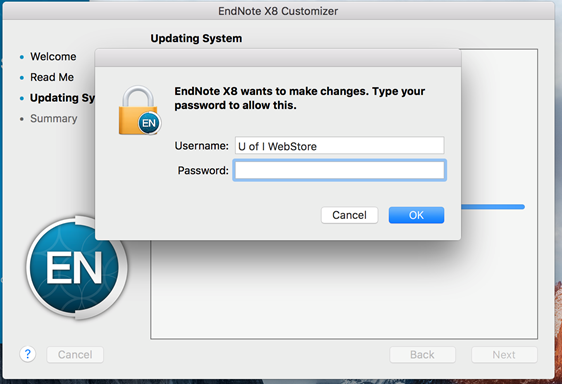
7. Enter
your Mac administrator account information when prompted. |
|
|
|
|
|
|
|
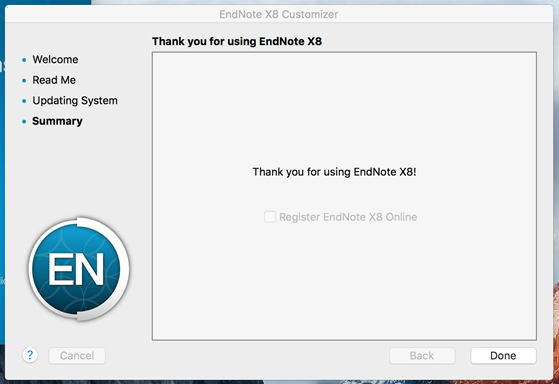
8. Click
Done. |
|
|
|
|
|
|
|
You are now ready to use EndNote X8 for Mac. |