|
|
ChemDraw 23 Installation Instructions |
|
|
|
Prior to installing ChemOffice / ChemDraw, please complete and submit this form to register your ChemDraw license. We will reply once we have added your account to the license manager. |
|
|
|
|
|
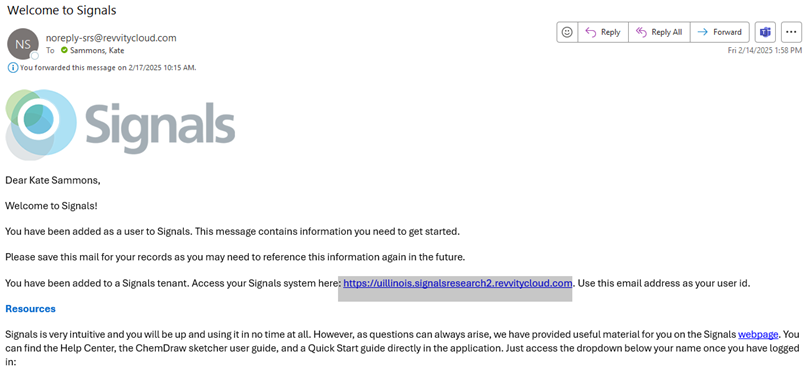
1. You will receive a Welcome email after registration from Revit Signals with a link to access your account. |
|
|
|
|
|
|
|
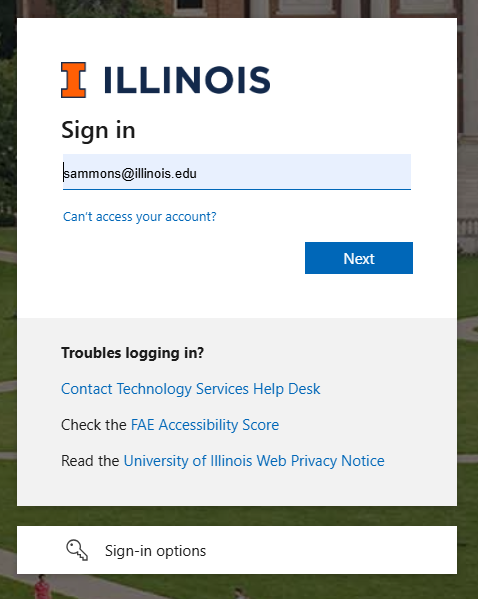
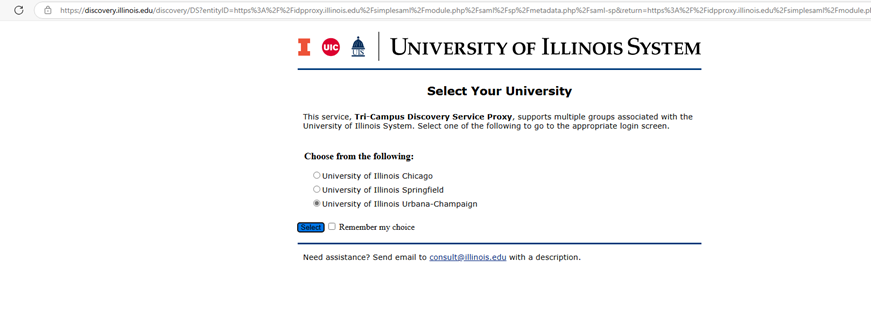
2. Click the link. You will be redirected to your U of I campus Gateway login. |
|
|
|
|
|
3. Complete the login process for your campus. |
|
|
|
|
|
|
|
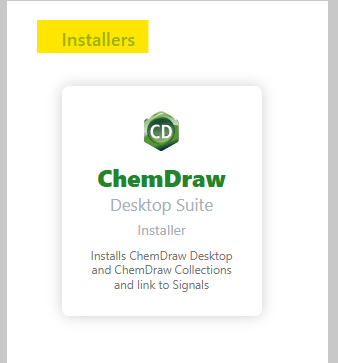
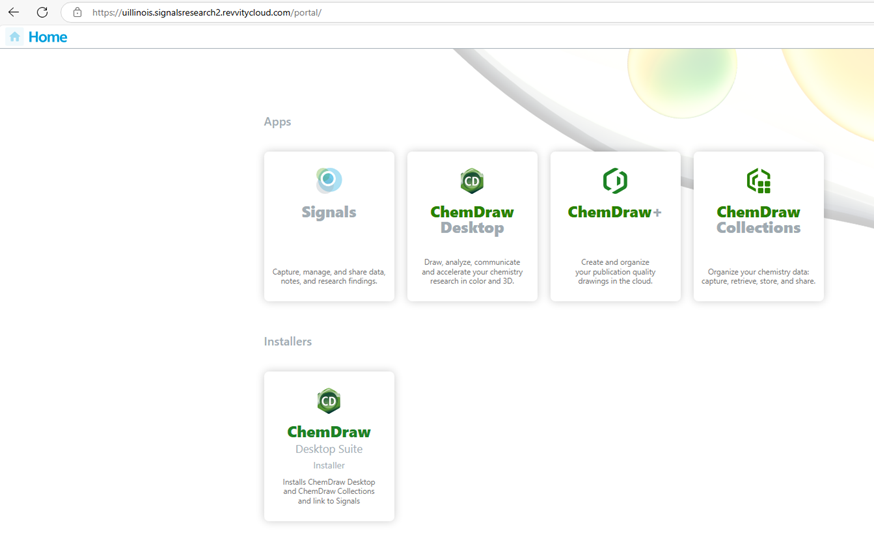
4. After successful authentication, you will go to your Revvity Account. |
|
|
|
|
|
|
|
|
|
5. Click the tile for the ChemDraw Desktop Suite Installer to start the installation process. |
|
|
|
|
|
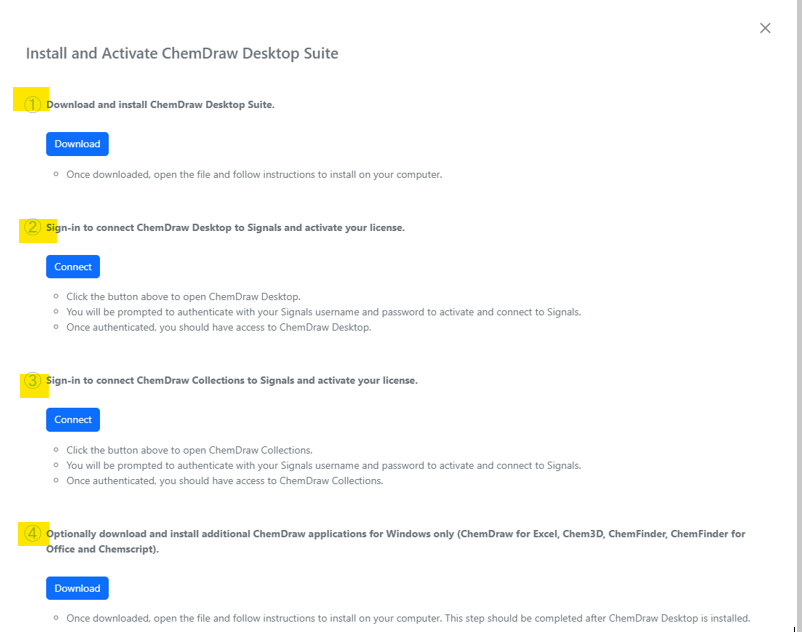
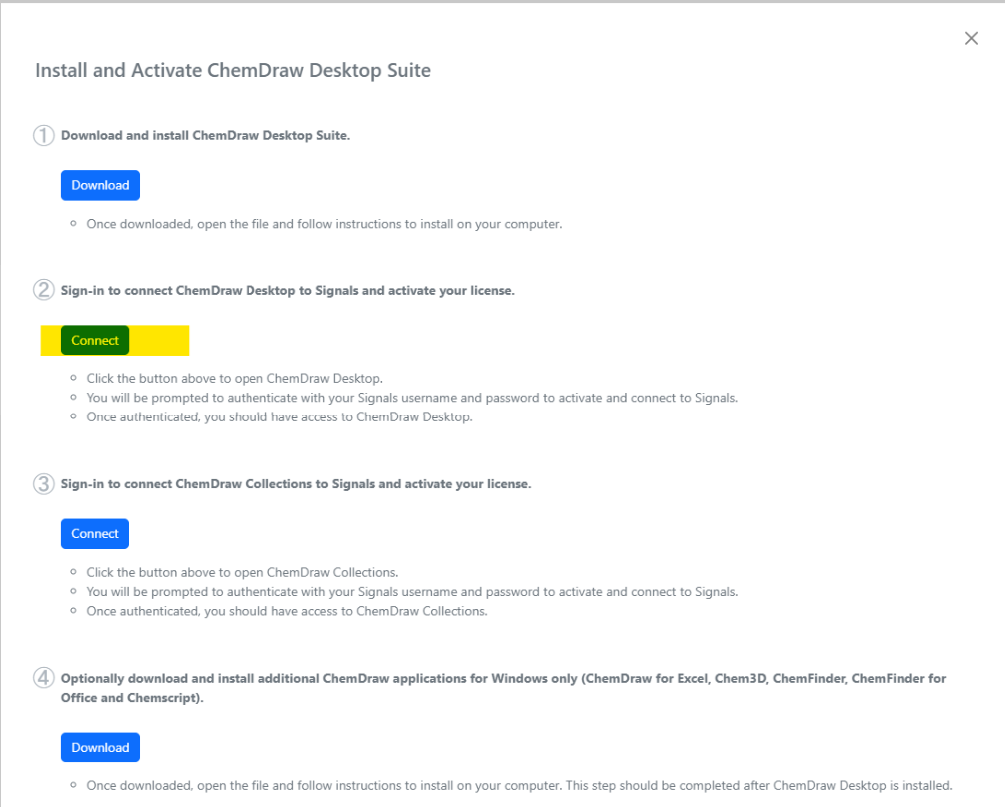
6. A pop up window will appear. Keep this window open during the rest of the installation. Follow the instructions. It will guide you through the process. The Blue buttons on the page are clickable and are necessary to complete the activation part of the software after you download and install the software. Start by clicking the Blue Button for Download. If you accidentally close the window, you can reopen it again by clicking the Installer tile on your Revvity home page.
|
|
|
|
|
|
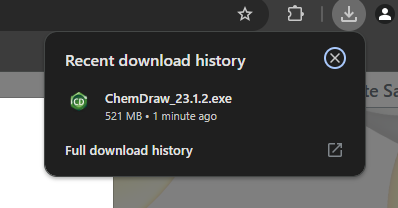
7. Find your downloaded ChemDraw installer that you downloaded and proceed with the instructions to install the program. If you have a previous version of ChemOffice installed on your computer, you will need to uninstall it first before you can install Chemdraw 23. The installation is simple and will be very similar for Mac. We are only including the Windows installation pictures in this instruction set.
|
|
|
|
|
|
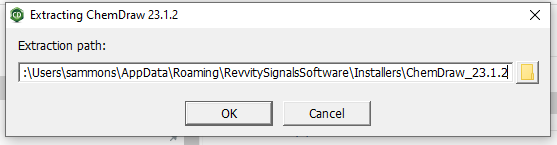
8. Select the path for extraction
|
|
|
|
|
|
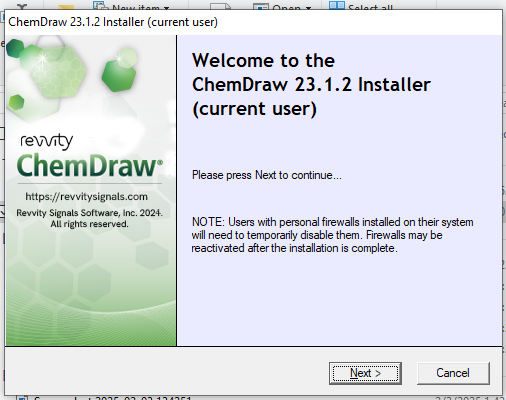
9. Click Next. |
|
|
|
|
|
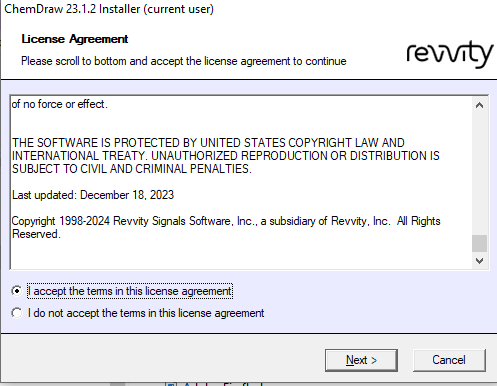
10. Agre to the Eula. |
|
|
|
|
|
|
|
|
|
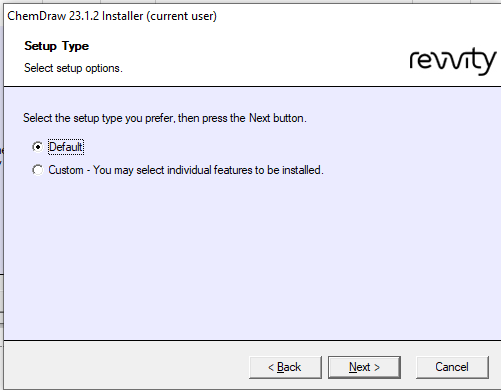
11. Choose your setup type. |
|
|
|
|
|
|
|
|
|
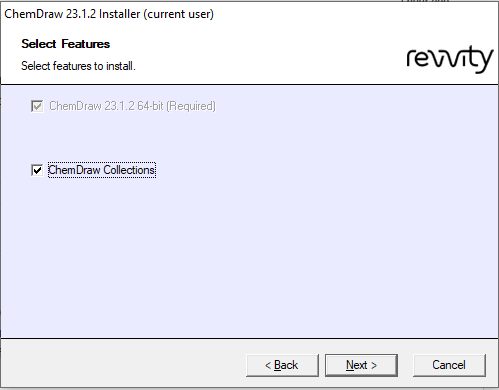
12. Select Features. Chemdraw Collections is optional. If you install it, you will need to activate it separately in Step 3 with a different Connect button. |
|
|
|
|
|
|
|
|
|
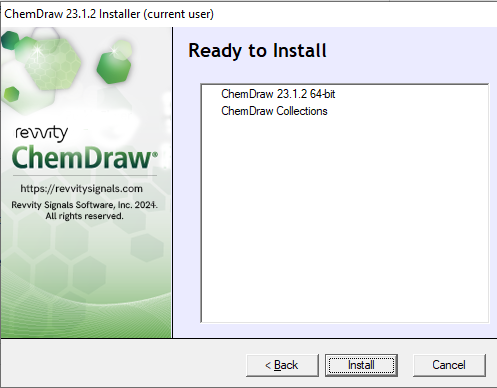
13. Click install to start the process. |
|
|
|
|
|
|
|
|
|
|
|
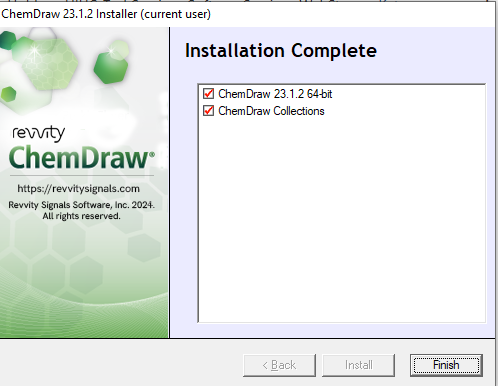
14. Click Finish. |
|
|
|
|
|
|
|
15. Go back to your browser window that you left open and click the second button on Step 2 that says Connect.
|
|
|
|
|
|
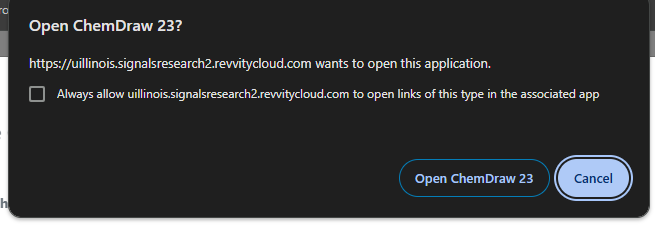
16. The Browser will need your permission to open ChemDraw Desktop. |
|
|
|
|
|
|
|
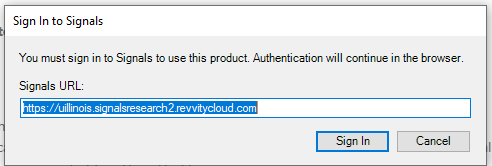
17. This URL should be automatically filled in. If it is not, then it is the same URL you got in your welcome email. |
|
|
|
|
|
|
|
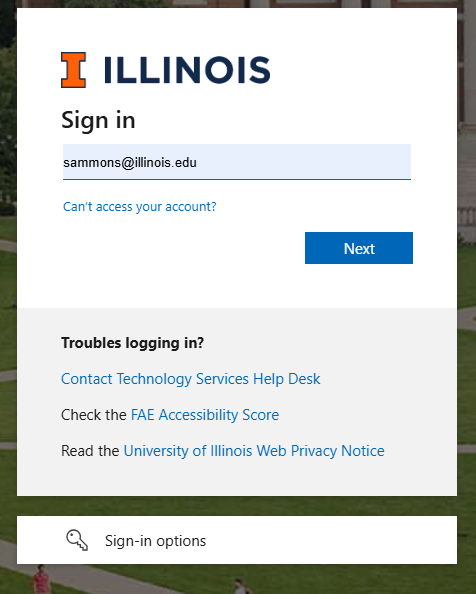
18. Complete your university sign in process for the desktop application to authorize. |
|
|
|
|
|
|
|
|
|
|
|
|
|
|
|
|
|
|
|
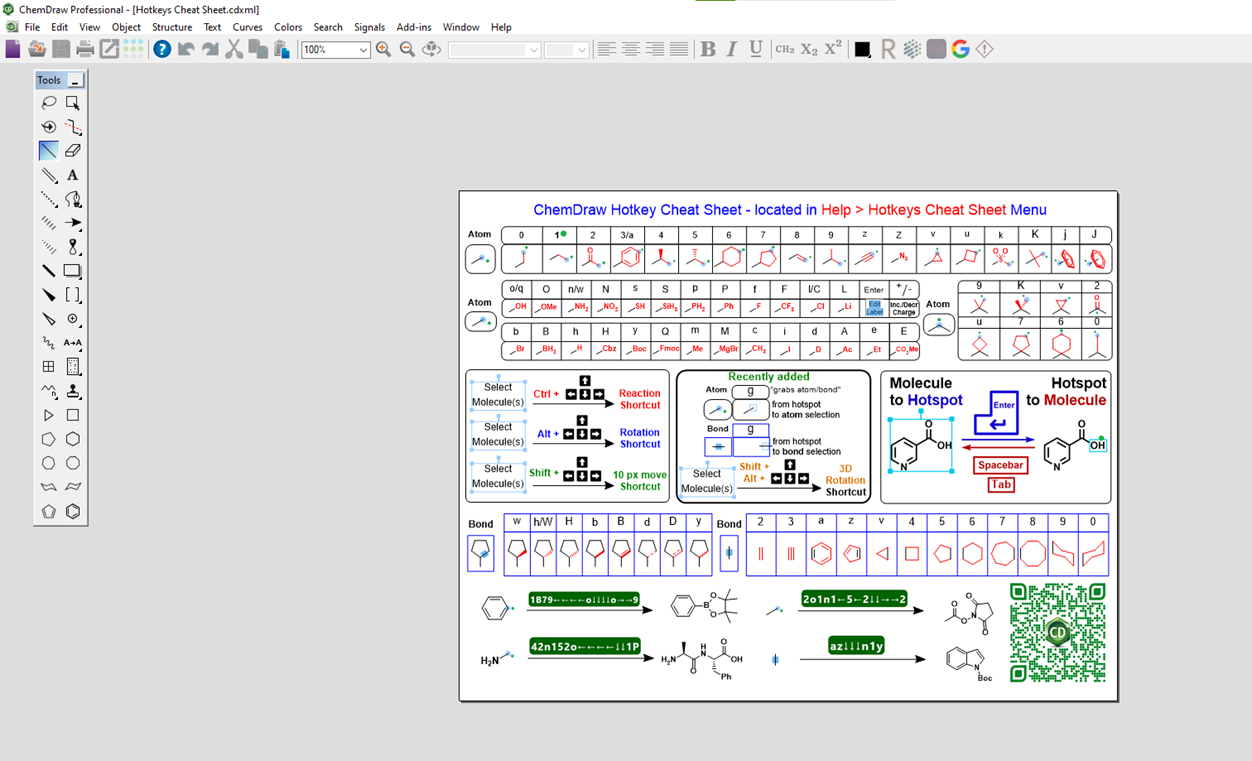
19. After completing your sign in, ChemDraw Pro will open and you can use your desktop application. |
|
|
|
|
|
|
|
|
|
20. If you installed ChemDraw Collections, go back to the browser popup window from your Revvity account and select Connect for Step 3. |
|
|
|
|
|
|
|
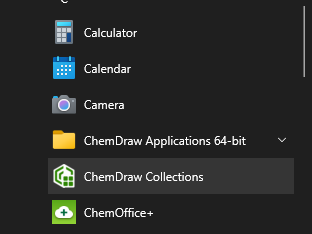
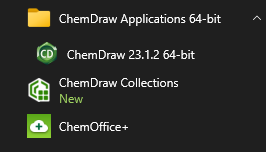
21. If the button doesn’t work, you can alternately open ChemDraw Collections from the Start Menu on your computer. |
|
|
|
|
|
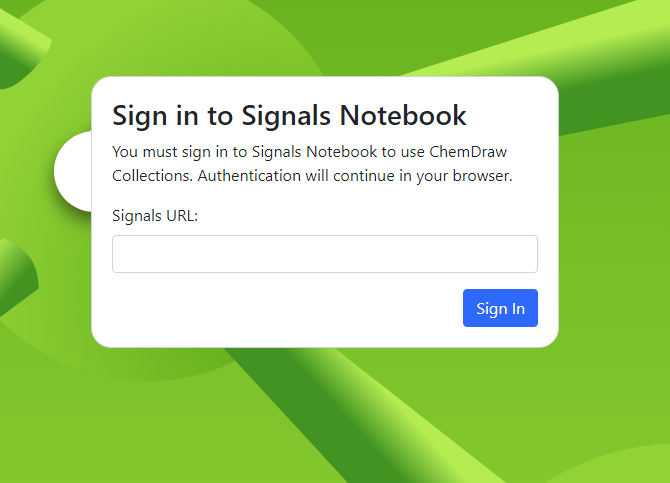
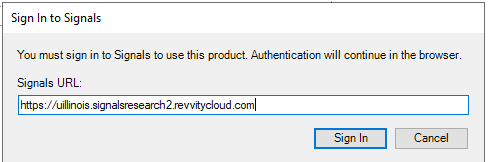
22. It will open a browser window with a field for Signals URL. Use the following link to connect. (This is the same link that is in your welcome email.) https://uillinois.signalsresearch2.revvitycloud.com
|
|
|
|
|
|
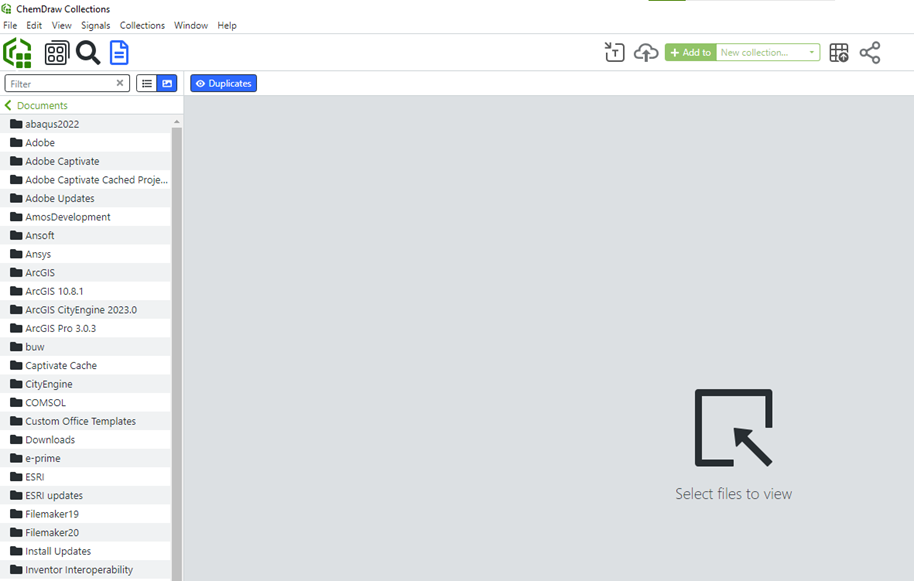
23. You will authenticate with your Illinois campus in the same way you did for ChemDraw Desktop. ChemDraw Collections will open when you are finished with the login.
|
|
|
|
|
|
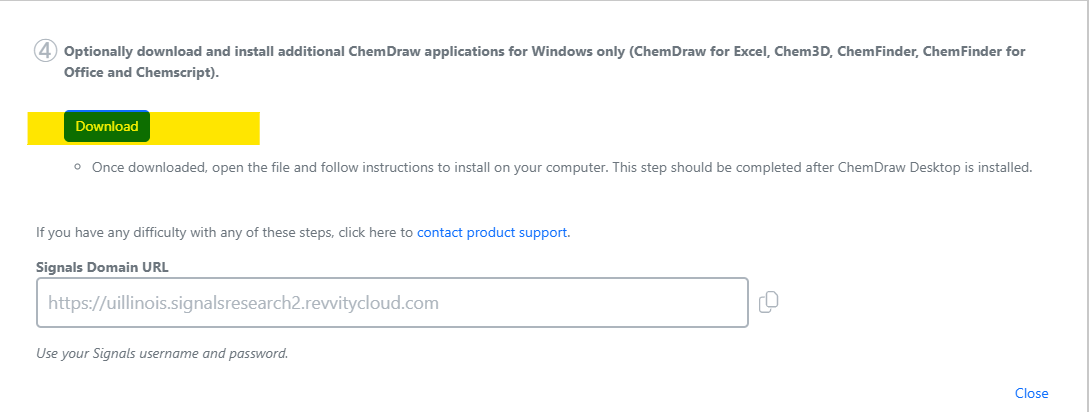
24. Windows users can go on to Step 4 for additioanl ChemDraw applications. |
|
|
|
|
|
|
|
|
|
|
|
|
|
|
|
25. If you somehow missed the steps above and you need to activate ChemDraw another way, you can follow these alternate steps. Open ChemDraw from the Start Menu |
|
|
|
|
|
|
|
|
|
|
|
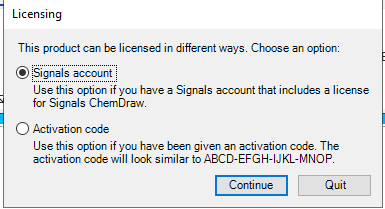
26. Select Single Account in the Licensing Box. |
|
|
|
|
|
27. Enter the URL that you received in the Revvity Signals Welcome Email you received. |
|
|
|
|
|
|
|
28. You will be redirected to your U of I campus Single Sign on page |
|
|
|
|
|
|
|
29. Complete the login process for your campus. |
|
|
|
|
|
|
|
30. After successful authentication, you will go to your Revvity Account. |
|
|
|
|
|
|
|
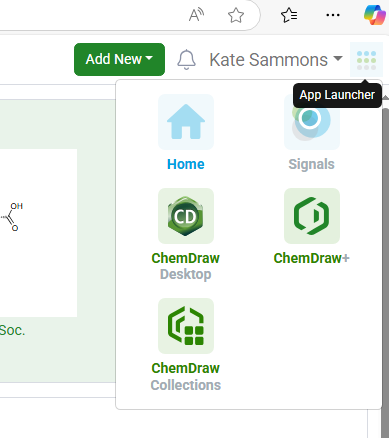
31. Go to the top right waffle in your account (the app launcher) and select ChemDraw Desktop or whatever app you have chosen to license in ChemOffice |
|
|
|
|
|
|
|
|
|
|
|
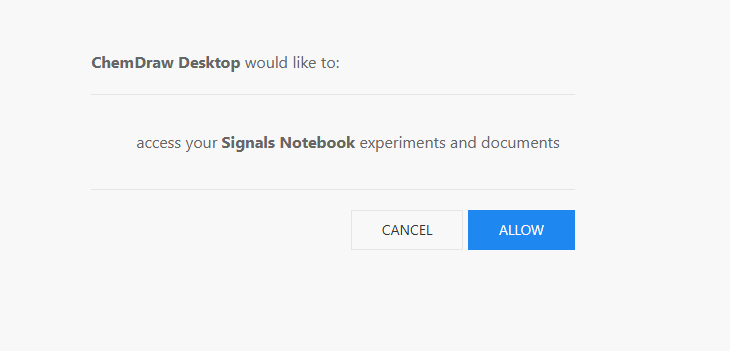
32. Click Allow to give Revvity permission to access your Signals Notebook |
|
|
|
|
|
|
|
33. ChemDraw Desktop will launch on your computer. You now have successfully licensed and can use ChemDraw Desktop or ChemDraw Cloud apps on a browser. |
|
|
|
|
|
|
|
|
|
|
|
|
|
|
|
|
|
|
|
|
|
|
|
|
|
|
|
|
|
|
|
|
|
|
|
|
|
|
|
|
|
|
|
|
|
|
|
|
|
|
|
|
|
|
|
|
|
|
|
|
|
|
|
|
|
|
|
|
|
|
|
|
|
|
|
|
|
|
|
|
|
|
|
|
|
|
|
|
|
|
|
|
|
|
|
|
|
|
|
|
|
|
|
|
|
|
|
|
|
|
|
|
|
|
|
|
|
|
|
|
|
|
|
|
|
|
|
|
|
|
|
|
|
|
|
|
|
|
|
|
|
|
|
|
|
|
|
|
|
|
|
|
|
|
|
|
|
|
|
|
|
|
|
|
|
|
|
|
|
|
|
|
|
|
|
|
|
|
|
|