|
|
ChemOffice 22 Installation Instructions |
|
|
|
|
|
|
|
|
|
|
|
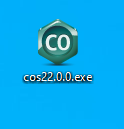
1. You will need to download the ChemOffice installation file. Double click the file you saved to your computer to begin the installation. |
|
|
|
|
|
|
|
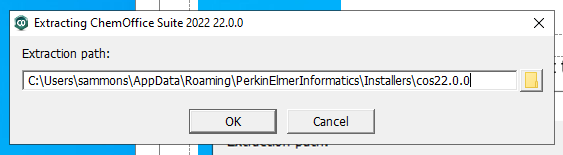
2. Choose the extraction path or accept the default. |
|
|
|
|
|
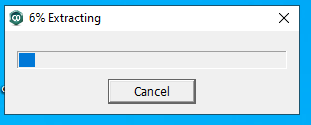
3. The installation program will begin to extract the files. |
|
|
|
|
|
|
|
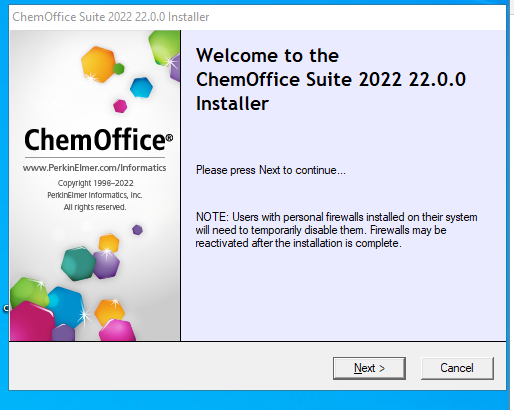
4. You will see the ChemOffice wizard and then the Activation window will open. Click Next to proceed. |
|
|
|
|
|
|
|
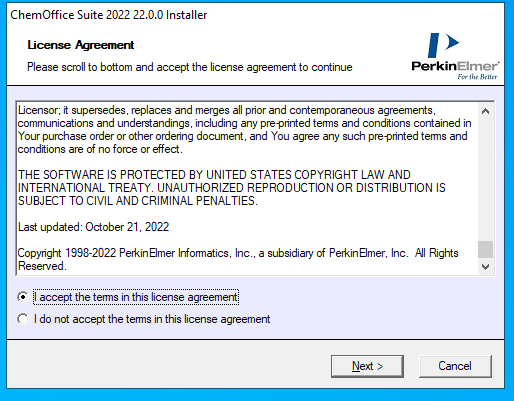
5. Accept the terms of the license agreement. |
|
|
|
|
|
|
|
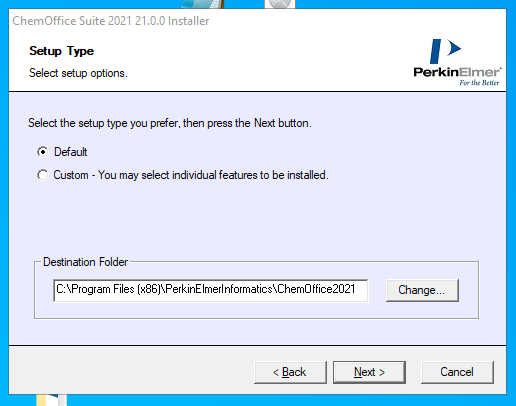
6. Select the setup type you prefer. Default is recommended unless you know what you are doing. |
|
|
|
|
|
|
|
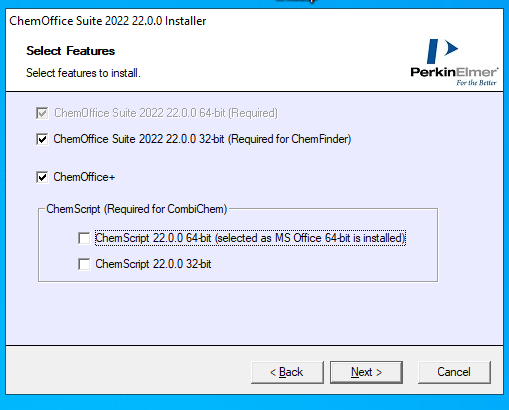
7. Select additional features for ChemOffice Suite 2022 32-bit and ChemScript if you want those installed. |
|
|
|
|
|
|
|
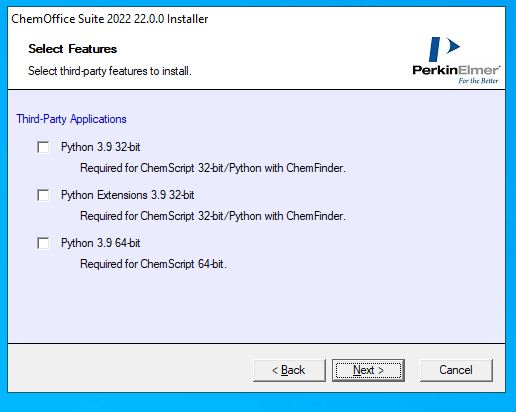
8. Third-Party Applications may or may not be available to install. |
|
|
|
|
|
|
|
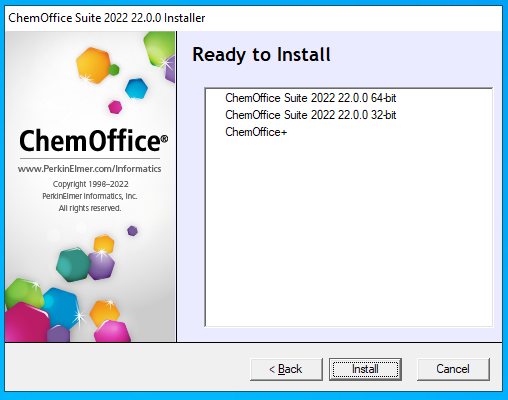
9. Confirm your install selections. |
|
|
|
|
|
|
|
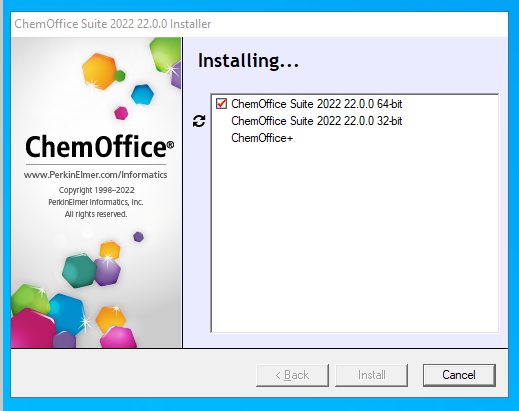
10. The installation will begin. |
|
|
|
|
|
|
|
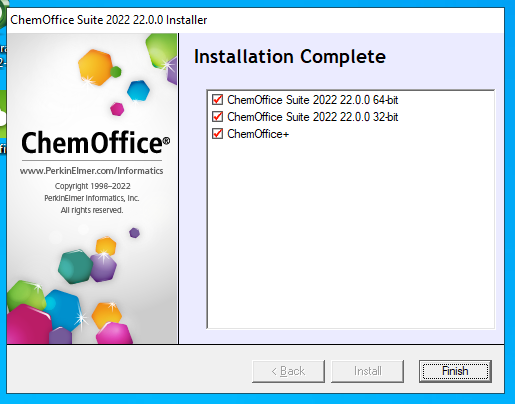
11. Click Finish to complete the installation. |
|
|
|
|
|
|
|
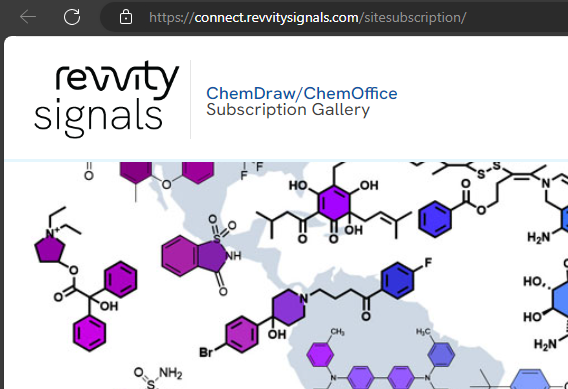
12. To authorize your use of ChemOffice Cloud, you must register for Signals Notebook and complete a sign in. This window will pop up when you first open ChemOffice. Check the Signals URL to make sure the link goes to https://connect.revvitysignals.com/sitesubscription/. |
|
|
|
|
|
|
|
|
|
|
|
13. ***You must ALSO complete your registration for Signals Notebook before your sign in is successful. To utilize ChemCloud and Signals Notebook you must register with your University email address. ***Please note that your organization when accessing Signals Notebook will be "University of Illinois".***
|
|
Please follow the step by step instrutions, first choosing whether you are a first time or a returning user:
|
|
Signals Notebook access for first time users: 1. Go to activation link: https://connect.revvitysignals.com/sitesubscription/ 2. Click Login/Register 3. Complete the new user registration. 4. Search for University of Illinois on the next page. 3. Click the second register button (Access Revvity Cloud Applications). 4. Validate with your University email address. 5. Once you have completed the registration process above, you will access your webapp Signals Notebook by using a DIFFERENT LINK at https://signalsresearch.revvitycloud.com and log in using your appropriate user ID and password. (You only need to complete the registration process once.)
Signals Notebook for previously registered users (including Perkin Elmer accounts): 1. Go to activation link: https://connect.revvitysignals.com/sitesubscription/ 2. Click Login/Register 3. Login with your Perkin Elmer account. If you do not remember your Perkin Elmer password you my request a password reset on this page. 4. Once you are logged in, search for University of Illinois on the next page. 3. Click the second register button (Access Revvity Cloud Applications). 4. Validate with your University email address. 5. Once you have completed the registration process above, you will access your webapp Signals Notebook by using a DIFFERENT LINK at https://signalsresearch.revvitycloud.com and log in using your appropriate user ID and password. (You only need to complete the registration process once.)
|
|
|
|
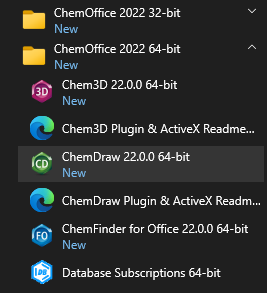
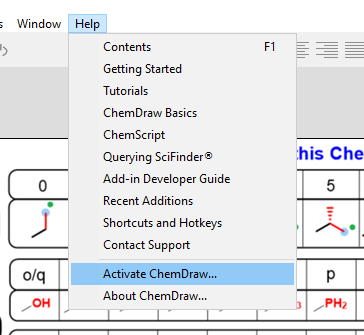
14. To use the desktop software, such as ChemDraw, open the application from your Windows Start Menu and click on the Help Menu and select “Activate”, if the Activation window does not automatically open. |
|
|
|
|
|
|
|
|
|
|
|
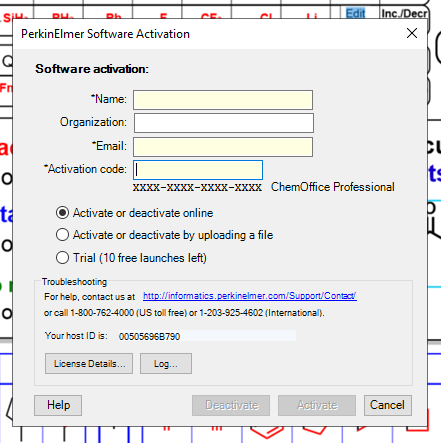
15. Enter your name, University email address and Activation code from your WebStore order history. Click Activate. You can retrieve this information by logging into the Webstore and clicking on Order History. Find this offer on your list and click on the order number. Select Activate or deactivate online and click Activate. |
|
|
|
|
|
|
|
16. When activation is complete you will see the following. You must be connected to the internet for Activate to complete. |
|
|
|
|
|
|
|
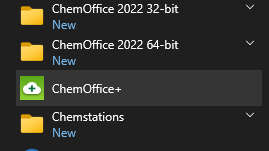
17. Now you are ready to use ChemOffice. |
|
|
|
|
|
|
|
|
|
|
|
|
|
|
|
|
|
|
|
|
|
· ChemDraw 22 is available to install on Mac. To use ChemOffice 22 for Mac, you will need to use the Cloud Version, available after creating a Signals Notebook account. Please refer to your ChemOffice Order for instructions on creating an account for Signals Notebook. Sign on instructions to use ChemOffice are detailed below. |
|
|
|
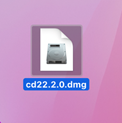
18. You will need to download the ChemDraw installation file. Double click the file you saved to your computer to begin the installation. |
|
|
|
|
|
|
|
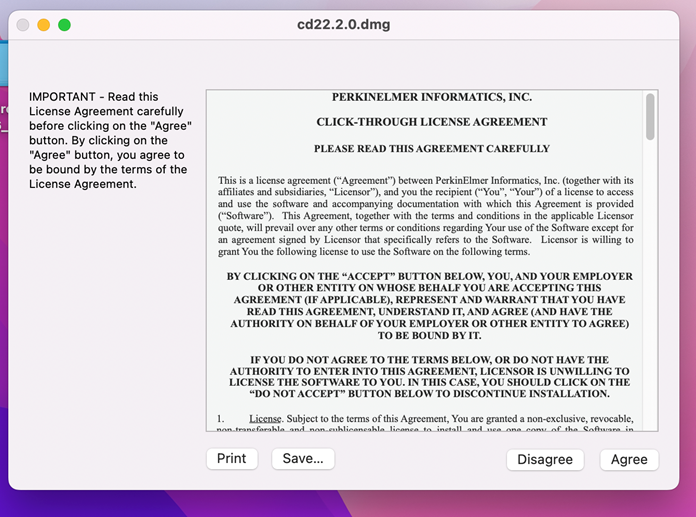
19. Accept the End User License Agreement and click Agree. |
|
|
|
|
|
|
|
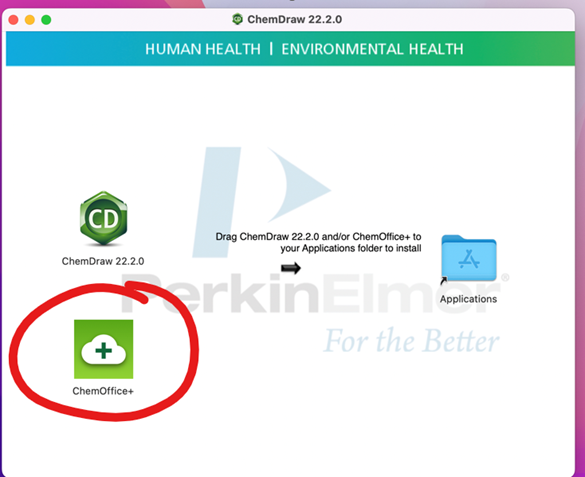
20. Drag the ChemDraw and/or ChemOffice Cloud app to your applications folder as instructed in the image below. |
|
|
|
|
|
|
|
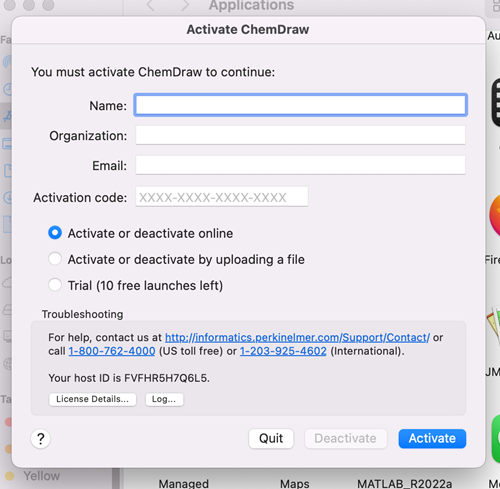
21. Enter your name, University email address and Activation code from your WebStore order history. Select Activate or deactivate online. Click Activate. You can retrieve this information by logging into the Webstore and clicking on Order History. Find this offer on your list and click on the order number. |
|
|
|
|
|
|
|
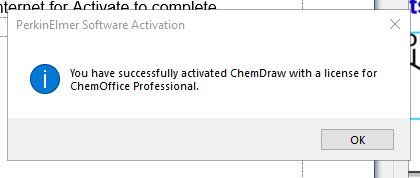
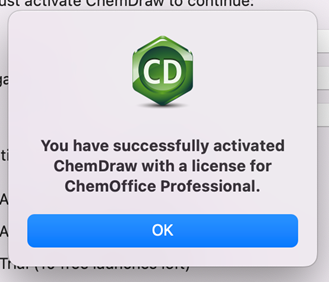
22. When activation is complete you will see the following. You must be connected to the internet for Activate to complete. |
|
|
|
|
|
|
|
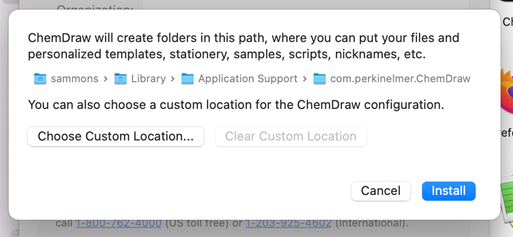
23. Make note of the folders that will be created for your files. Click Install to continue. |
|
|
|
|
|
|
|
24. ChemDraw will open. You are now ready to use ChemDraw on your Mac. |
|
|
|
25. To use ChemOffice Cloud, you must sign in through Signals Notebook. Instructions to register for Signals Notebook are on your WebStore Order for ChemOffice. |
|
|
|
26. Open the Applications folder and look for the icon for ChemOffice+Cloud that you installed in step 20 of these instructions. Double click the icon to open the window to sign-in to Signals Notebook. |
|
|
|
|
|
|
|
To authorize your use of ChemOffice Cloud, you must register for Signals Notebook and complete a sign in. This window will pop up when you first open ChemOffice. Check the Signals URL to make sure the link goes to https://connect.revvitysignals.com/sitesubscription/. |
|
|
|
|
|
|
|
|
|
|
|
27. ***You must ALSO complete your registration for Signals Notebook before your sign in is successful. To utilize ChemCloud and Signals Notebook you must register with your University email address. ***Please note that your organization when accessing Signals Notebook will be "University of Illinois".***
|
|
Please follow the step by step instrutions, first choosing whether you are a first time or a returning user:
|
|
Signals Notebook access for first time users: 1. Go to activation link: https://connect.revvitysignals.com/sitesubscription/ 2. Click Login/Register 3. Complete the new user registration. 4. Search for University of Illinois on the next page. 3. Click the second register button (Access Revvity Cloud Applications). 4. Validate with your University email address. 5. Once you have completed the registration process above, you will access your webapp Signals Notebook by using a DIFFERENT LINK at https://signalsresearch.revvitycloud.com and log in using your appropriate user ID and password. (You only need to complete the registration process once.)
Signals Notebook for previously registered users (including Perkin Elmer accounts): 1. Go to activation link: https://connect.revvitysignals.com/sitesubscription/ 2. Click Login/Register 3. Login with your Perkin Elmer account. If you do not remember your Perkin Elmer password you my request a password reset on this page. 4. Once you are logged in, search for University of Illinois on the next page. 3. Click the second register button (Access Revvity Cloud Applications). 4. Validate with your University email address. 5. Once you have completed the registration process above, you will access your webapp Signals Notebook by using a DIFFERENT LINK at https://signalsresearch.revvitycloud.com and log in using your appropriate user ID and password. (You only need to complete the registration process once.)
|
|
|
|
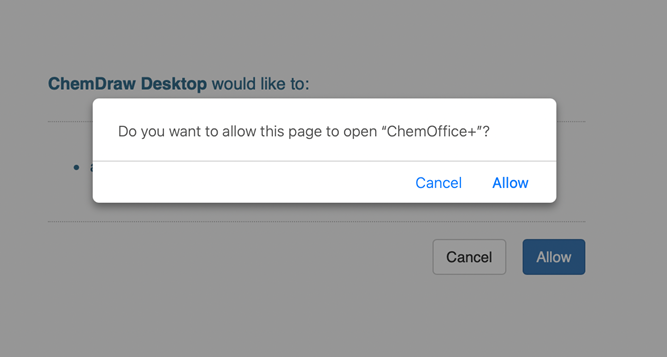
28. After signing in you may be redirected to a browser URL to use ChemOffice. Click Allow. |
|
|
|
|
|
|
|
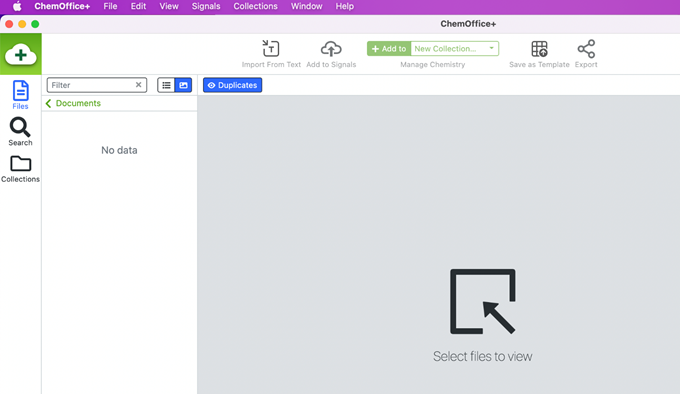
29. You are now ready to use ChemOffice Cloud. |
|
|
|
|
|
|
|
|
|
|
|
|
|
|
|
|