|
|
|
|
ChemCAD 8.1 Installation Instructions |
|
|
|
|
|
|
|
|
|
|
|
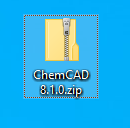
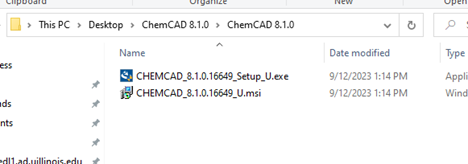
1. Download the zip file from the Webstore and place in on your Desktop. Double click it, select Extract All to unzip the file. Navigate to the ChemCad 8.1.0 exe and doubleclick it to begin your installation. |
|
|
|
|
|
|
|
|
|
|
|
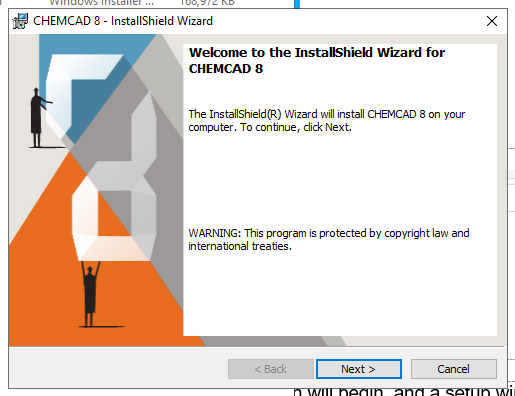
2. The installation will begin, and a setup window will shortly appear. Click Next. |
|
|
|
|
|
|
|
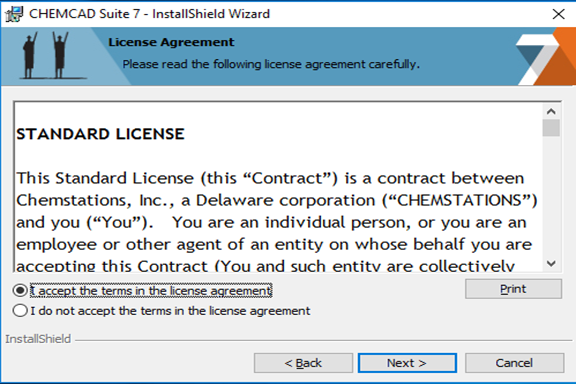
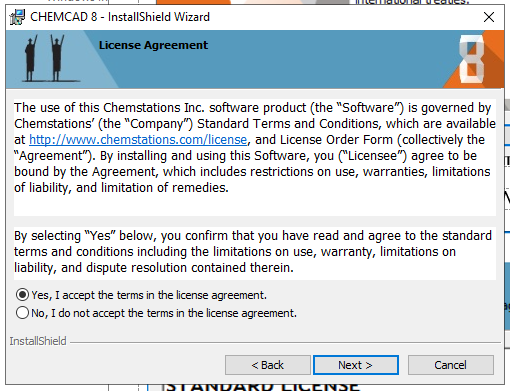
3. Accept the license agreement and click Next. |
|
|
|
|
|
|
|
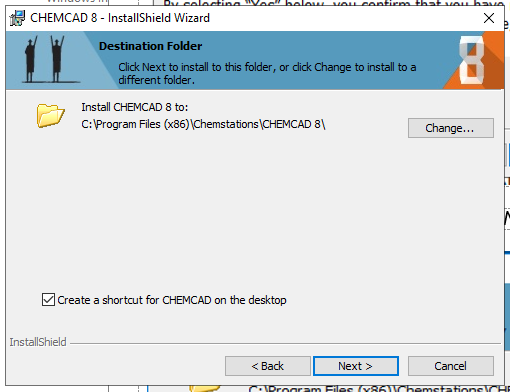
4. Select an installation directory and click Next. |
|
|
|
|
|
|
|
|
|
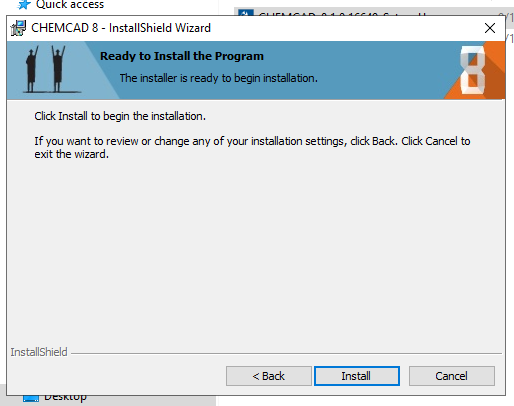
5. Click Install. |
|
|
|
|
|
|
|
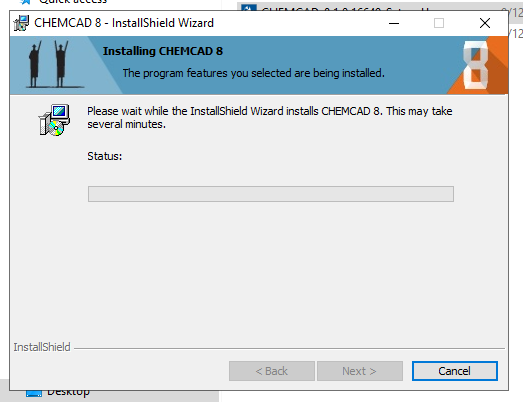
6. The installation will begin and may take several minutes. |
|
|
|
|
|
|
|
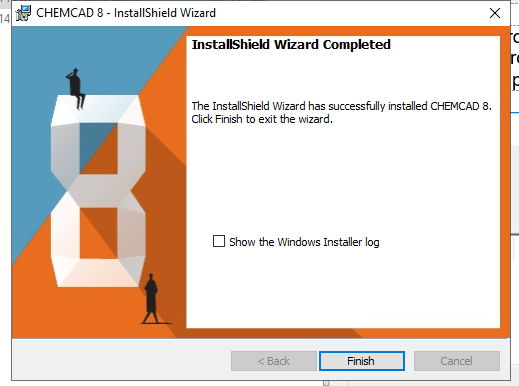
7. You will get a notification when the Install Wizard has completed. Click Finish. ***If you get a rollback error on the install attempt, check to see if you have LabView installed on the computer. If you do, then see this KB for the solution. https://answers.uillinois.edu/page.php?id=131390 |
|
|
|
|
|
|
|
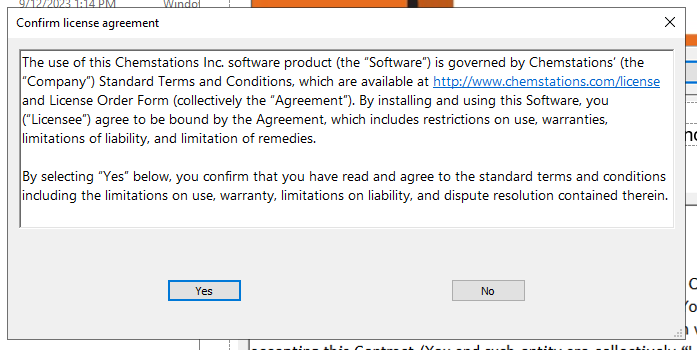
8. Start ChemCAD. The first time you run it, you will encounter a license agreement. Accept it. |
|
|
|
|
|
|
|
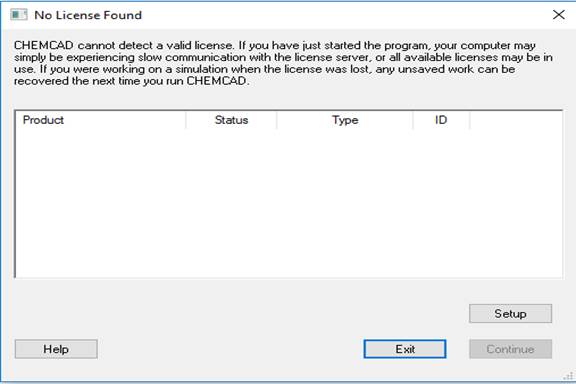
9. You now need to set up licensing for ChemCAD. Click on Setup. |
|
|
|
|
|
|
|
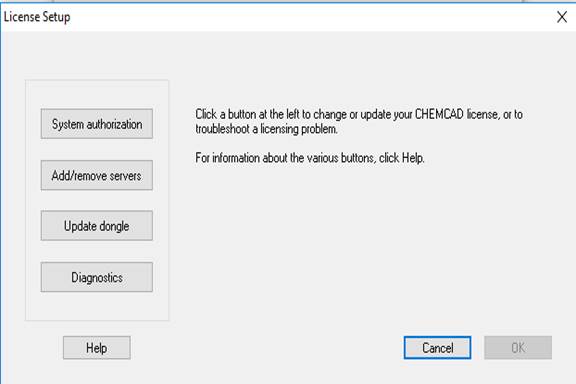
10. Click on Add/Remove Servers. |
|
|
|
|
|
|
|
11. Under Select Server Type, click SuperProNet. Now enter the server address and click on OK. The server address information was provided to you when you made your purchase. After you login to the WebStore click on Order History. Click on this order number. The license server information is on this page. |
|
|
|
|
|
|
|
You are now ready to use ChemCAD 8.1 for Windows.
|