|
|
|
|
Captivate 11 Installation Instructions |
|
|
|
|
|
· Adobe Captivate is licensed using the Named User licensing model. Please complete and submit this form to register the user who will use this license. We will assign the license to their account. After the software is installed, the user will be prompted to sign in to complete the licensing of the software. This software will start in trial mode without registration and only be viable for seven days. Please do not forget to register BEFORE installation. |
|
|
|
|
|
|
|
|
|
|
|
|
|
|
|
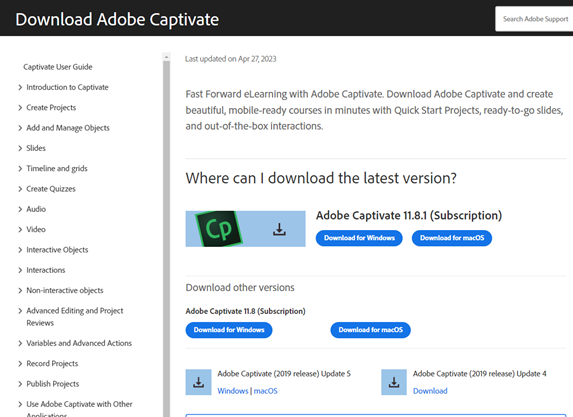
1. Open a web browser and use this link Download Adobe Captivate to get your Captivate installer. |
|
|
|
|
|
|
|
|
|
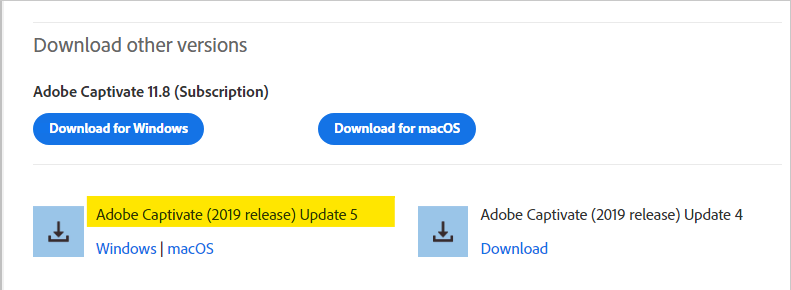
2. Choose the Windows or MacOS version from Adobe Captivate (2019 release) Update 5 (or the latest update). Please note—the subscription versions will NOT work for education customers |
|
|
|
|
|
|
|
3. Once the download is finished, extract the zip file to a folder on your local computer. Open the unzipped folder and navigate to Adobe Captivate 2019. Doubleclick the Set-up.exe to start the install process. |
|
|
|
|
|
|
|
|
|
|
|
|
|
|
|
|
|
4. Windows will prepare for install. |
|
|
|
|
|
|
|
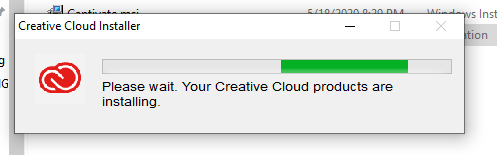
5. Installing may take a while but it will finish. |
|
|
|
|
|
|
|
|
|
6. When you first open the program, you will be asked to login. Login with your full university email address and wait to be redirected to your campus 2 factor authentication gateway. This login process is the same for all Adobe apps on the University of Illinois license. Enter your UI campus credentials. |
|
|
|
|
|
7. You are now ready to use Captivate. |
|
|
|
|
|
|
|
|
|
|
|
|
|
|
|
|
|
1. Open a web browser and use this link Download Adobe Captivate to get your Captivate installer. |
|
|
|
|
|
|
|
2. Choose the Windows or MacOS version from Adobe Captivate (2019 release) Update 5 (or the latest update). Please note—the subscription versions will NOT work for education customers |
|
|
|
|
|
|
|
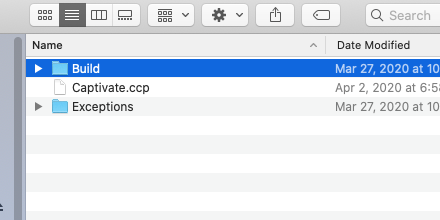
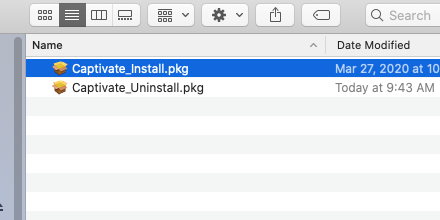
3. When the file is downloaded, double click it to unpack it. Navigate to the Build folder and double click on the installer. |
|
|
|
|
|
|
|
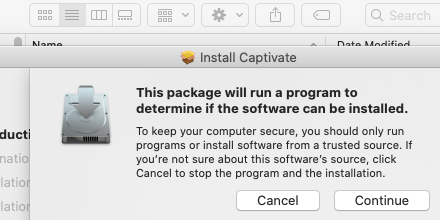
4. Click continue to allow the installer to set up. |
|
|
|
|
|
|
|
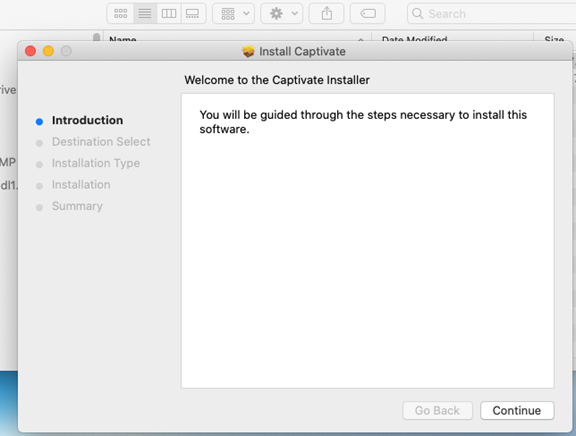
5. Click continue to begin your install. |
|
|
|
|
|
|
|
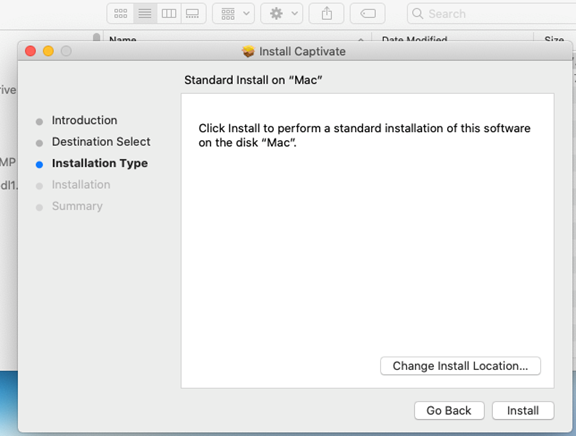
6. Default destination is your Applications folder, please leave that default. |
|
|
|
|
|
|
|
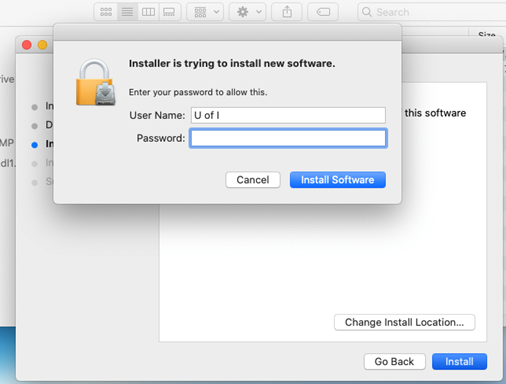
7. You may be asked for your PC’s administration password. |
|
|
|
|
|
|
|
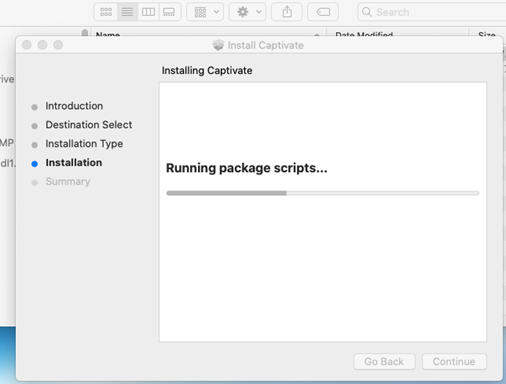
8. Your application is now installing. |
|
|
|
|
|
|
|
9. Your install is ready for use. |
|
|
|
|
|
|

 Windows