|
ESRI
ArcGIS Pro 2.4 |
|
|
|
|
|
|
|
|
|
|
|
1.
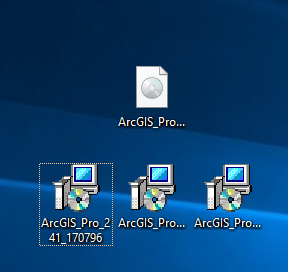
Download the ArcGIS Pro 2.4 ISO and patch 1 from the
WebStore. If you wish to run each patch
manually you will need to download all three.
These instructions only cover the application of the first patch. |
|
|
|
|
|
|
|
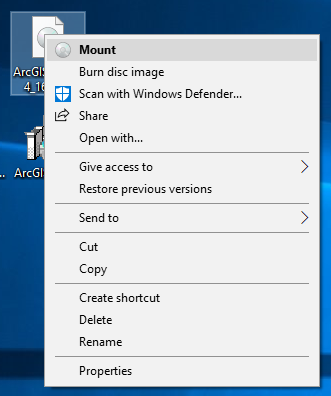
2.
Right click on the ISO and Choose Mount. If the Mount
option is missing. Google “Mount
Option Missing Windows 10”. |
|
|
|
|
|
|
|
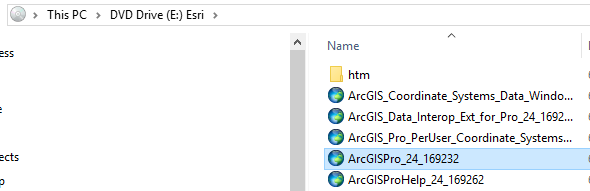
3.
Open the now mounted ISO from the virtual DVD and look
for the file ArcGISPro_24_169232(this may change with future updates). |
|
|
|
|
|
|
|
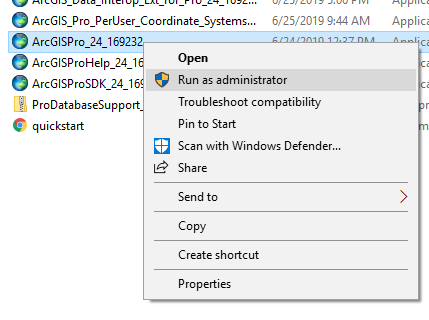
4.
Right Click the file and choose Run as
administrator. Again, if this option
is missing use Google to find a solution. |
|
|
|
|
|
|
|
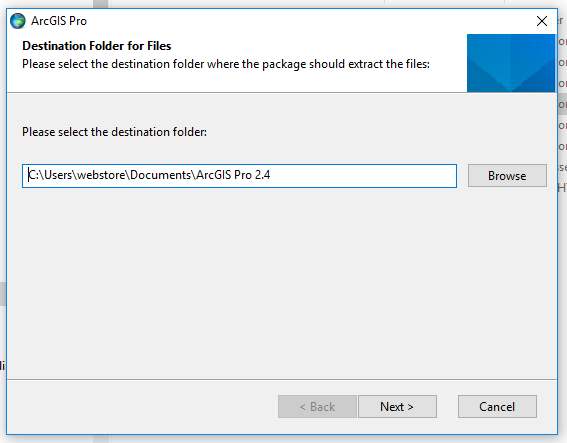
5.
Choose the installation directory. WebStore recommends you keep this option
default for ease of support. |
|
|
|
|
|
|
|
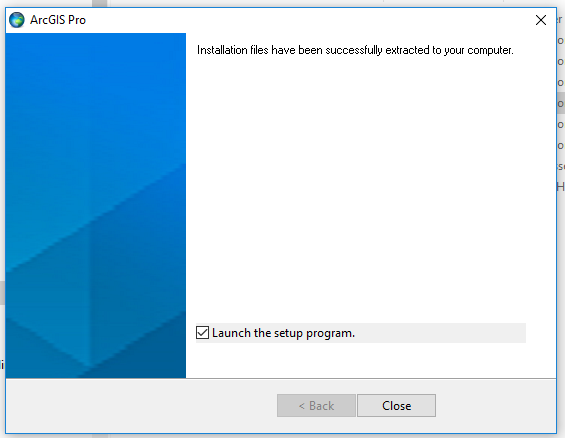
6.
Leave the Launch option checked and click Close. |
|
|
|
|
|
|
|
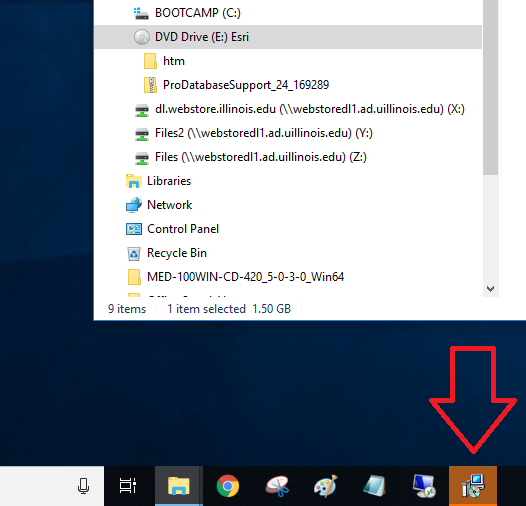
7.
This Window will sometimes open behind others. Look for the orange Icon on the task bar
and click on that. |
|
|
|
|
|
|
|
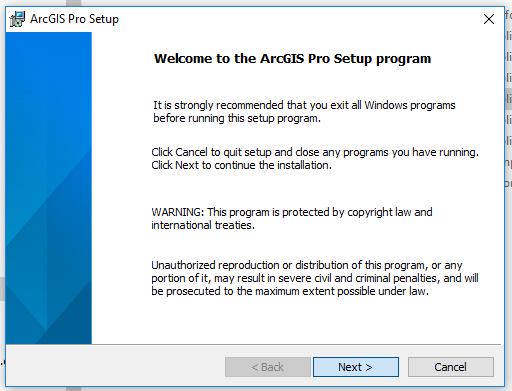
Click next. |
|
|
|
|
|
|
|
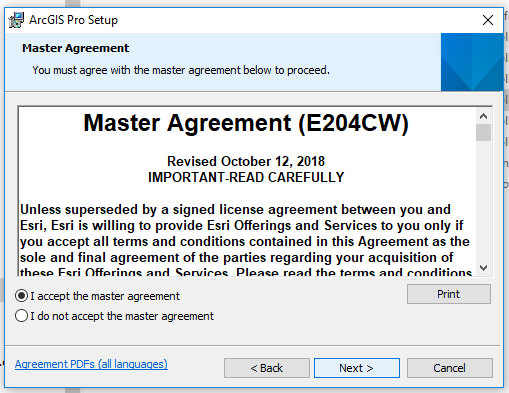
8.
Accept the EULA and click next. |
|
|
|
|
|
|
|
9.
Click Next. |
|
|
|
|
|
|
|
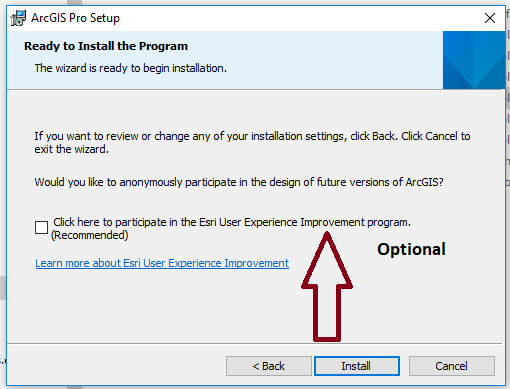
10.
This is completely
optional. Click Install. |
|
|
|
|
|
|
|
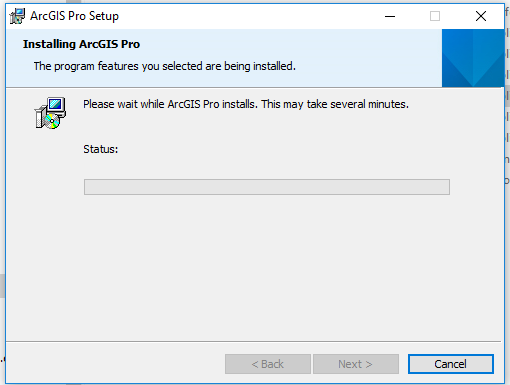
11.
This could take some time depending upon your
system. Please be patient. |
|
|
|
|
|
|
|
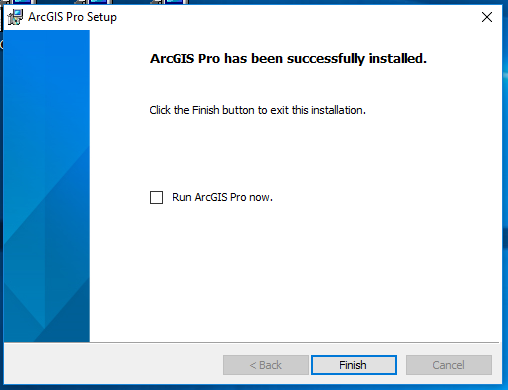
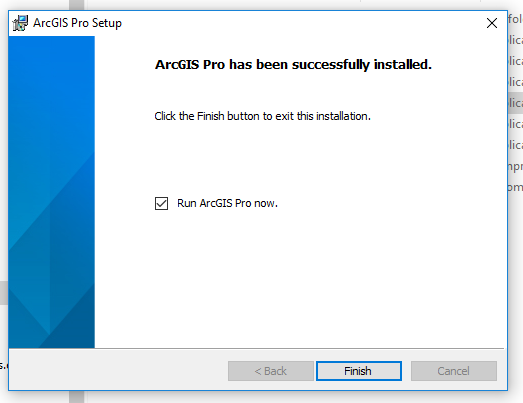
12.
If checked, uncheck Run ArcGIS Pro now and click
Finish. We have a patch to run. |
|
|
|
|
|
|
|
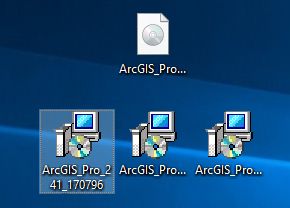
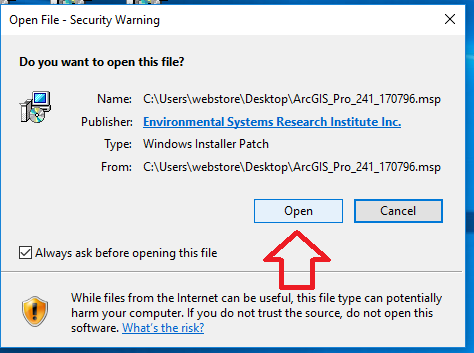
13.
Double click the .msp file and click Open. |
|
|
|
|
|
|
|
|
|
|
|
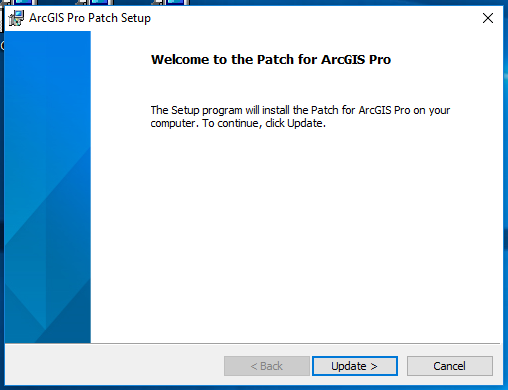
14.
Click update. |
|
|
|
|
|
|
|
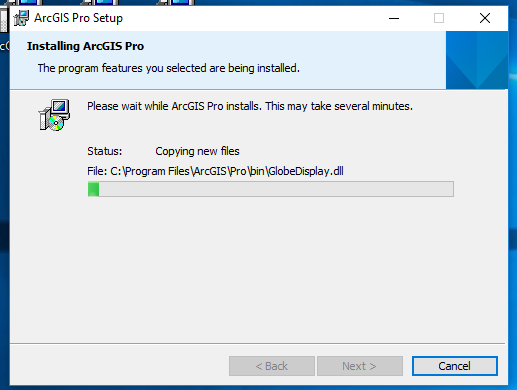
15.
The installer will launch, download
and install the first update. Again,
this could take a while depending upon your machine. |
|
|
|
|
|
|
|
16.
Now, launch ArcGIS Pro, click Finish. |
|
|
|
|
|
|
|
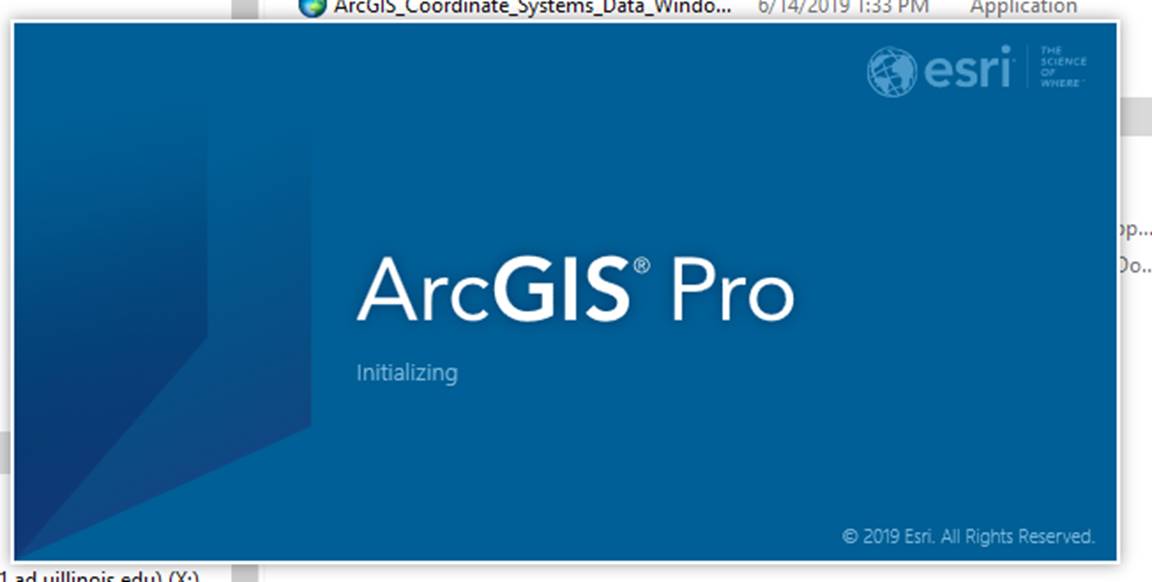
17.
The application
will initialize itself. Patience. |
|
|
|
|
|
|
|
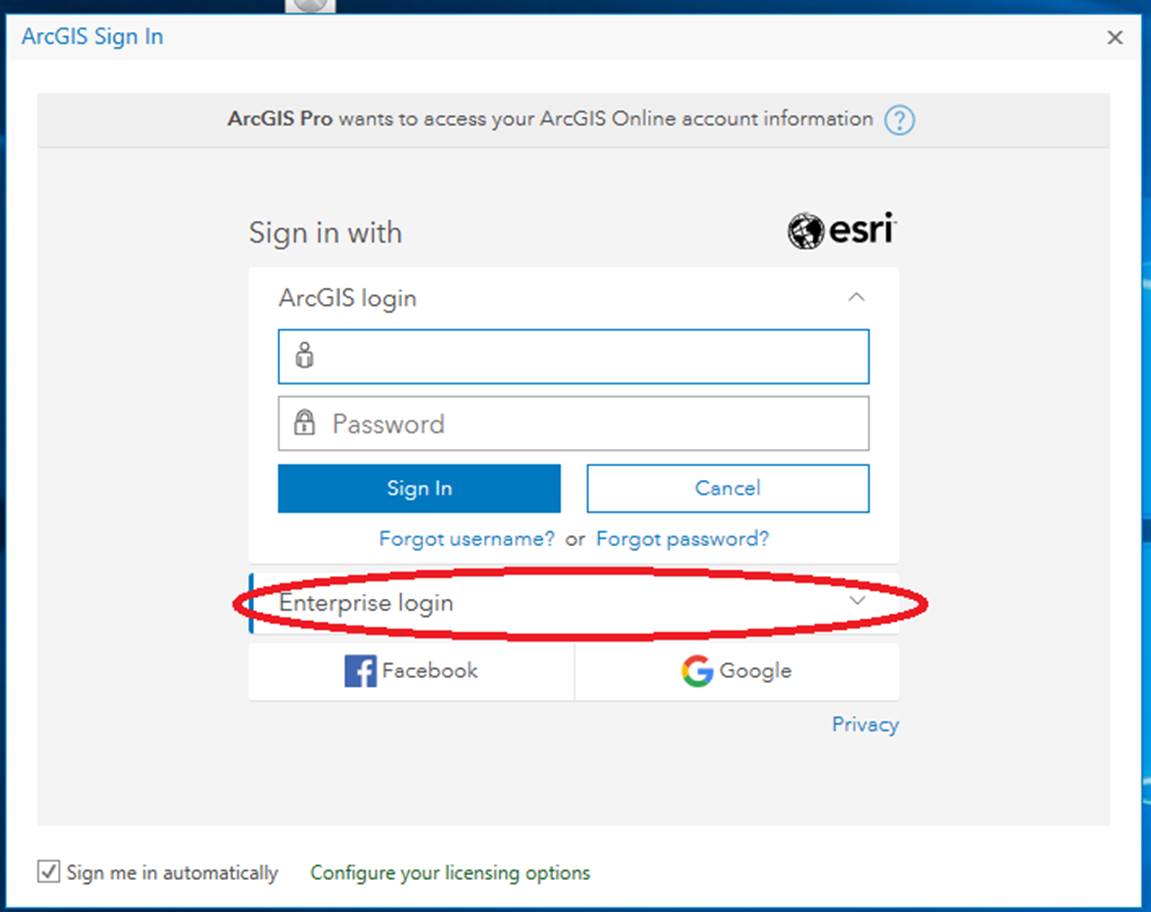
18.
When ArcGIS is ready, click Enterprise login. Your ArcGIS
Enterprise account is created the first time you sign into the University’s
ArcGIS Online site. If you have never signed into the University’s ArcGIS
Online site, please do so now before attempting this step. Browse to https://univofillinois.maps.arcgis.com,
click Sign In and choose University of Illinois. On the University
authentication page choose your campus and then sign in with your NetID and
password. |
|
|
|
|
|
|
|
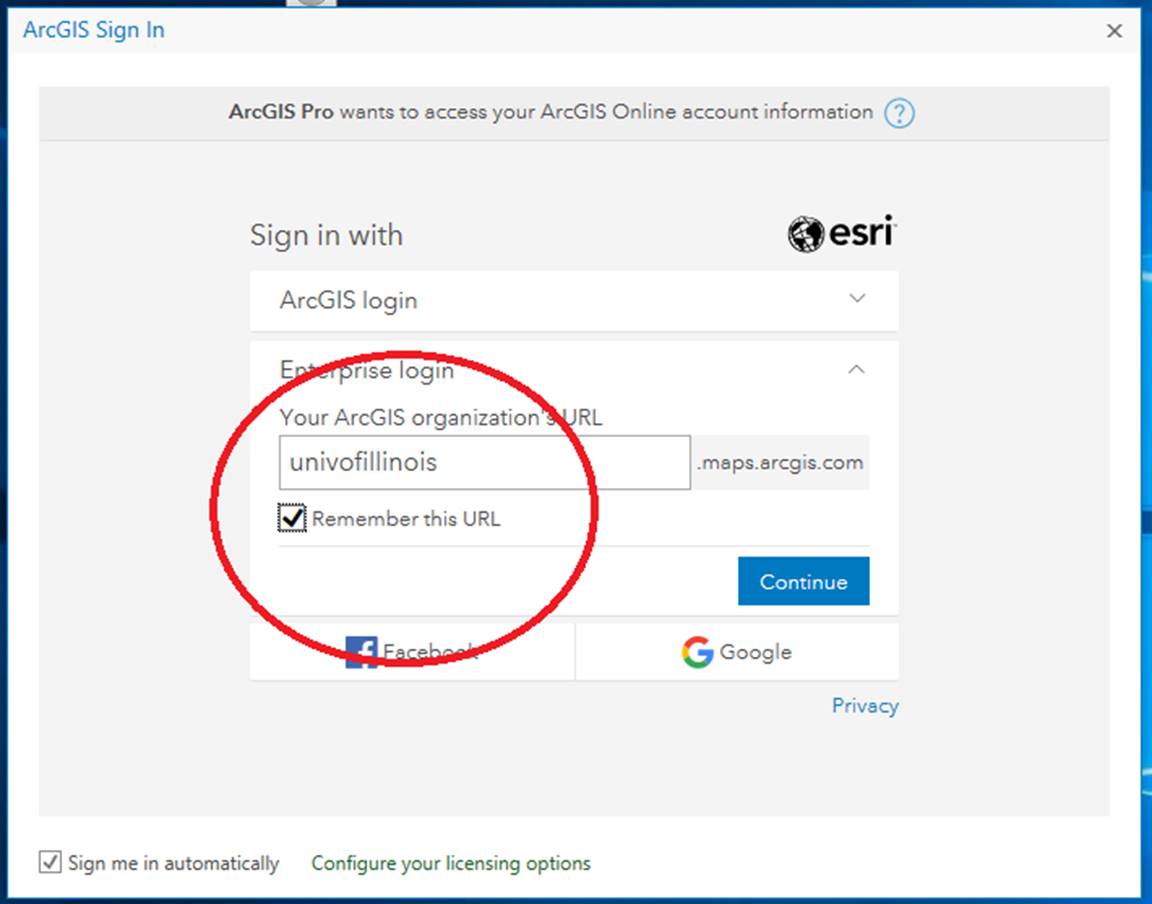
19.
Enter ‘univofillinois’ and
click the box next to Remember the URL.
Click Continue. |
|
|
|
|
|
|
|
20.
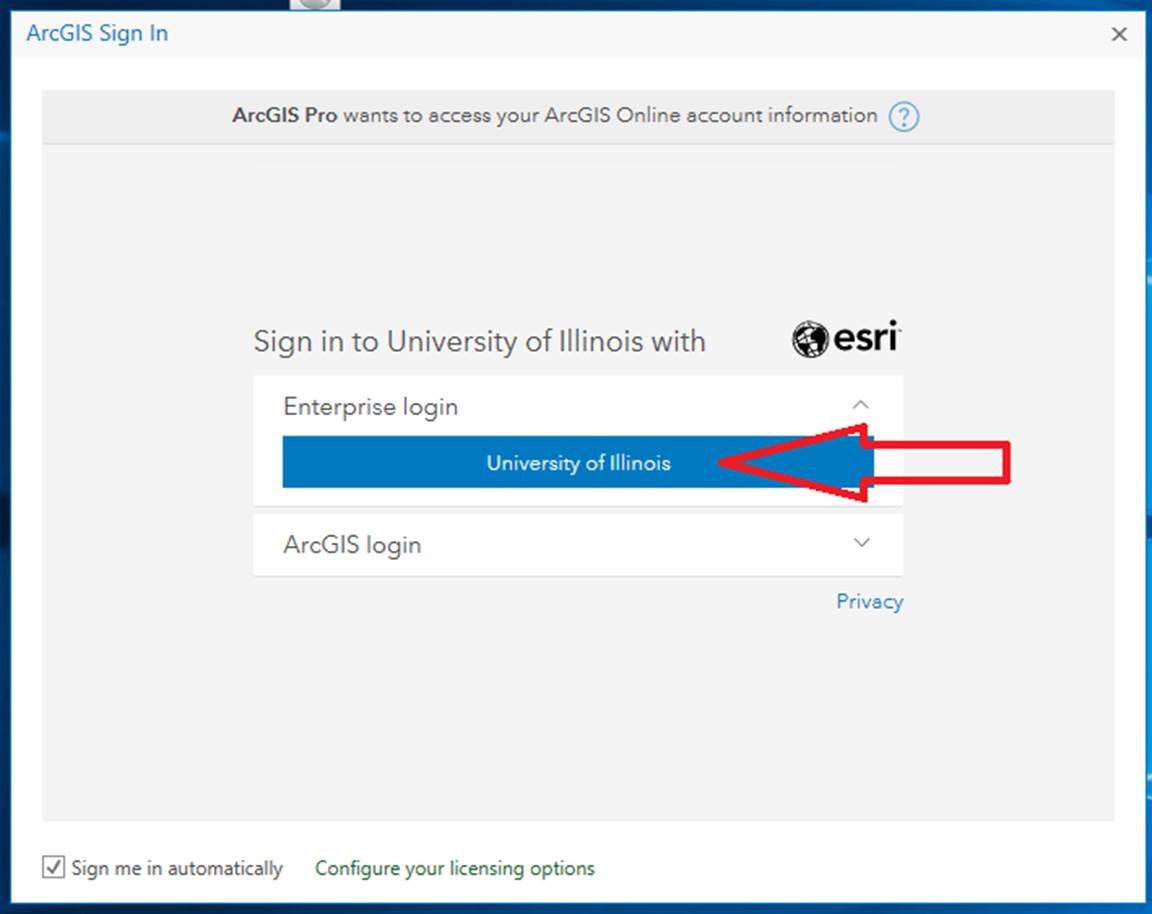
You should see the screen below. Click on the University of Illinois. |
|
|
|
|
|
|
|
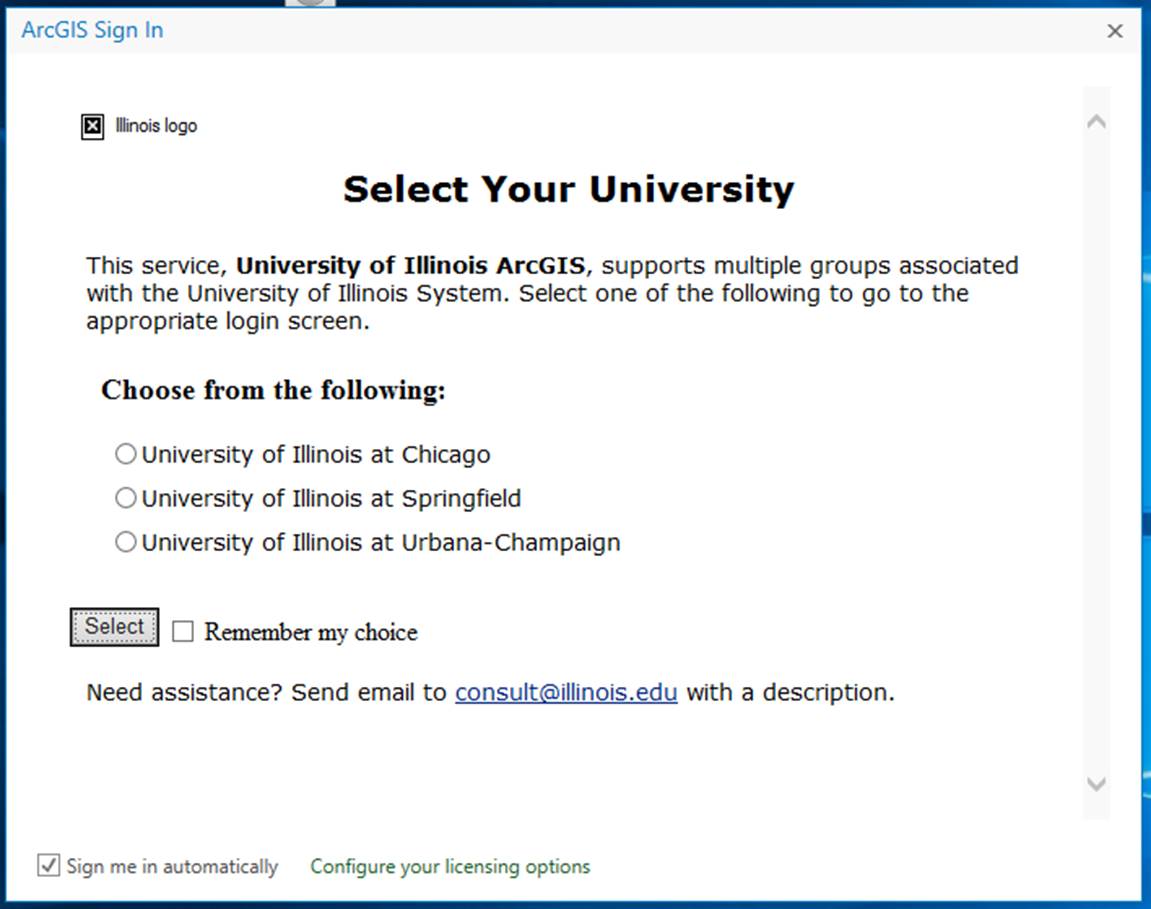
21.
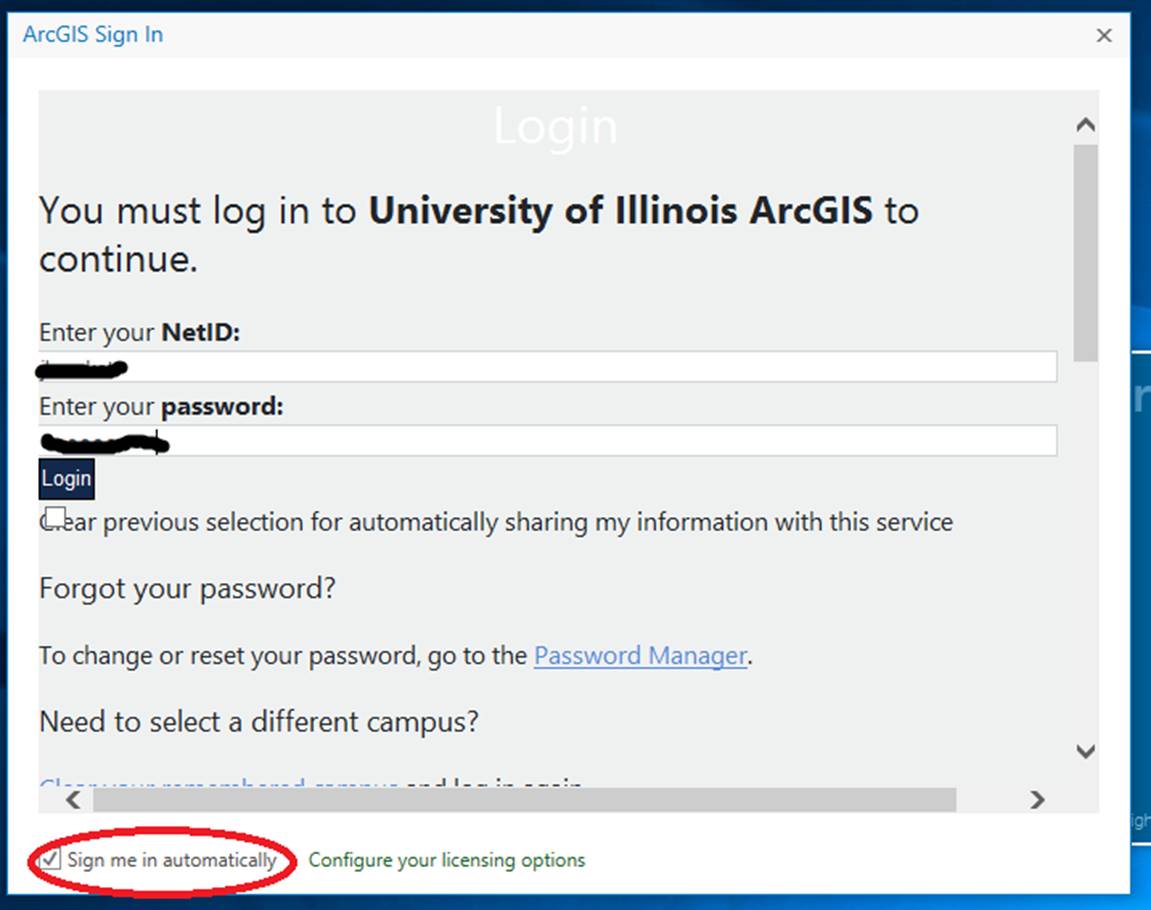
Select the appropriate Campus. You will be redirected to your campus login
page. Use your netid
and password. |
|
|
|
|
|
Make sure to select the autologin option at
the bottom. |
|
|
|
|
|
22.
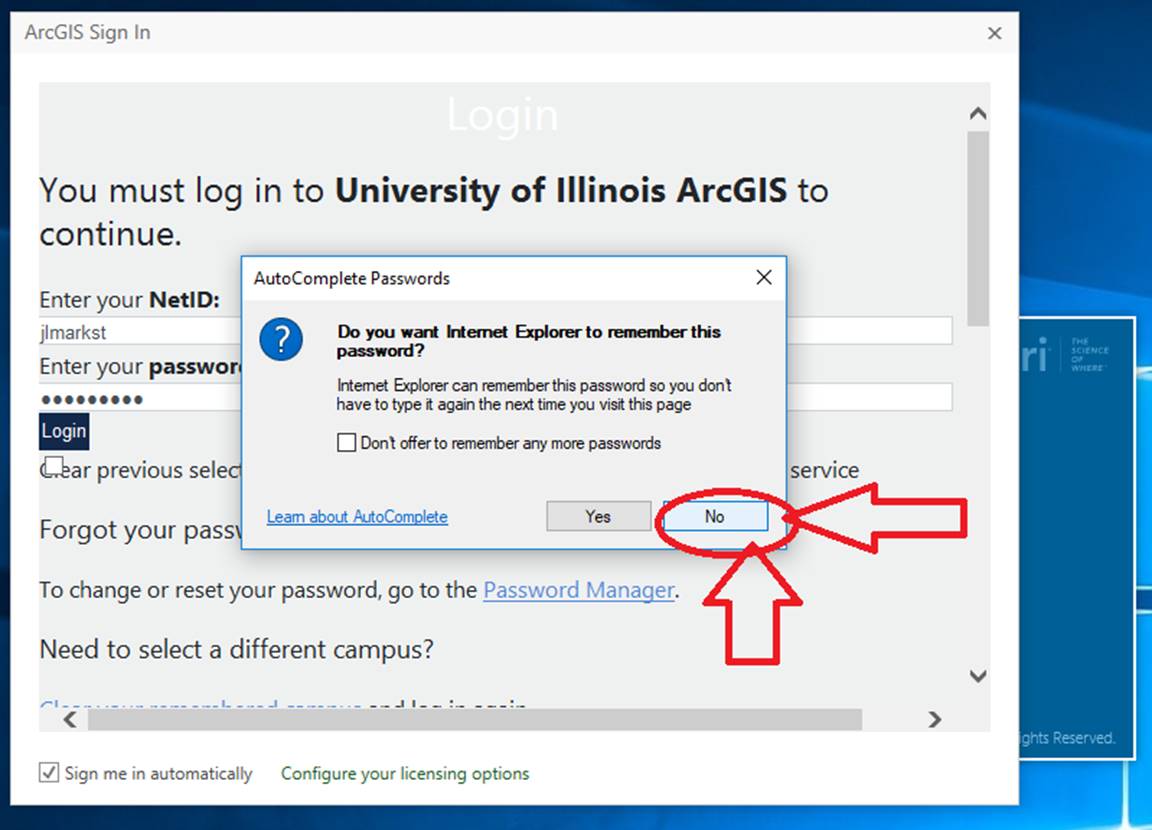
It is not suggested you let your browser keep your
passwords for you as that will cause problems when you change your password. |
|
|
|
|
|
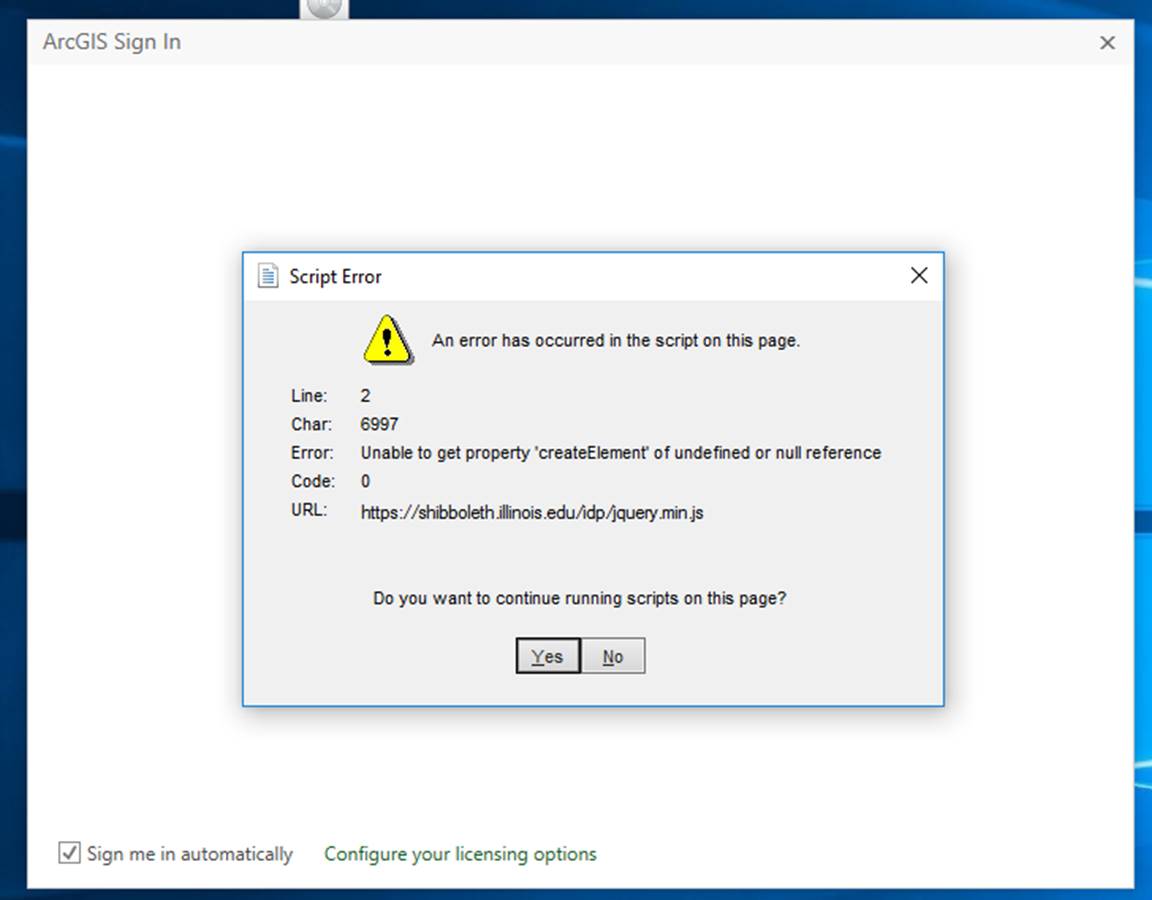
You may get the error below when logging
in. Just click Yes whenever it comes
up. |
|
|
|
|
|
|
|
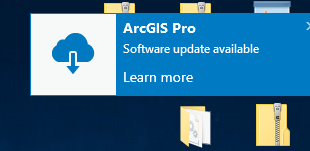
Once logged into ArcGIS Pro you may get
prompted to update. Please do before
running any jobs. |
|
|
|
|
|
|