|
|
|||||
|
|
|||||
Installation
Instructions for Ansys Mechanical 2020 R1
|
|||||
|
|
|||||
|
|
|||||
|
|
|||||
|
|||||
|
|
|||||
|
|
|||||
|
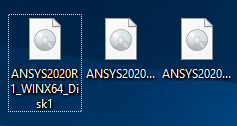
1.
First you will need copies of all three .iso files
from WebStore. |
|||||
|
|
|||||
|
|
|||||
|
|
|||||
|
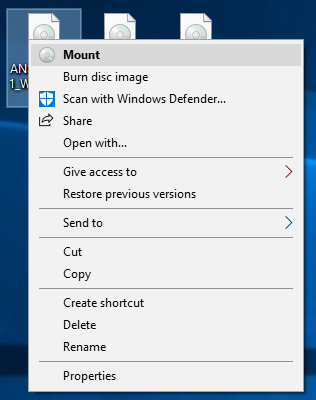
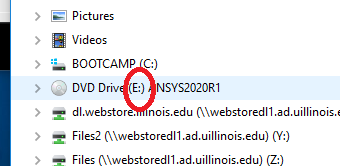
2.
Right click and
choose Mount. If you do not have that
option, double clicking will work for you. |
|||||
|
|
|||||
|
|
|||||
|
|
|||||
|
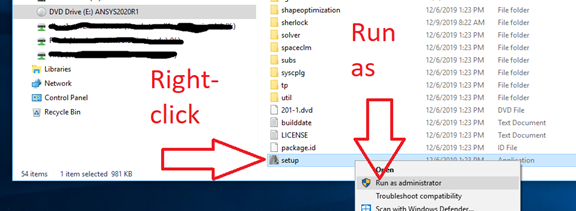
3.
Now that the ‘DVD’ is mounted you may open it using File
Explorer (the file icon on the bottom task bar). Find the setup application, right click it
and choose Run as administrator. |
|||||
|
|
|||||
|
|
|||||
|
|
|||||
|
|
|||||
|
|
|||||
|
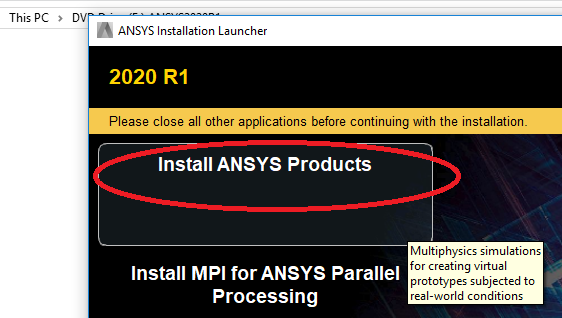
4.
Choose Install ANSYS Products |
|||||
|
|
|||||
|
|
|||||
|
|
|||||
|
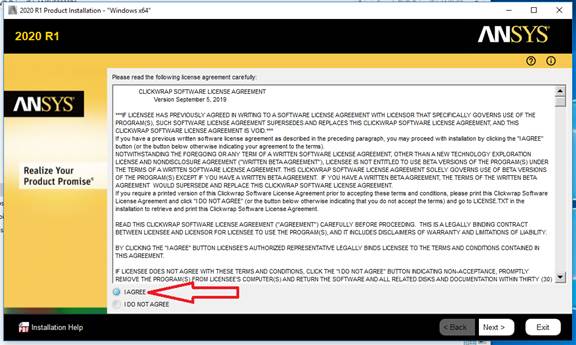
5.
Read and agree to the EULA. Click Next. |
|||||
|
|
|||||
|
|
|||||
|
|
|||||
|
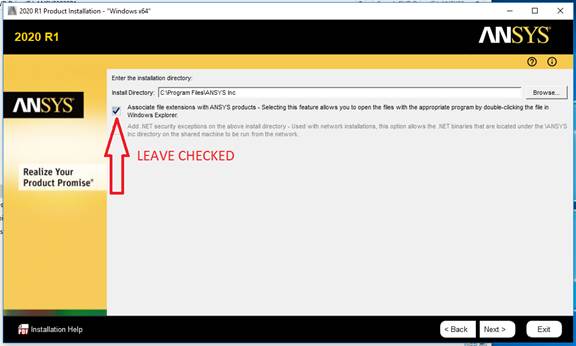
6.
Leave the file association set. DO NOT CHANGE UNLESS YOU ABSOLUTELY KNOW WHAT YOU ARE
DOING. Click Next. |
|||||
|
|
|||||
|
|
|||||
|
|
|||||
|
7.
Enter in License Manager information, this is found on
your Order History. To
locate this, log into WebStore.illinois.edu, click on Order History in the
left menu. Find this order on your list and open it. The information is in
the sections down below the download links. |
|||||
|
|
|||||
|
|
|||||
|
|
|||||
|
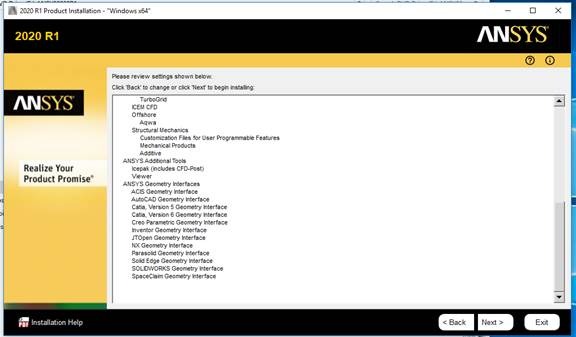
8.
Review your choices and correct any choices you
wish. We left it all default for these
instructions. Click Next. |
|||||
|
|
|||||
|
|
|||||
|
|
|||||
|
9.
This is a personal choice, we left it default. I would advise against changing this unless
you know what you are doing. Click Next. |
|||||
|
|
|||||
|
|
|||||
|
|
|||||
|
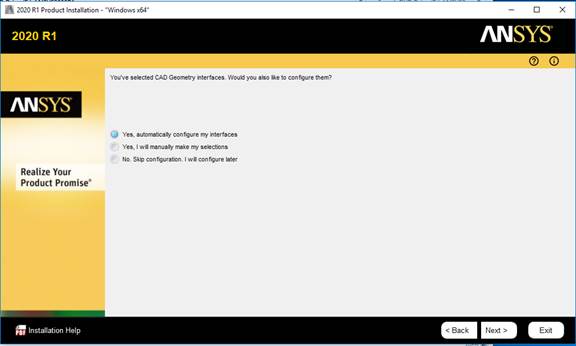
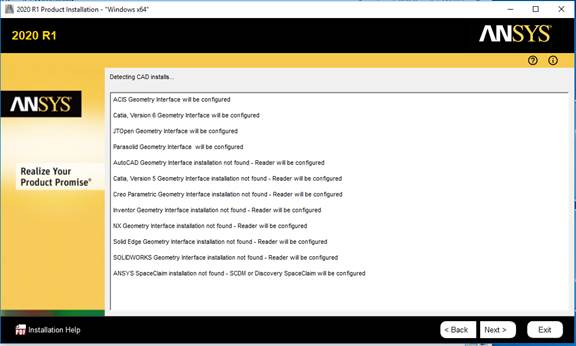
10.
If you’ve chosen the CAD interfaces, which is default,
ANSYS will prepare your installs.
Click next. |
|||||
|
|
|||||
|
|
|||||
|
|
|||||
|
11.
Review your
install choices and click Next. |
|||||
|
|
|||||
|
|
|||||
|
|
|||||
|
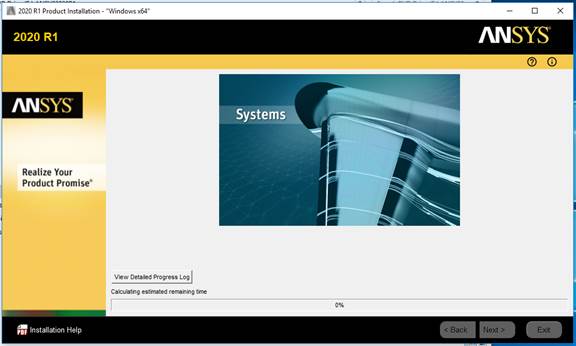
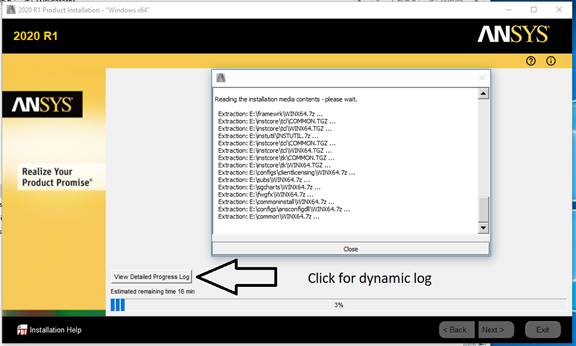
12.
ANSYS will
configure the install, grab any needed files, and install needed content and
files. This will take a while. It is safe to click the View Detailed
Progress Log. It’s a dynamically
updated text file, so resource need is minimal. |
|||||
|
|
|||||
|
|
|||||
|
THIS IS
OPTIONAL |
|||||
|
|
|||||
|
|
|||||
|
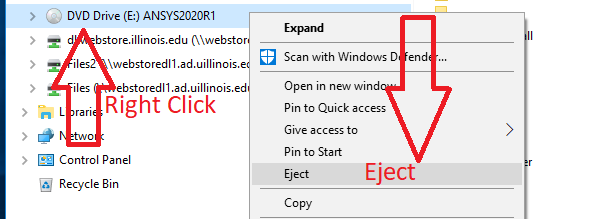
13.
At some point you
will be asked to change discs. |
|||||
|
|
|||||
|
|
|||||
|
First eject the current Media. Open File Explorer, Right
click on the media drive and choose Eject. |
|||||
|
|
|||||
|
Right click on the needed disc and choose Mount. Check
File Explorer and take note of the drive letter. |
|||||
|
|
|||||
|
Change the Drive letter if needed and click OK. |
|||||
|
|
|||||
|
Repeat as needed. |
|||||
|
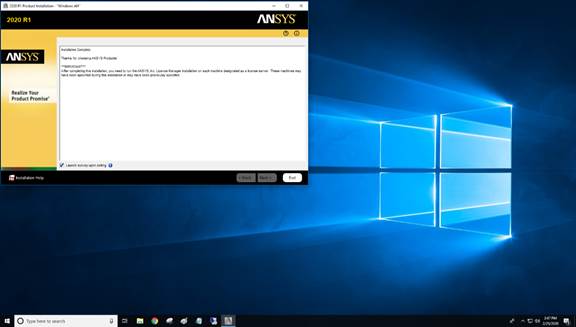
14.
When finished you
will be given a choice to participate in a survey. This is optional. Click Exit. |
|||||
|
|
|||||
|
|
|||||
|
|
|||||
|
|
|||||
|
|
|||||
|
|
|||||
|
|
|||||
|
|
|||||
|
|
|||||
|
|
|||||
|
|